●
For cameras accessed through private protocol, you can click LIVE and then enter the
username and password to play live video.
●
To filter the remote devices, you can enter all or part of device name in the Filter box.
●
To filter out the uninitialized devices, click the Not Initialized tab, and then you can
initialize the devices. For details, see "5.7.1 Initializing Remote Devices".
●
To view all remote devices added through plug and play, you can click the Not Auto
Connected tab. You can remove devices added through plug and play, and they can
be automatically added again after plug and play is enabled.
Step 3
(Optional) Enable Plug and Play.
When Plug and Play is enabled, the NVR automatically adds remote devices on the same
subnet.
●
For uninitialized remote devices, the NVR automatically initializes them before adding
them.
●
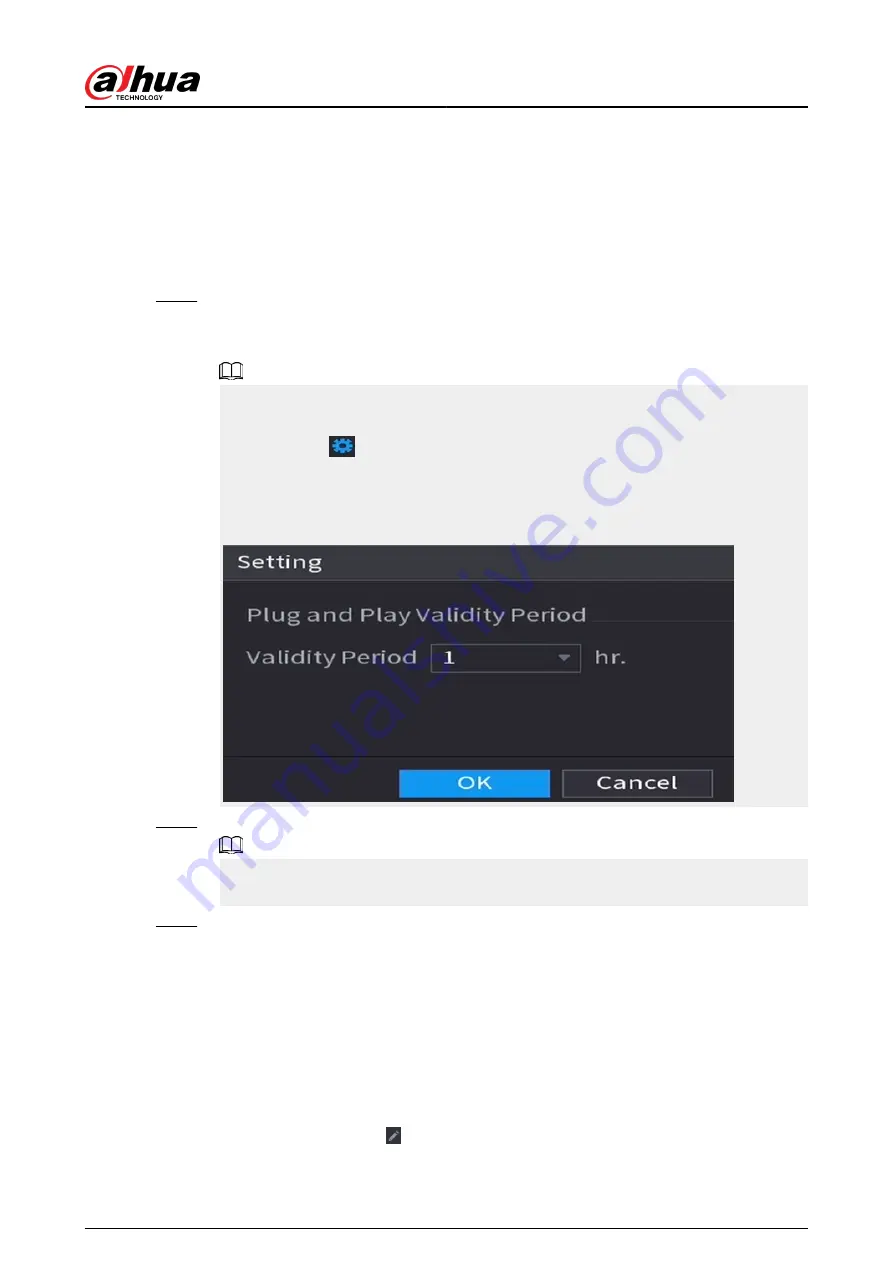
You can click
set the plug and play validity period. For example, when you set the
validity period as 1 hour, the plug and play will be automatically turned off after 1
hour.
Figure 5-66 Validity period
Step 4
(Optional) Enable H.265 Auto Switch.
When H.265 Auto Switch is enabled, the video compression standard of added remote
devices is switched to H.265 automatically.
Step 5
Double-click a remote device, or select a remote device and then click Add to register it
to the Added Device list.
Related Operations
●
Change camera login password.
Select an added camera, and then click Change Camera Login Password to change the
password.
●
Show camera login password.
Select an added camera, and then click Show Camera Password to show the password.
●
Edit camera information.
On the Added Device list, click to change the IP address, username, password and other
information.
User's Manual
180
Содержание NVR5208-EI
Страница 1: ...ZHEJIANG DAHUA VISION TECHNOLOGY CO LTD V2 3 6 Network Video Recorder User s Manual...
Страница 97: ...Figure 2 116 Alarm input port 1 User s Manual 81...
Страница 124: ...NVR21 S3 NVR21 P S3 NVR21 8P S3 NVR41 EI NVR41 P EI NVR41 8P EI Figure 3 48 Typical connection User s Manual 108...
Страница 126: ...S3 NVR21HS 8P S3 NVR41HS EI NVR41HS P EI NVR41HS 8P EI Figure 3 50 Typical connection User s Manual 110...
Страница 135: ...Figure 3 61 Typical connection 3 5 15 NVR616 4KS2 Series Figure 3 62 Typical connection User s Manual 119...
Страница 146: ...Figure 5 9 Unlock pattern login User s Manual 130...
Страница 160: ...Figure 5 24 AcuPick human detection User s Manual 144...
Страница 161: ...Figure 5 25 AcuPick motor vehicle detection Step 5 Configure the search conditions as needed User s Manual 145...
Страница 164: ...Figure 5 28 Shortcut menu 1 User s Manual 148...
Страница 194: ...Figure 5 63 Modify IP Step 7 Click Next Figure 5 64 Device initialization Step 8 Click Finished User s Manual 178...
Страница 230: ...Figure 5 93 AcuPick human detection User s Manual 214...
Страница 231: ...Figure 5 94 AcuPick motor vehicle detection Step 5 Configure the search conditions as needed User s Manual 215...
Страница 404: ...Figure 5 267 Pattern login User s Manual 388...
Страница 441: ...Figure 5 305 File management Step 2 Click Add User s Manual 425...
Страница 462: ...Figure 5 329 Shutdown 2 User s Manual 446...
Страница 471: ...Figure 6 6 Cluster log Step 2 Enter the start time and end time Step 3 Click Search User s Manual 455...
Страница 489: ......


