31
Figure 3-6
After charging is completed, disconnect it from the power socket, and then press stop
button on the charger to turn off the charger.
3.3.2 Remote Control Charging
The entire charging period (from 0 to full) needs approximately 3.5 hours.
Please charge the remote control when its power is off.
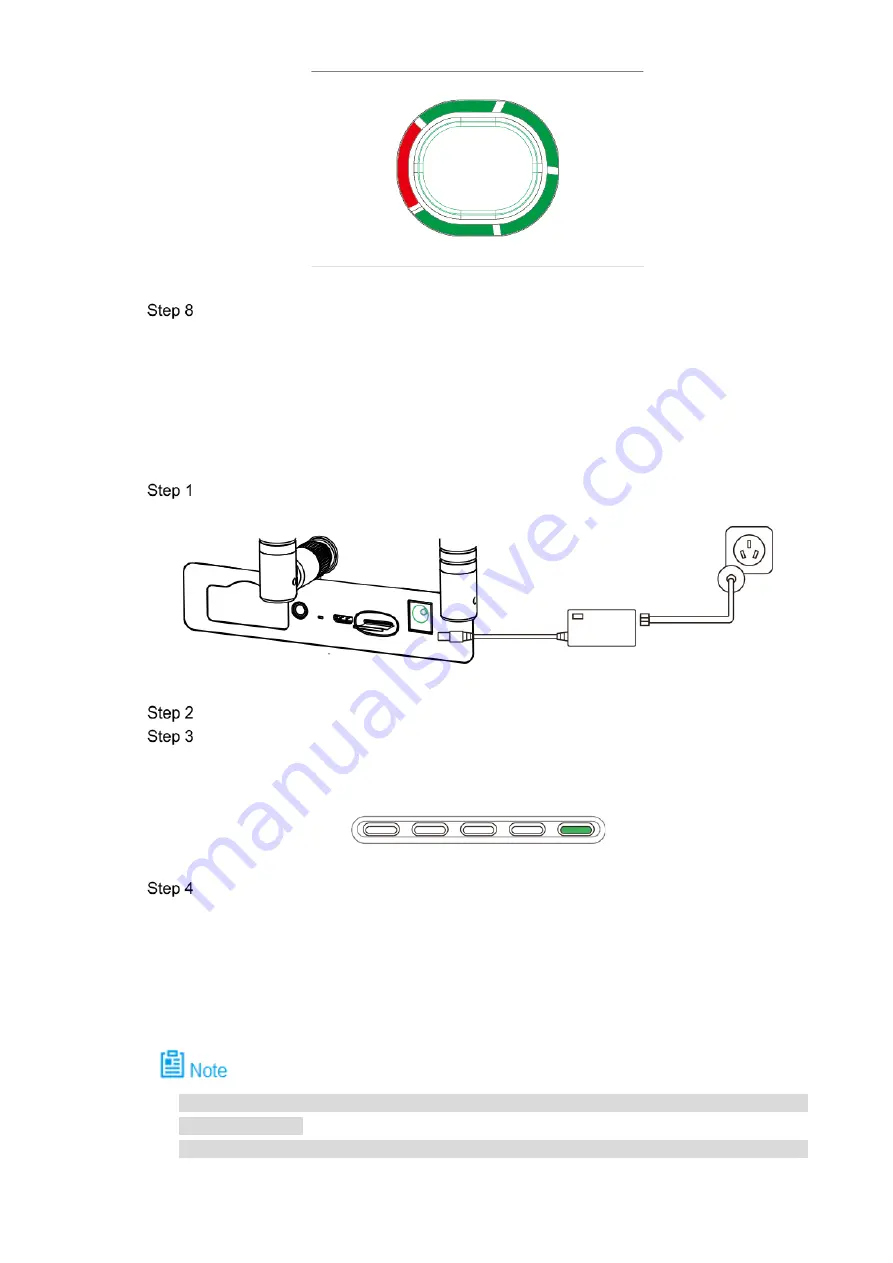
Connect DC: connect the remote control and power adapter with a charging cable.
Figure 3-7
Connect AC: connect power adapter with AC power (AC 100V- AC 240V).
Check charging state: it means the remote control is charging when the indicator light is
red and normally on. It means charging is done when the indicator light becomes green
and normally on, as shown in Figure 3-8.
Figure 3-8
Disconnect it from the power socket, and then disconnect other cables after charging is
completed.
3.4
Prepare Airborne Device
The following chapter is optional for operation. It is for your reference when airborne device
shall be replaced.
This chapter introduces operation of airborne device with PTZ camera as an example.
Содержание NAVIGATOR X1100
Страница 1: ...NAVIGATOR X1100 User s Manual V1 0 0 ZHEJIANG DAHUA VISION TECHNOLOGY CO LTD...
Страница 12: ...XI Appendix 4 4 FAQ and Solutions of Charger 89...
Страница 15: ...3 Support customized e fence settings...
Страница 17: ...5 Figure 2 2...
Страница 20: ...8 2 2 1 The 2 MP Visible Light PTZ Camera Unit is mm Figure 2 4...
Страница 21: ...9 Figure 2 5...
Страница 23: ...11 2 3 Remote Control 2 3 1 Dimensions Unit is mm Figure 2 7...
Страница 58: ...46 Figure 3 29 Keep the aircraft vertical and rotate it for 360 vertically as shown in Figure 3 30 Figure 3 30...
Страница 60: ...48 Figure 3 32...


