background image


27 

and 0 means disabled. It is 0 by default. 
Step 1 

Press 

  to go to the setting interface, and then select 

CF

Step 2 

Press 

  and 

  to enter the value. 

  0: Disabled 

  1: Enabled. 

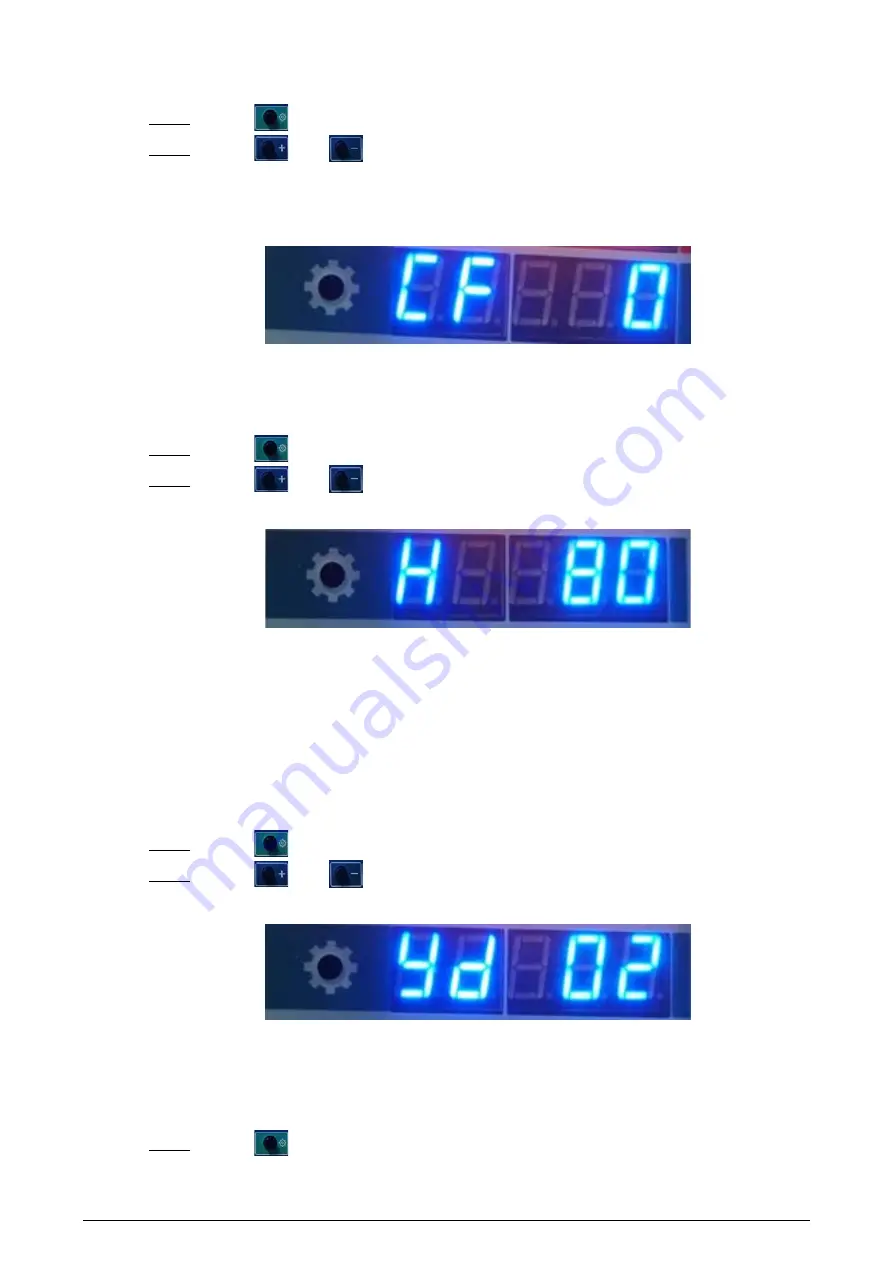
Figure 4-24 Setting infrared start-stop 


4.2.3.9 Managing Zone 

The door panel can be set to 18, 12 or 6 zones. 
Step 1 

Press 

  to go to the setting interface, and then select 

FL

Step 2 

Press 

  and 

  to enter the security level.   

Figure 4-25 Managing zone 


4.2.3.10 Setting Alarm 

You can set alarm parameters, including tone, volume, and duration. 

4.2.3.10.1 Setting Alarm Tone 

You can select one alarm tone from the 99 built-in tones, and the selected one will be played when 
an alarm is triggered. 
Step 1 

Press 

  to go to the setting interface, and then select 

yd

Step 2 

Press 

  and 

  to enter the value. 

Figure 4-26 Setting alarm tone 


4.2.3.10.2 Setting Alarm Duration 

The time that an alarm lasts. It ranges from 0 to 99 ( unit: Second). The bigger the number is, the 
longer the duration is. 
Step 1 

Press 

  to go to the setting interface, and then select 

yL

Содержание ISC-D206

Страница 1: ...Walk through Metal Detector User s Manual V1 0 1...

Страница 2: ...Adjust Detection Ability and 4 2 4 Adjust Detection Ability January 2021 V1 0 0 First release January 2021 Interface Declaration This manual mainly introduces the relevant functions when you use the D...

Страница 3: ...cription or errors in print If there is any doubt or dispute we reserve the right of final explanation Upgrade the reader software or try other mainstream reader software if the manual in PDF format c...

Страница 4: ...o not disassemble the Device Transport use and store the Device under the allowed humidity and temperature conditions Electrical Safety Use the battery of specified manufacturer otherwise there might...

Страница 5: ...onfiguration 13 4 1 ISC D206 13 4 1 1 Configuration Panel 13 4 1 2 Remote Controller 14 4 1 3 Device Operations 14 4 1 3 1 Function Description 14 4 1 3 2 Password Setting 15 4 1 3 2 1 Login 15 4 1 3...

Страница 6: ...ensitivity 23 4 2 3 5 Setting Frequency 24 4 2 3 6 Setting Infrared Start stop 25 4 2 3 7 Setting Application Scenarios 25 4 2 3 8 Selecting Automatic Frequency Hopping 26 4 2 3 9 Managing Zone 27 4 2...

Страница 7: ...ired to use it The Device can be widely used in sports meetings conferences schools and other occasions It adopts electromagnetic field to detect carry on metal articles and uses sound and light alarm...

Страница 8: ...rm Light and sound alarm for sharp alert The sound duration and volume can be adjusted as needed Search The system supports real time search Detection Capability 60 to 100 people detected per min Filt...

Страница 9: ...3 2 Structure 2 1 Dimensions Figure 2 1 ISC D206 unit mm...

Страница 10: ...4 Figure 2 2 ISC D218 unit mm 2 2 Port...

Страница 11: ...5 Figure 2 3 Port Table 2 1 Port description No Name Description 1 Power input port Connects to power cable to get power supply 2 Power supply switch Turn on or off the Device...

Страница 12: ...2 Power cable host box to door panel 1 Power cable power input 1 Fixing screws door panel 4 Fixing screws host box 2 Remote controller 1 Wrench 1 Quick start guide 1 3 2 Environment Requirements The g...

Страница 13: ...m to 4 m However the actual distance needs to be based on specific circumstances For example you can go through a metal detector door with a source of interference until the best position is found Int...

Страница 14: ...8 Figure 3 2 Take out door panels Step 3 Take out the accessories from the box Figure 3 3 Take out accessories Step 4 Prepare the door panels beams host box and screws...

Страница 15: ...ll the beams and the host box Figure 3 5 Install the beams and the host box Step 6 Connect the detection wire on the host box to the left and right door panels and then connect the host box and the do...

Страница 16: ...10 Figure 3 6 Connect the detection wire Step 7 Stand the Device up Figure 3 7 Stand the Device up Step 8 Connect the power supply to the Device and then turn on the power switch to start the Device...

Страница 17: ...detected If you install the devices with space smaller than 50 cm there might be false alarm If the spacing needs to be shorten because the installation sites is limited you need to adjust the freque...

Страница 18: ...12 Tighten the fixing screws Figure 3 10 Tighten the fixing screws...

Страница 19: ...able 4 1 Configuration panel description No Name 1 Displays number of passes 2 Displays alarm times 3 Working indicator light When metal is detected the alarm light on the door panel for the correspon...

Страница 20: ...etting 3 Back Returns to the previous menu or exits the menu setting interface 4 1 3 Device Operations 4 1 3 1 Function Description Press to select a function and press and to enter the value as neede...

Страница 21: ...the higher the volume And it is 2 by default Setting alarm duration d It is the time that an alarm lasts There are 3 levels 0 1 and 2 It is 3 by default 4 1 3 2 Password Setting 4 1 3 2 1 Login You ca...

Страница 22: ...y level is the detection sensitivity of the Device It ranges from 1 to 20 The higher the value is the more sensitive the Device is Step 1 Press to go to the setting interface and then select H Step 2...

Страница 23: ...he details of sensitivity see 4 1 3 3 Setting Security Level 4 1 3 5 Setting Frequency When multiple devices work simultaneously set different frequencies for each device to reduce mutual interference...

Страница 24: ...updated in real time Start the back group The two front alarm lights will be on when an alarm is triggered and the alarm times will be updated in real time Start both groups The four alarm lights of b...

Страница 25: ...the value 0 The alarm duration is 1 s 1 The alarm duration is 2 s 2 The alarm duration is 3 s Figure 4 13 Setting alarm duration 4 1 4 Adjusting Detection Ability Adjust the detection ability to impro...

Страница 26: ...t If the alarm is not triggered adjust the frequency and then do Step2 and Step3 Repeat the operations until the detection ability meets your demand Step 4 Remove the tapes on the infrared sensors 4 2...

Страница 27: ...regularly Setting security level H The detection sensitivity of the whole detector It ranges from 1 to 99 and 80 by default Setting sensitivity sensor on the left side 1L 6L The detection sensitivity...

Страница 28: ...built in tones and it is 2 by default Setting alarm volume y Adjust the alarm volume It ranges from 0 to 99 The bigger the number is the higher the volume is It is 2 by default Setting alarm duration...

Страница 29: ...the more sensitive the Device is Step 1 Press to go to the setting interface and then select H Step 2 Press and to enter the security level Figure 4 18 Setting security level When both the defined thr...

Страница 30: ...hed an alarm will be triggered For the details of sensitivity see 4 2 3 3 Setting Security Level 4 2 3 5 Setting Frequency When multiple devices work simultaneously set different frequencies for each...

Страница 31: ...both sides will be on when an alarm is triggered and the alarm times will be updated in real time Close both groups The four alarm lights of both sides will not be on when an alarm is triggered but th...

Страница 32: ...Center 14 Metals factory 38 Meeting room 62 Subway station 15 Electronics factory 39 VIP room 63 Villa 16 Precision instrument factory 40 Office 64 Community 17 Industry mine 41 Rescue station 65 Oper...

Страница 33: ...anaging zone 4 2 3 10 Setting Alarm You can set alarm parameters including tone volume and duration 4 2 3 10 1 Setting Alarm Tone You can select one alarm tone from the 99 built in tones and the selec...

Страница 34: ...etecting the detection ability with a flat metal sheet Do not make the flat panel parallel to the door panels otherwise the alarm will not be triggered It is easier to detect the metal objects with go...

Страница 35: ...dot in the image the infrared sensor on the transmitting terminal cannot work normally and you need to replace it d Remove the host and test it with the door panels that can work normally If the prob...

Страница 36: ...The count result cannot be displayed a Check whether ribbon cables and probes of the display screen are loose or broken b If the problem still cannot be solved replace the host 13 The remote controlle...

Страница 37: ...suggest that you download and use the latest version of client software Nice to have recommendations to improve your equipment network security 1 Physical Protection We suggest that you perform physi...

Страница 38: ...er encrypted transmission will cause some loss in transmission efficiency 11 Secure Auditing Check online users we suggest that you check online users regularly to see if the device is logged in witho...

Отзывы: