


424
Figure 5-136
Step 2 Change corresponding information and then click Save button.
5.10.5.7.3 ONVIF User
When the camera from the third party is connected with the DVR via the ONVIF user, please use the
verified ONVIF account to connect to the DVR.
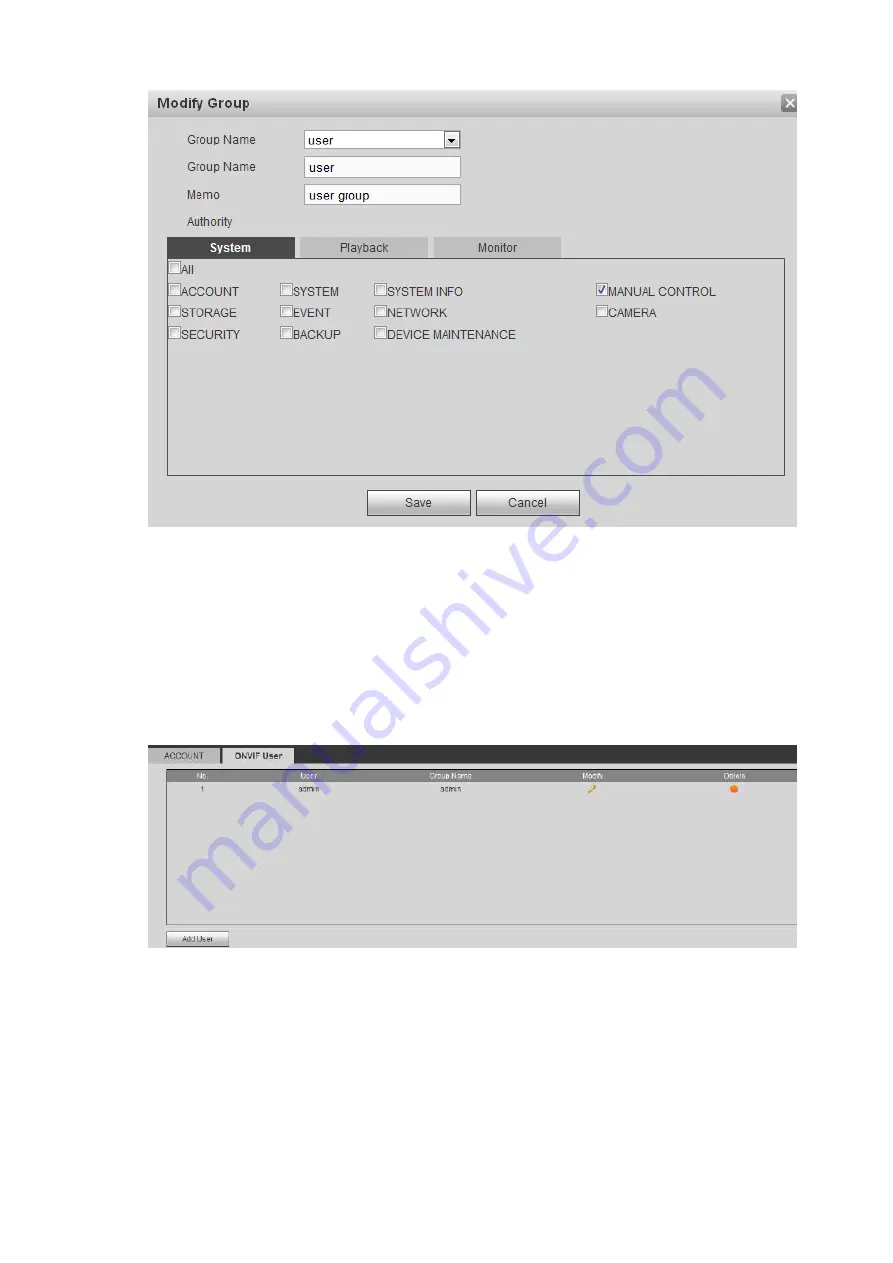
Step 1 From main menu->Setting->System->Account->ONVIF User.
Enter ONVIF user interface. See Figure 2-59.
Figure 5-137
Step 2 Click Add user button.
Enter add user interface. See Figure 5-138.
Содержание DHI-NVR5224-24P-4KS2
Страница 1: ...Network Video Recorder User s Manual V4 3 2...
Страница 136: ...124 Figure 3 5 3 6 6 NVR42N Series Please refer to Figure 3 6 for connection sample Figure 3 6...
Страница 140: ...128 Figure 3 11 3 6 12 NVR42V 8P Series Please refer to Figure 3 12 for connection sample...
Страница 141: ...129 Figure 3 12...
Страница 155: ...143 Figure 4 15 Step 2 Click device display edit interface See Figure 4 16...
Страница 218: ...206 Figure 4 93 Figure 4 94...
Страница 238: ...226 Figure 4 110 Figure 4 111 Figure 4 112...
Страница 249: ...237 Figure 4 123 Figure 4 124...
Страница 251: ...239 Figure 4 126 Click draw button to draw the zone See Figure 4 127...
Страница 255: ...243 Figure 4 130 Click Draw button to draw a zone See Figure 4 131 Figure 4 131...
Страница 260: ...248 Figure 4 136 Click draw button to draw the zone See Figure 4 137...
Страница 273: ...261 Figure 4 148 Figure 4 149...
Страница 274: ...262 Figure 4 150 Figure 4 151...
Страница 384: ...372 Figure 5 60 Figure 5 61...
Страница 385: ...373 Figure 5 62 Figure 5 63...
Страница 409: ...397 Figure 5 96 Figure 5 97...
Страница 415: ...403 Figure 5 106 5 10 4 4 Record Control The interface is shown as in Figure 5 107 Figure 5 107...