User's Manual
201
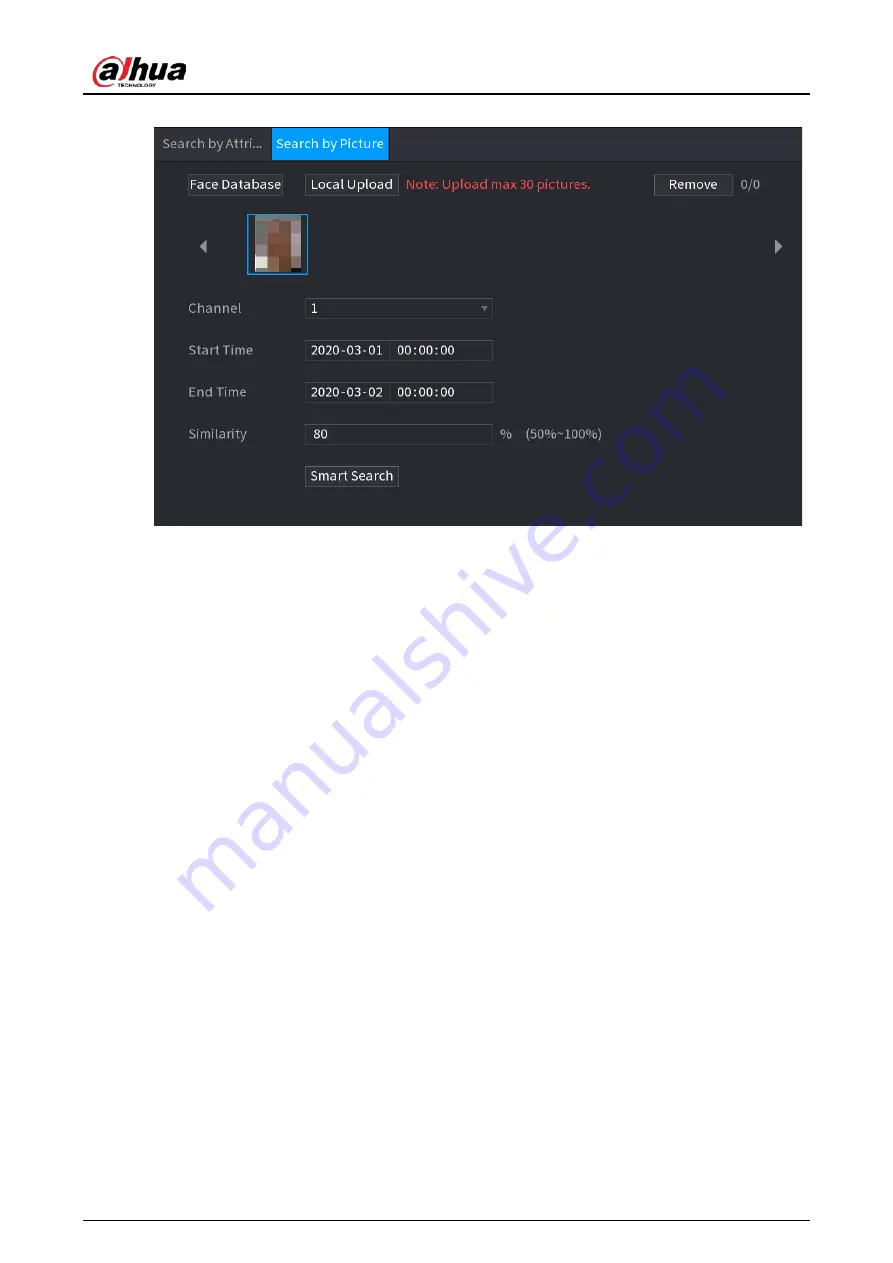
Figure 5-159 Uploaded picture
●
Local Upload
Plug the USB storage device (with face pictures) to the Device, and then click
Local Upload
.
Then select the picture from the USB storage device, and then click
OK
. The selected face
pictures are uploaded.
3. After the face pictures are uploaded, continue to configure other parameters (channel, start time,
end time, and similarity).
4. Click
Smart Search
.
The searching results are displayed.
Содержание DH-XVR Series
Страница 1: ...AI Digital Video Recorder User s Manual ZHEJIANG DAHUA VISION TECHNOLOGY CO LTD V2 3 1...
Страница 31: ...User s Manual 15 Figure 2 32 Install HDD Step 4 Use the HDD cable and power cable to connect HDD and mainboard...
Страница 33: ...User s Manual 17 Figure 2 35 Fasten screws...
Страница 110: ...User s Manual 94 Figure 5 50 Main menu...
Страница 122: ...User s Manual 106 connected camera Procedure Step 1 Select Main Menu CAMERA Image Figure 5 63 Analog channel...
Страница 203: ...User s Manual 187 2 Click of the database that you want to configure Figure 5 140 Details 3 Click Register ID...
Страница 213: ...User s Manual 197 Figure 5 154 Smart search 4 Click the picture that you want to play back...
Страница 218: ...User s Manual 202 Figure 5 160 Search results...
Страница 307: ...User s Manual 291 Figure 5 263 Version 1 Figure 5 264 Version 2 Step 3 Click Apply...
Страница 350: ...User s Manual 334 Figure 6 3 Legal information...
Страница 378: ...User s Manual 362 Appendix Figure 7 7 Check neutral cable connection...
Страница 384: ...User s Manual...


