


ShareCenter Pro User Manual
76
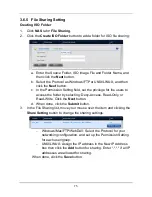
Creating Folder
1.
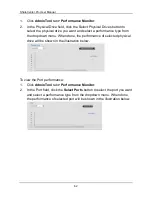
Click
NAS
tab
>
File Sharing
.
2.
Click the
Create Folder
button to add a folder for sharing:
a. Enter the Volume and Folder Name, and then click the
Next
button.
b. Select the Protocol as Windows/FTP or UNIX/LINUX, and then
click the
Next
button.
c. In the Permission Setting field, set the privilege for the users to
access the folder by selecting: Deny-Access, Read-Only, or
Read-Write. Click the
Next
button.
d. When done, click the
Submit
button.
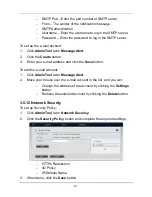
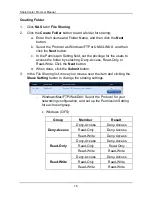
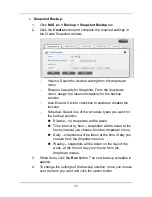
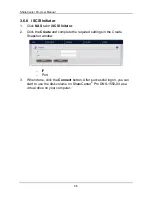
3.
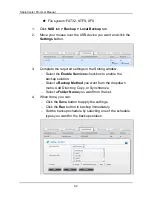
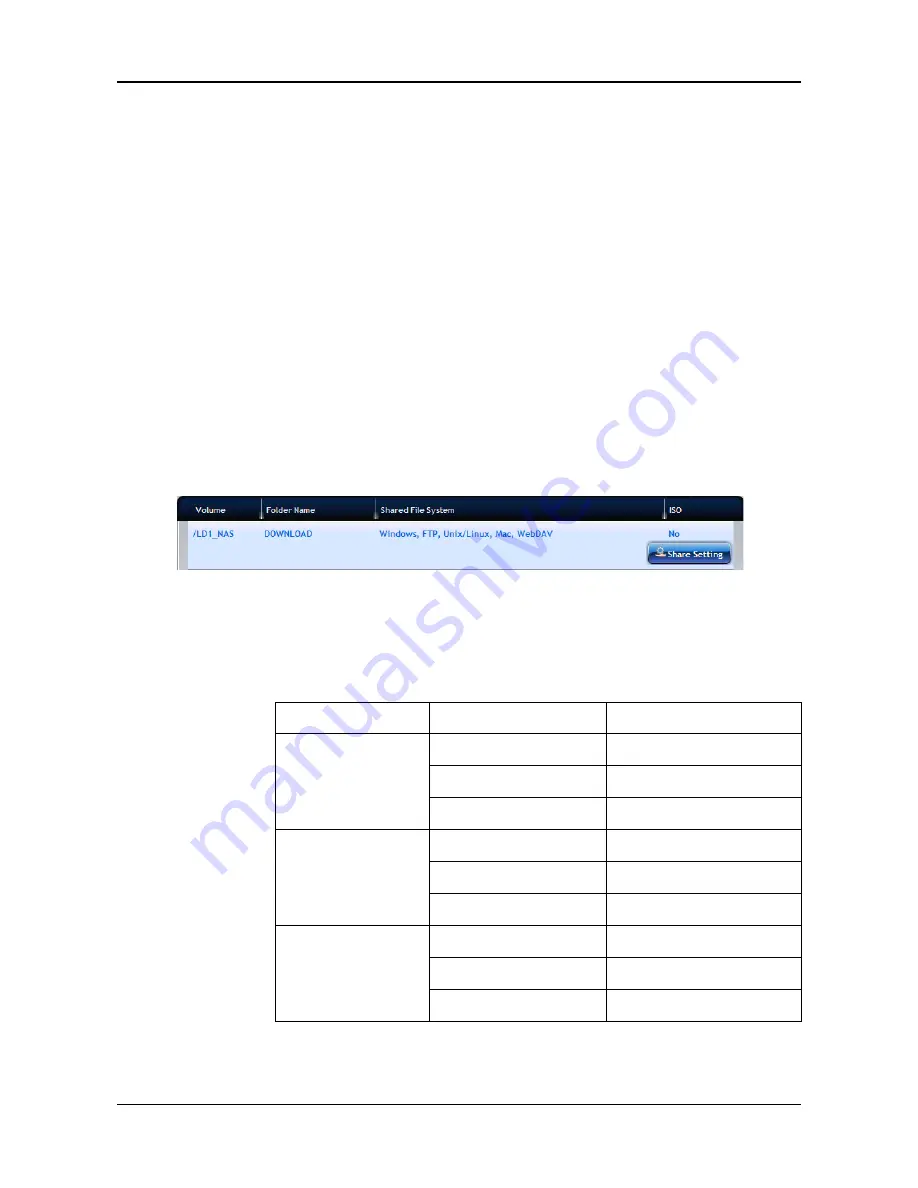
In the File Sharing list, move your mouse over the item and clicking the
Share Setting
button to change the sharing settings.
−
Windows/Mac/FTP/WebDAV: Select the Protocol for your
networking configuration, and set up the Permission Setting
for each user/group.
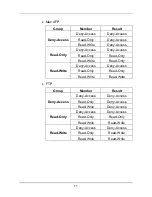
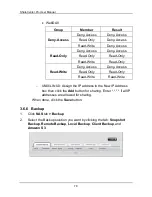
•
Windows (CIFS)
Group
Member
Result
Deny-Access
Deny-Access
Deny-Access
Read-Only
Deny-Access
Read-Write
Deny-Access
Read-Only
Deny-Access
Deny-Access
Read-Only
Read-Only
Read-Write
Read-Write
Read-Write
Deny-Access
Deny-Access
Read-Only
Read-Write
Read-Write
Read-Write
Содержание ShareCenter Pro DNS-1550-04
Страница 1: ...1...
Страница 68: ...ShareCenter Pro User Manual 68...
Страница 94: ...ShareCenter Pro User Manual 94 If you close ShareCenter NAVI this way you must open it from the Start menu...
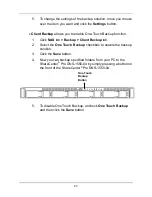
Страница 102: ...ShareCenter Pro User Manual 102 Drag and drop the folders you want to backup to the Backup your data from window...
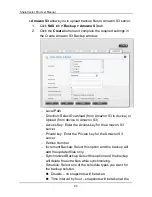
Страница 104: ...ShareCenter Pro User Manual 104 9 Click the Add button The newly created schedule appears in the Schedule List...
Страница 119: ...119 The Share Folder List appears 4 Double click the individual share folder to view its contents...
Страница 142: ...ShareCenter Pro User Manual 142 6 The shutdown runs automatically...


