


D-Link DES-3350SR Standalone Layer 3 Switch
86
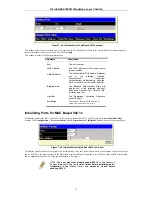
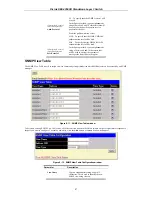
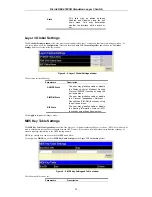
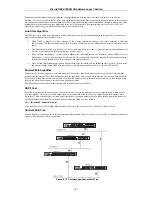
Figure 8 - 8. SNMP User Table window
To delete an existing entry, click the selection button in the Delete column on the far right that corresponds to the entry you want to
configure. To create a new entry, click the
Add
button, a separate window will appear.
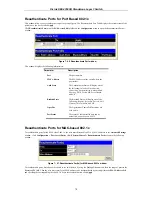
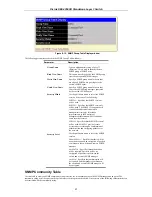
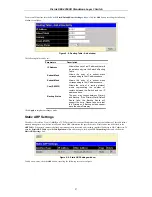
Figure 8 - 9. SNMP User Table Configuration window
To display the current SNMP User Table Configuration, click the User Name in the first column of the SNMP User Table window.
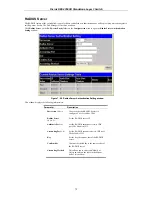
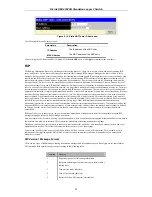
Figure 8 - 10. SNMP User Table Display window
The following parameters are used in the SNMP User Table windows:
Parameter
Description
User Name
Type in the new SNMP V3 user name or
community string for V1 or V2. This can be
any alphanumeric name of up to 32
characters that will identify the new SNMP
user.
Group Name
Type in the new SNMP V3 group name.
Again, this can be any alphanumeric name of
up to 32 characters that will identify the
SNMP group the new SNMP user will be
associated with.
SNMP Version
From the pull-down menu select:
V1
– To specifies that SNMP version 1 will
be used.
V2
– To specify that SNMP version 2 will be
used.
Содержание DES-3350SR
Страница 1: ...D Link DES 3350SR Standalone Layer 3 Switch User s Guide...
Страница 80: ...D Link DES 3350SR Standalone Layer 3 Switch 70 Figure 7 57 The Client...
Страница 138: ...D Link DES 3350SR Standalone Layer 3 Switch 128 Click Apply to implement changes made...
Страница 160: ...D Link DES 3350SR Standalone Layer 3 Switch 150 Figure 10 33 PIM Neighbor Table...
Страница 188: ......


