31
5. LCD Interface
The Corning® Matribot® Bioprinter can be used without a connection to the PC. Multiple options such as bioprinting, temperature control,
and manual calibration can be accessed on the Corning Matribot Bioprinter’s LCD display. The following section describes main functions
that can be accessed on the LCD display.
To navigate through the settings on the LCD display, rotate and press the control knob.
5.1 Status screen
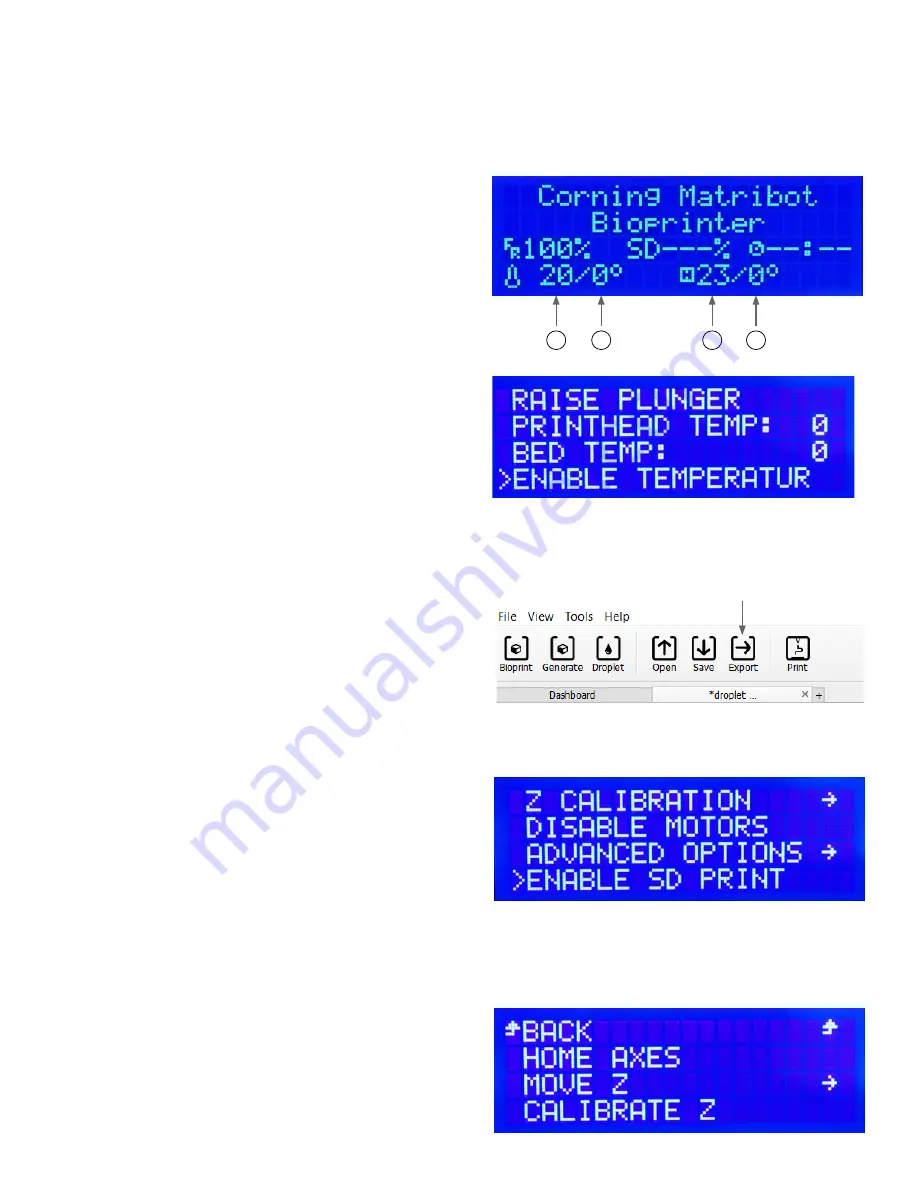
This screen displays measured and set temperatures of the printhead
and the printbed.
1. Measured temperature of the printhead.
2. Set temperature of the printhead. Displays 0°C if temperature
control is disabled.
3. Measured temperature of the printbed.
4. Set temperature of the printbed. Displays 0°C if temperature
control is disabled.
5.2 Temperature control
To adjust the temperatures of the printhead and the printbed follow
the steps below.
1. Navigate from the status screen to the Prepare Bioprint menu.
2. Scroll down and set the printhead temperature and the printbed
temperature.
3. Enable temperature control.
4
3
2
1
5.3 Attach the syringe to the syringe plunger holder
To adjust the position of the syringe plunger holder, navigate to the Prepare Bioprint menu, and select the Raise Plunger function. Using
the Extrude Volume function, move the syringe plunger holder to match the position of the syringe plunger.
5.4 Printing using g-code file
To bioprint directly from an SD card, follow the steps below.
1. Copy the g-code to the SD card. You can generate your g-code
file using Corning DNA Studio to define the printing parameters
and exporting the resulting g-code to the SD card.
2. Place the SD card in the SD card slot.
3. Navigate to the Utilities menu.
4. In the Utilities menu select Enable SD print.
5. Set the correct temperature settings according to the
instructions in Section 5.2.
6. Place the syringe in the printhead, and attach the syringe
plunger holder according to the instructions in Section 5.3.
7. Attach the well plate or the Petri dish of your choice to the
printbed.
8. Navigate to the Prepare Bioprint menu, and select the Home
Axes function.
9. By using the Move Z function, place the end of the nozzle as
close to the printing surface as possible without touching it.
10. If necessary, use Move Axis function in the Utilities menu to
move the printhead.
11. Once the nozzle is located close to the printing surface,
navigate to the Prepare Bioprint Menu once again, and select
Calibrate Z function.
12. Prime the nozzle by extruding a small volume of the bioink
using the Extrude Volume function.
13. Navigate to the Bioprint menu by selecting Back, and select the
g-code file to start the print.


