35
6.5 Troubleshooting guide
Keeping your Corning® DNA Studio updated to the latest version is highly recommended and essential for taking advantage of the new
features, while avoiding device malfunctions. Use the steps below to update your Corning DNA Studio to the latest software version
available.
1. Download the new version of Corning DNA Studio from www.corning.com/matribotguidelines.
2. Uninstall the old version of Corning DNA Studio from your computer.
3. Install new version of Corning DNA Studio on your computer.
WARNING:
Always turn the power switch to its OFF position and disconnect the power cord before you clean or do maintenance on the product.
The below points are recommended to troubleshoot your system. If these steps do not resolve your issue, contact Corning Scientific Support.
Problem
Cause
Solution
The system does not power
up properly.
The electricity supply
has been cut off.
Test another outlet, and ensure nothing else is connected to the outlet.
Check the voltage input on the fuse panel to ensure it matches the required voltage on the
power supply.
No material extruded from
the nozzle.
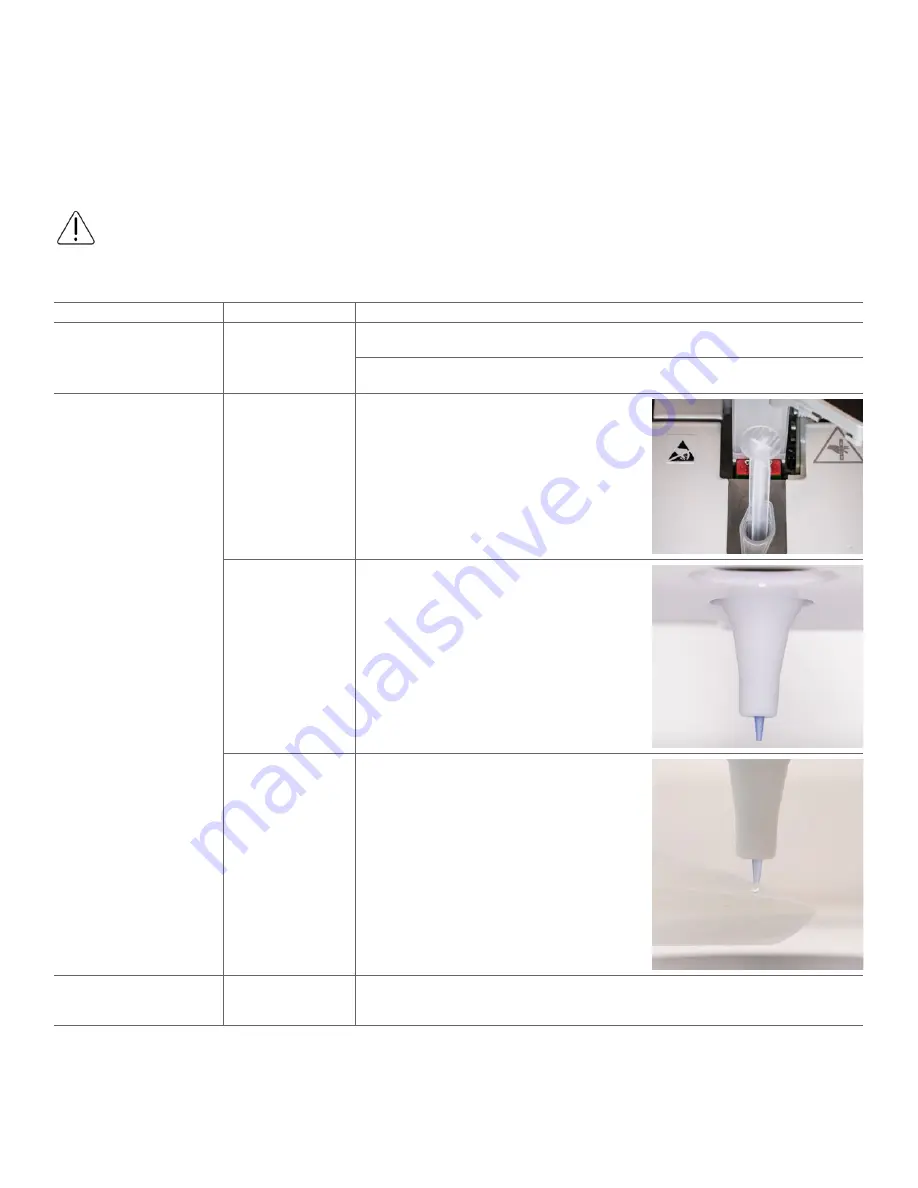
Syringe plunger is
not connected to the
holder arm.
Rotate the syringe plunger holder arm over
the plunger and twist the syringe by the tabs
counterclockwise to ensure it is locked in place.
Material is dried or
clogged.
Clogging at the nozzle tip may occur due to
gelation or drying of the material. Pre-set the
printhead temperature to 2°C before beginning any
procedure with temperature-sensitive materials,
and make sure to fully purge the nozzle of 30 to
60 µL of material before starting a new print to
extrude any gelated material. If the material has
dried and the clog cannot be removed, replace with
a new nozzle.
Nozzle is not primed.
Always ensure the nozzle is fully primed with well
flowing material before starting each print. This is
done preferably after machine calibration.
Extrusion is not consistent.
Air bubbles are
trapped in the
material.
Use a centrifuge to remove bubbles from the material.


