Manuale/Manual/Manuel/Handbuch/Manual
–
07/2014
Pagina
39
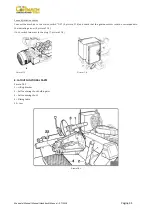
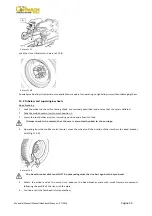
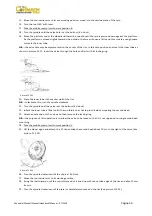
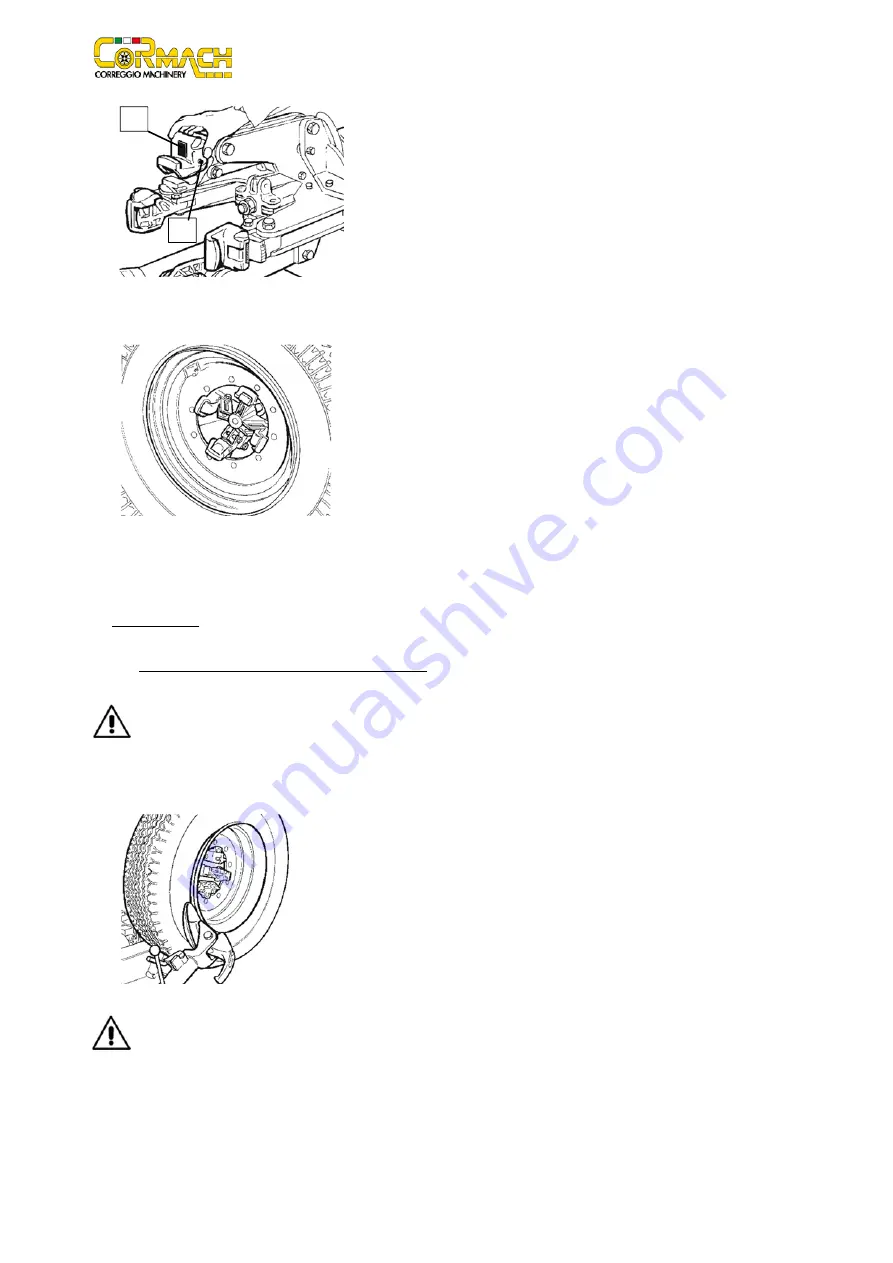
Picture
F13.7
Lock
the
rim
as
illustrated
in
picture
F13.8.
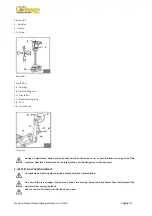
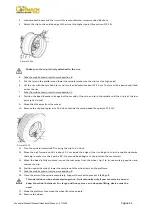
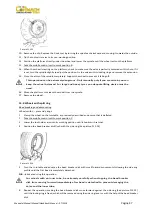
Picture
F13.8
Specially
made
alloy
rim
pliers
are
also
available
on
request
for
operating
on
light
alloy
rims
without
damaging
them.
13.2
Tubeless
and
supersingle
wheels
Bead
breaking
1.
Lock
the
wheel
on
the
self
‐
centering
chuck,
as
previously
described,
and
ensure
that
the
tyre
is
deflated.
2.
Take
the
mobile
control
unit
to
work
position
C.
3.
Lower
the
tool
‐
holder
arm
into
is
working
position
and
allow
it
to
lock.
Always
check
to
be
certain
that
the
arm
is
corrected
hooked
to
the
carriage.
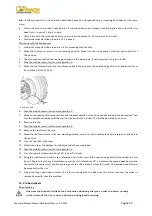
4.
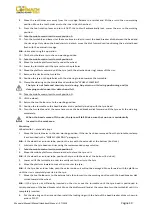
Operating
from
the
mobile
control
center,
move
the
wheel
until
the
outside
of
the
rim
skims
the
bead
‐
breaker
disk
(Fig.
F13.9).
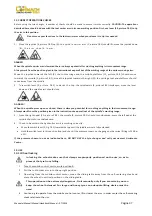
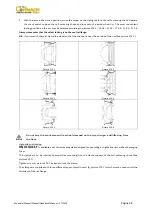
Picture
F13.9
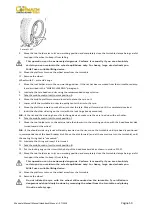
The
bead
breaker
disk
must
NOT
be
pressed
against
the
rim
but
against
the
tyre
bead.
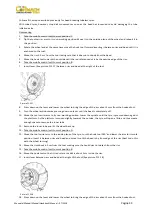
5.
Rotate
the
wheel
and
at
the
same
time,
advance
the
bead
‐
breaker
plate
with
small
forward
movements
following
the
profile
of
the
rim,
with
the
plate.
6.
Continue
until
the
first
bead
is
fully
detached.
B
A
Содержание FT 26S
Страница 2: ......
Страница 6: ......
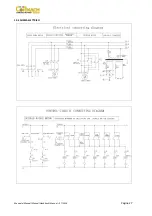
Страница 33: ...Manuale Manual Manuel Handbuch Manual 07 2014 Pagina 27 19 SCHEMA ELETTRICO...
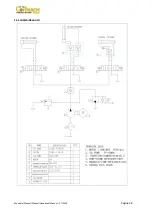
Страница 34: ...Manuale Manual Manuel Handbuch Manual 07 2014 Pagina 28 20 SCHEMA IDRAULICO...
Страница 35: ...Manuale Manual Manuel Handbuch Manual 07 2014 Pagina 29...
Страница 61: ...Manuale Manual Manuel Handbuch Manual 07 2014 Pagina 55 19 ELECTRICAL DIAGRAM...
Страница 62: ...Manuale Manual Manuel Handbuch Manual 07 2014 Pagina 56 20 HYDRAULIC DIAGRAM...
Страница 63: ...Manuale Manual Manuel Handbuch Manual 07 2014 Pagina 57...
Страница 89: ...Manuale Manual Manuel Handbuch Manual 07 2014 Pagina 83 19 SCHEMA ELECTRIQUE...
Страница 90: ...Manuale Manual Manuel Handbuch Manual 07 2014 Pagina 84 20 SCHEMA HYDRAULIQUE...

