background image

9

8.3 Taking an Image

The 

G2

 allows you to easily take digital image shots.  This section shows you how to take images with your 

G2

.

Images stored on your SMC card or the interal memory are an apporoximate calculation depending on the content of the 

image which may vary the image file size.

To take digital image shots with your 

G2

, make sure that there is enough battery power or that your 

G2

 is connected to your 

computer via the USB cable.  If you want to use a SmartMedia™ memory card to store your images, insert the memory card 

before you start taking images.

 Important Notes:

Prior to taking images, make sure that 

G2

 is not in Feature Setting Mode, as described in the previous section.  Your 

G2

 will automatically exit 

from Feature Setting Mode 10 seconds after the last button press.

1.  Turn your 

G2

 on by pressing the Power Button.  The Ready LED will lights up.

2.  Select the resolution you want for the image. You may require auto flash to be set.

3.  Using the Viewfinder, focus on the object you want to capture.

4.  Hold still and press the Shutter Button to take the image.

5.  Wait for 

G2

 to beep.  This will confirm your image has been taken.

 Important Notes:

To take a still image, press the Shutter Button.  Since there may be a momentary delay between pressing the button and the actual exposure, 

with 

 (Busy) flashing on the icon, hold your 

G2

 steady until a “beep” is issued which indicates that the exposure is completed. 

When the 

 (busy) on the LCD returns to image counter, you can take the next image. (The LED always remains On while 

your 

G2

 is on.)

8.4 Taking a Movie Clip

You can record movie clips in .MOV format by using your 

G2

.  This section shows you how to record a movie clip.

In Movie Mode, 

G2

 captures QuickTime motion movie clips at 160 x 120 resolution.  These video clips are stored as .MOV files, 

which can be subsequently viewed on a computer using QuickTime or other .MOV compatible applications.

1.  Turn your 

G2

 on by pressing the Power Button.  The Ready LED will lights up.

2.  Select your 

G2

 to Movie Mode. 

3.  Press and hold the Shutter Button to start recording a movie clip for as long as the button is held down, and up to a 

maximum of 9 seconds.  

G2

 will beep twice at the start of the capture of movie clip and once more at the end of the 

capture of the movie clip. 

 Important Notes:

If 

G2

 does not have sufficient memory space available to capture a movie, 

G2

 will have no response when Shutter Button is pressed, or 

G2

 will 

exit the movie mode if memory is full during movie taking.  You will need to either delete images from the 

G2

 to open up free space or you will 

be limited to capturing still images.

4.  If the 

G2

 has not sufficient memory space to capture a movie clip, the Movie icon will automatically 

turn off, and will revert to the Normal setting for taking still images.

8.5 Erasing Contents from Your 

G2

When both the 

G2

’s internal memory and the inserted SmartMedia™ card are full, it is time for you to 

erase some or all of their contents to free up storage space.  Before you erase anything, make sure that 

you transfer the contents first to your computer if you still want to use them.

When the Delete All Feature Mode is entered, the Delete All 

 icon will be on.  Holding down the Feature Change Button 

for at least one second while the Delete All icon is on will delete all of the stored images.  Your 

G2

 will beep to confirm that 

images are being deleted, and the Delete All icon will blink.  The 

G2

 will display a 

 (busy) message on the LCD display 

while the deletion is occurring. 

9. Connecting your 

G2

 to Your Computer

Always switch 

G2

 on before connecting via the USB cable to your computer.

The USB cable allows you to upload images from the 

G2

 to your PC or Mac.  One end of the cable connects to the USB port 

on the side of the 

G2

 and the other end connects to your PC’s or Mac’s USB port.  When your 

G2

 is connected to your PC or 

Mac, it will draw power from the PC in order to preserve your battery life.

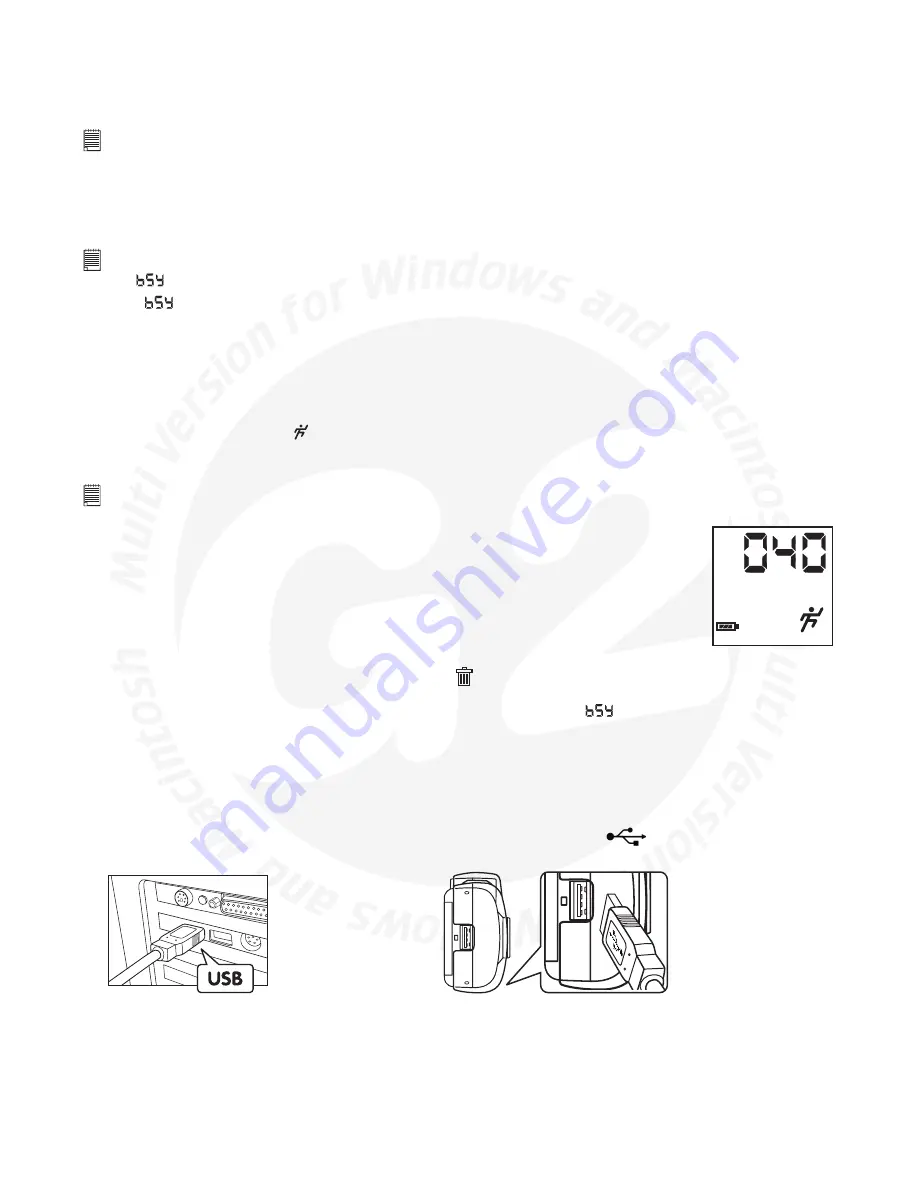
The USB port can be found on the front or back panel of your PC or Mac. Look for this 

 symbol next to the connection 

port. (Also see your PC or Mac operating manual for the location of your USB connection port.)

USB Series “A” Plug
Connects to your PC or Mac

USB Series “A” Plug
Connects to your 

G2

When you first connect your 

G2

 to your PC, a message appears on screen saying “New Hardware Found” and “Building Driver Information Database”.  

After this, you can start to upload images!

Содержание CIC-280

Страница 1: ...ns OS 8 6 9 2 You can also use your G2 to capture not only snaps of your family and friends but also video clips of them in action Your digital images and video clips can also be played back on your T...

Страница 2: ...our Computer 9 10 Uploading Images to Your Computer 10 For Windows Users PC 10 1 Uploading Images and Movie Clips to your Computer 10 For Macintosh Users MAC 10 2 Uploading Images and Movie Clips to y...

Страница 3: ...between 50hz 60hz lighting frequency settings Refer to the note below and the troubleshooting guide 6 Click OK to restart your computer and wait for your PC to restart automatically Notes If the setu...

Страница 4: ...on the tick boxes next to the software title Click Next to continue 7 Follow the instructions presented on the screen to complete the installation Notes Don t worry if you made a mistake and want to a...

Страница 5: ...ft Software MAC 5 7 1 How to Install PhotoStudio 4 0 1 Insert the CD ROM disc into the CD ROM drive and close the CD ROM drawer 2 Double click the CD ROM icon Digital Camera 3 Double click the PhotoSt...

Страница 6: ...W 2X Battery Indicator Delete All TV Mode Movie Auto Flash On Self Timer No of images remaining LCD Messages details will be available under separate sections 2X digital Low Resolution Normal Resoluti...

Страница 7: ...martMedia Resolution 16MB 32MB 64MB FINE NORMAL ECONOMY 2X 80 160 320 1066 2134 2134 267 533 533 1067 1067 533 7 3 2 Volatile Non Volatile Memory Your G2 comes fixed with 8MB SDRam of memory see notes...

Страница 8: ...LOW and 2X settings are all used for capturing still images The icon setting is used for captur ing QuickTime motion movie clips 2X HIGH NORMAL LOW NTSC Resolution Digital Zoom Normal High JEPG 70 Low...

Страница 9: ...button is held down and up to a maximum of 9 seconds G2 will beep twice at the start of the capture of movie clip and once more at the end of the capture of the movie clip Important Notes If G2 does n...

Страница 10: ...Users MAC 10 2 Uploading Image s and Movie Clip s to Your Computer Always switch G2 on before connecting via the USB cable to your computer 1 Make sure your G2 is securely connected to your Mac 2 Sel...

Страница 11: ...he G2 to a VCR or TV the Main Menu will be displayed on the TV screen Review Mode When your G2 is connected to a TV set all the images in the memory can be reviewed When main menu is displayed on the...

Страница 12: ...which is normally displayed momentarily during taking an image or delete images from your G2 Flash Off no icon Auto Flash On icon displayed Pressing Shutter Button will cause 12 seconds delay before...

Страница 13: ...ate to select the template and then press OK to confirm Important Make sure the Digital Camera CD ROM is in the CD ROM Drive 9 Go to Get Photo and then click the Live Video Mode icon and the Live icon...

Страница 14: ...the computer via the USB cable Click on the capture icon Step 7 And press the record icon Wait for the video link to go live and now you re recording press the ESC key on your keyboard to end the vid...

Страница 15: ...es folder Highlight the wanted movie clip and select Open For Macintosh Users MAC 11 8 How to use PhotoStudio 4 0 1 Select the PhotoStudio 4 0 software You can now start to download your stored images...

Страница 16: ...ght hand corner to access the Help Topics Visit http www arcsoft com for all your FAQ s tips and technical support See Section 12 for more details 11 12 How to use Adobe Acrobat Reader 1 Adobe Acrobat...

Страница 17: ...Fax 8610 6849 1367 E mail latinsupport arcsoft com E mail china arcsoft com For Oceania For Europe Middle East Africa Rest of the World ArcSoft Australian Support Center ArcSoft Europe Support Center...

Страница 18: ...have taken do not appear on the G2 The Red LED is on but not working although I switched on my G2 My G2 LCD displays Check all cables connections are secured Always wait for the message to revert bac...

Страница 19: ...here is insufficient power to upload images to your computer I receive an error message when I am installing Digital Camera Driver All the images I have taken do not appear on the G2 The Green LED is...

Страница 20: ...rom the camera before being charged if removable Rechargeable batteries are only to be charged under adult supervision if removable Different types of batteries or new and used batteries are not to be...

Страница 21: ...omputer via video capture software File Formats For Windows Users Still Image compression in JPG format Video MOV format For Macintosh Users Still Image compression in JPG format Video MOV format Self...

Страница 22: ...frequency energy and if not installed and used in accordance with the instructions may cause harmful interference to radio communications However there is no guarantee that interference will not occu...

Страница 23: ...FM Teletext Germany Prev East B G SECAM PAL Gibraltar B PAL Greece B H SECAM Hong Kong I Pal Nicam Hungary B G D K PAL was SECAM Nicam Budapest only Iceland B PAL India B PAL Indonesia B PAL Iran H SE...

Страница 24: ...es B G PAL United Kingdom I PAL Nicam Teletext Uruguay N PAL MTS USA M NTSC MTS CC Venezuela M NTSC Yugoslavia B H PAL Zimbabwe B PAL SECAM 625 Advantages Stable Hues and Constant Saturation SECAM sha...

Отзывы: