4
5.2 How to Install ArcSoft® Software
Introduction to the Software
PC
PhotoStudio® 2000
PhotoStudio® 2000 is a full-featured, easy-to-use digital image-editing program that provides a complete set of photo
editing and retouching tools, plus a wide selection of special effects and enhancements. Its powerful features include a
wide variety of input and output options, layers, multiple undo and redo functions, image management tools, editable text,
multiple le format support and a lot more.
ArcSoft PhotoFantasy™ 2000
ArcSoft PhotoFantasy™ is an image entertainment application that enables users to create “photo fantasies” by combining
their personal photos with a wide variety of fantasy backgrounds. Users can get their own images from digital cameras,
scanners, disk drives and Photo CDs, and seamlessly combine them with just a few clicks of the mouse. The fantasy
backgrounds include ctional characters, classic works of art, Olympic heroes, 50’s funnies, bathing beauties, muscle men
and a lot more.
ArcSoft PhotoPrinter® 2000
ArcSoft PhotoPrinter® is an easy-to-use printing utility that enables the user to layout and print multiple images in different
sizes quickly and easily on a single sheet of paper. The program offers a large selection of printing templates, including
Kodak Digital Science Inkjet Photo Paper Templates and Avery-brand paper products. It also includes commonly used
image-editing tools and a wide selection of templates for frames, edges and backgrounds for enhancing images.
ArcSoft VideoImpression™ 1.6
ArcSoft VideoImpression™ is an easy-to-use video and image editing software program.
The program enables users to create and edit new videos using existing video and image
les - making desktop video presentations for home, business, and the Web.
Visit http://www.arcsoft.com for all your FAQ’s, tips and technical support see Section
12 for more details.
5.2.1 How to Install ArcSoft® Software
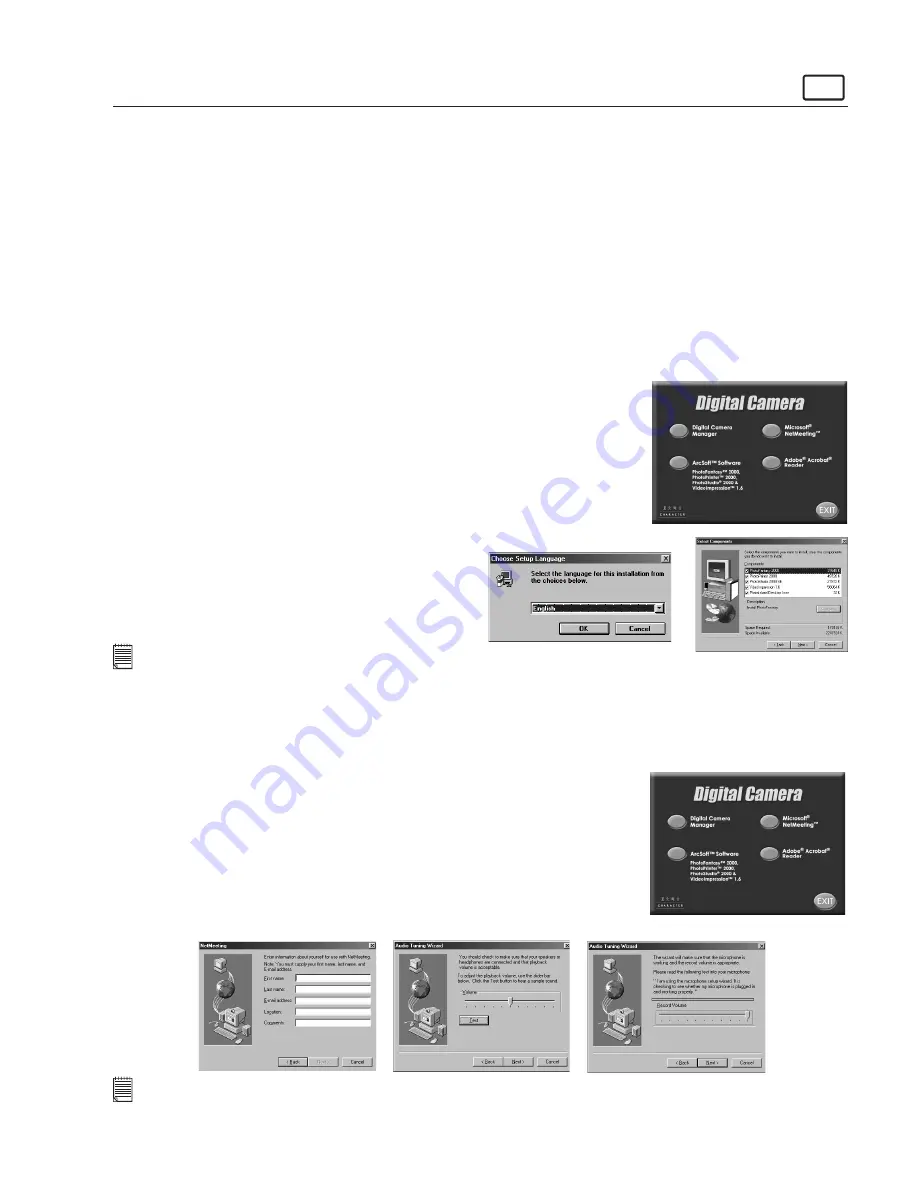
1. Re-insert the CD-ROM disc into the CD-ROM drive and close the CD-ROM drawer.
2. An installation wizard will automatically launch.
3. Click the “ArcSoft® Software” icon.
4. Select the language for the installation and click “OK”.
5. Follow the on-screen prompts.
6. Select the software you want or you do not want installed
by clicking on the tick boxes next to the software title.
Click “Next >” to continue.
7. Follow the instructions presented on the screen to complete
the installation.
Notes:
Don’t worry if you made a mistake and want to add in ArcSoft® titles you did not tick. Reinsert the CD-ROM and follow steps 1 - 6 ticking
only the software you want to add.
5.3 How to install Microsoft® NetMeeting™
NetMeeting™ provides the most complete conferencing solution for the Internet and corporate intranet. Powerful features
let you communicate with both audio and video, collaborate on virtually any Windows-based application, exchange graphics
on an electronic whiteboard, transfer les, use the text-based chat program, and much more. Using your PC and the
Internet, you can now hold face-to-face conversations with friends and family around the world.
To install the Microsoft® NetMeeting™:
1. Insert the CD-ROM disc into the CD-ROM drive and close the CD- ROM drawer.
2. An installation wizard will automatically launch.
3. Click the “Microsoft® NetMeeting™” icon.
4. Follow the instructions presented on the screen to complete the installation.
5. You will have a choice during installation to place a desktop icon on your desktop for
easy access directly to the software.
6. For further installation details, please visit the following website:
http://www.microsoft.com/windows/netmeeting
Notes:
• You need to enter your name, your e-mail address and country details during installation.
• You need to adjust the playback volume and your record volume.


