9
8.4 Self-Timer Mode
To use the self-timer feature, press the Mode Button until
appears in the LCD then press the Shutter Button to start a
9 second self-timer.
Stylus 1000
will issue a short beep every second and then a long beep just prior to a further short
beep which indicates that the image has been successfully taken.
Important Notes:
The Self-Timer Mode cannot be selected when the
Stylus 1000
is full.
8.5 Clearing the Stored Images/Movie Clips
When you wish to clear the memory of your
Stylus 1000
, press the Mode Button until
appears on the LCD. Pressing
the Shutter Button once will cause the
Stylus 1000
to beep. Pressing the Shutter Button again within 5 seconds will clear
all the images/movie clips stored and reset the image counter.
Important Notes:
All images will be lost when the memory is cleared. Please make sure you upload your wanted images before clearing your
Stylus 1000
’s
memory.
8.6 Changing the Image Resolution
Image resolution can be changed whenever you need.
1. Cycle through the Mode options by pressing the Mode Button.
2. Press the Shutter Button once to change to the alternative resolution.
For Example:
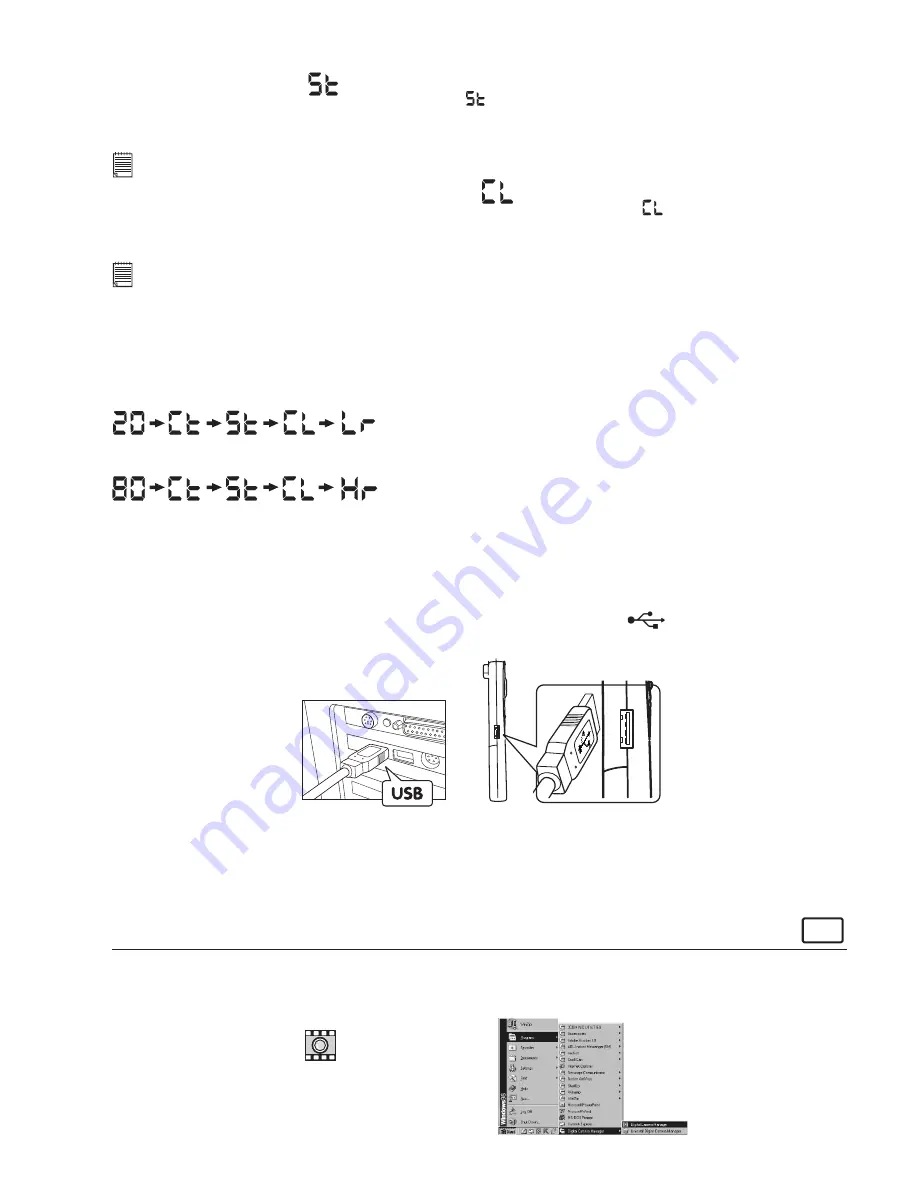
Changing from High Resolution Mode to Low Resolution Mode:-
Press the Shutter Button to Conrm
(Available Images)
Changing from Low Resolution Mode to High Resolution Mode:-
Press the Shutter Button to Conrm
(Available Images)
9. Connecting your
Stylus 1000
to Your Computer
The USB cable allows you to upload images from the
Stylus 1000
to your PC or Mac. One end of the cable connects to the
USB port on the side of the
Stylus 1000
and the other end connects to your PC’s or Mac’s USB port. When your
Stylus
1000
is connected to your PC or Mac, it will draw power from the PC in order to preserve your battery life.
The USB port can be found on the front or back panel of your PC or Mac. Look for this
symbol next to the connection
port. (Also see your PC or Mac operating manual for the location of your USB connection port.)
USB Series “A” Plug Connects
to your computer
USB Series “A” Plug Connects
to your
Stylus 1000
When you rst connect your
Stylus 1000
to your PC, a message appears on screen saying “New Hardware Found” and
“Building Driver Information Database”. After this, you can start to upload images!
10. Uploading Images to Your Computer
For Windows® Users:
PC
10.1 Running the Digital Camera Manager
• Select the
Digital Camera Manager
icon from the
Digital Camera Manager
program group on the Windows Start Menu
or double-click the
Digital Camera Manager
short-cut icon on the desktop.
• You can now start to upload your images from your
Stylus 1000
by following the steps in Section 10.3:
Digital Camera Manager
short-cut icon
on desktop


