15
11.6 How to use Adobe® Acrobat® Reader
Adobe® Acrobat® Reader enables you to view document in.pdf format
For more details go to www.adobe.com/acrobat
For Macintosh™ Users
MAC
11.7 How to use PhotoStudio® 2000
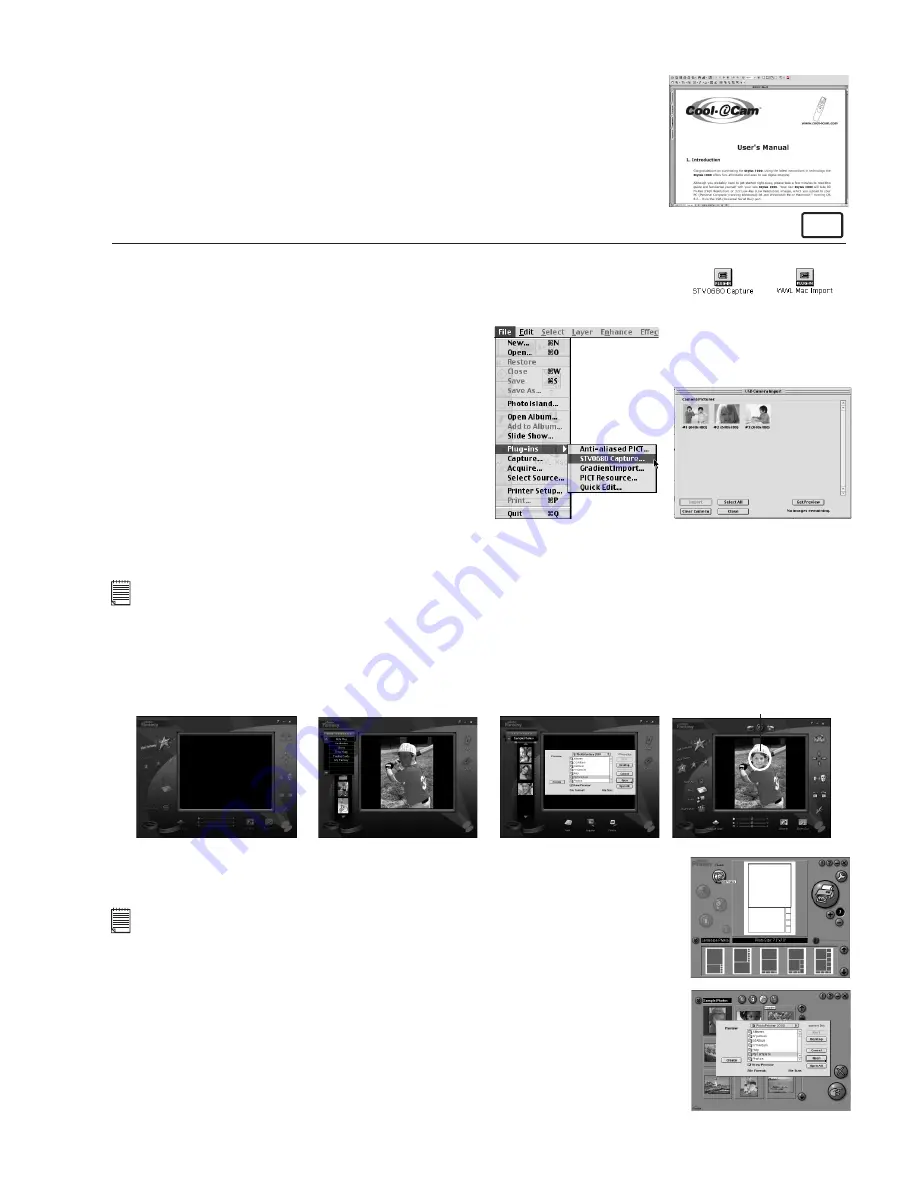
1. Before you use PhotoStudio® 2000, make sure the “STV0680 Capture”/”WWL Mac Import”
is placed in the Plug-ins folder in the PhotoStudio folder.
2. Double click the “PhotoStudio®” icon from the PhotoStudio®.
You can now start to download your stored images from your
Stylus 1000
by the
following steps:
3. Go to “File” and then select “STV0680 Capture”/”USB
Camera Import”. The capture interface will show up.
• To capture 1 image, select the wanted image and click
“Import”. Click “Close” to leave the capture interface.
• To capture all images, click “Select All” and then click
“Import”. Click “Close” to leave the capture interface.
You can now edit your image(s) with PhotoStudio’s
features.
4. For further help on how to use ArcSoft™ PhotoStudio®
2000, go to “Help” to access the Help Topics.
Visit http://www.arcsoft.com for all your FAQ’s, tips and
technical support. See Section 13 for more details.
11.8 How to use ArcSoft PhotoFantasy™ 2000
1. Double click the “PhotoFantasy™” icon from the PhotoFantasy™.
2. Click “Get Fantasy” to select the template in the existing library and then click “OK” to conrm.
Important!
Make sure the “Digitial Camera” CD-ROM is in the CD-ROM Drive.
3. Double click on “Get Photo 1” and click “Add”. Find the image you want which you have already saved in your hard disk
and click “Open”. The selected images will be shown on the left hand side. Click “OK”.
4. The selected image will shown within the “mask” on the selected template. You can resize, rotate or reposition the
image by using the function icons show in the right hand side or reposition the image using your mouse and dragging
the image.
5. For further help on how to use ArcSoft PhotoFantasy™ 2000, go to “?” at the top right hand corner to access the Help
Topics.
Visit http://www.arcsoft.com for all your FAQ’s, tips and technical support. See Section 13 for more details.
11.9 How to use ArcSoft PhotoPrinter® 2000
1. Double click the “PhotoPrinter®” icon from the PhotoPrinter™.
Important!
Make sure the “Digitial Camera” CD-ROM is in the CD-ROM Drive.
2. Choose the “Page Layout”. The selected page layout will on shown on the right panel.
3. Click “Get Photo” and then “add photo”. Find the image you want which you have
already saved in your hard disk and click “Open”.
4. The selected images will be shown on the photo library panel. Select the image you want
and click “OK”.
5. The selected image will be shown on the chosen template. Click “Print” when nish
placing the images.
6. For further help on how to use ArcSoft PhotoPrinter™ 2000, click the “?” on the top
right hand corner to access the Help Topics.
Visit http://www.arcsoft.com for all your FAQ’s, tips and technical support. See Section
13 for more details.
Import le
with enhancement
Import le
without enhancement
“Mask”


