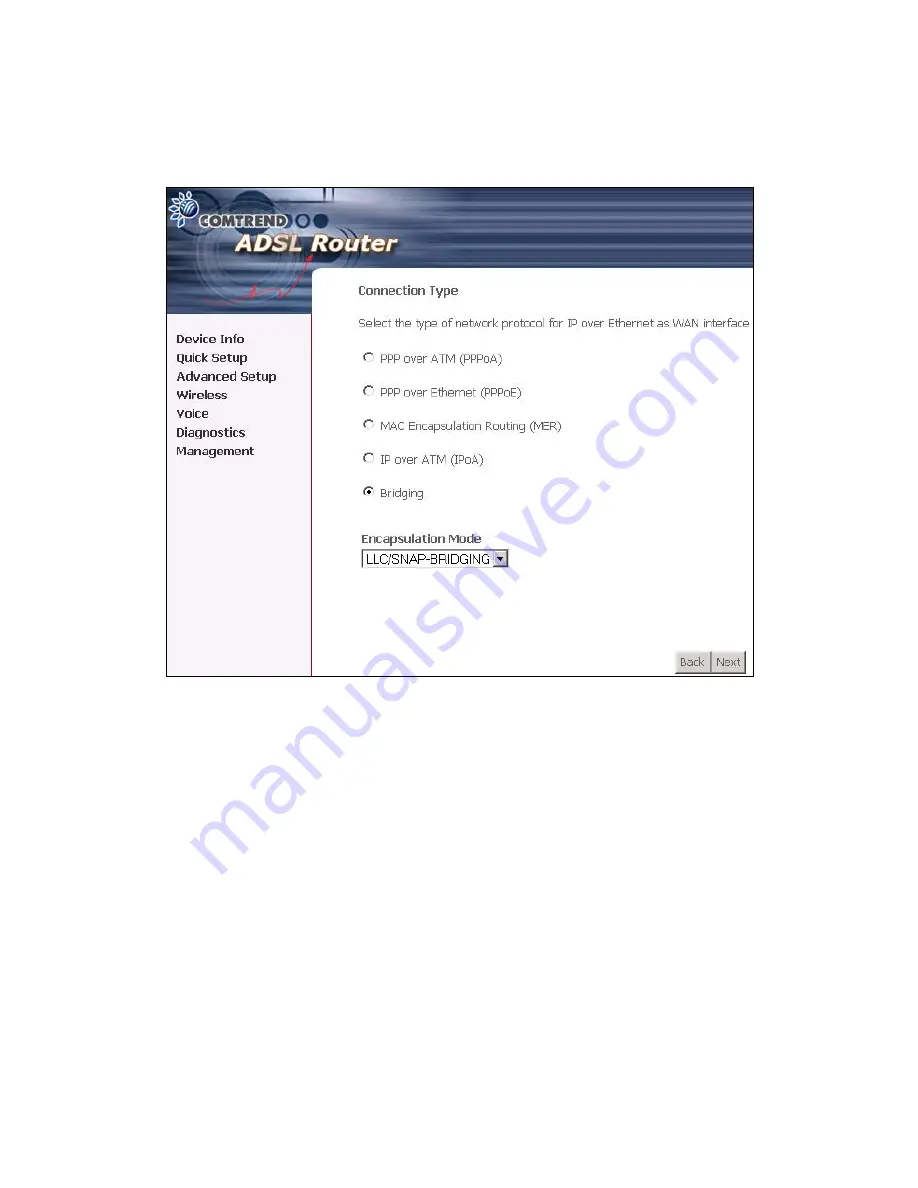
STEP 3:
Then, choose the Encapsulation mode.
STEP 4:
Click
Next
to display the following screen. Choosing different connection
types pops up different settings requests. Enter appropriate settings that
are requested by your service provider. The following descriptions state
each connection type setup separately.
38
Содержание CT-6382D
Страница 1: ...CT 6382D Wireless ADSL2 2 VoIP IAD User s Manual Version A1 0 December 22 2006 261078 001...
Страница 7: ...1 2 Application The following diagram depicts the application of the CT 6382D 6...
Страница 18: ...STEP 9 Click the Finish button when the screen displays as below STEP 10 Installation is complete 17...
Страница 24: ...23...
Страница 34: ...4 2 6 ARP Click ARP to display the ARP information 33...
Страница 35: ...4 2 7 DHCP Click DHCP to display the DHCP Leases information 34...
Страница 56: ...This screenshot is for Bridged encapsulation 55...
Страница 86: ...85...
Страница 109: ...8 2 DECT Please refer to pages 8 and 9 for details 108...
Страница 131: ...Step 6 Select driver file directory on CD ROM and click OK 130...
Страница 132: ...Step 7 Once the printer name appears click OK Step 8 Choose Yes or No for default printer setting and click Next 131...


