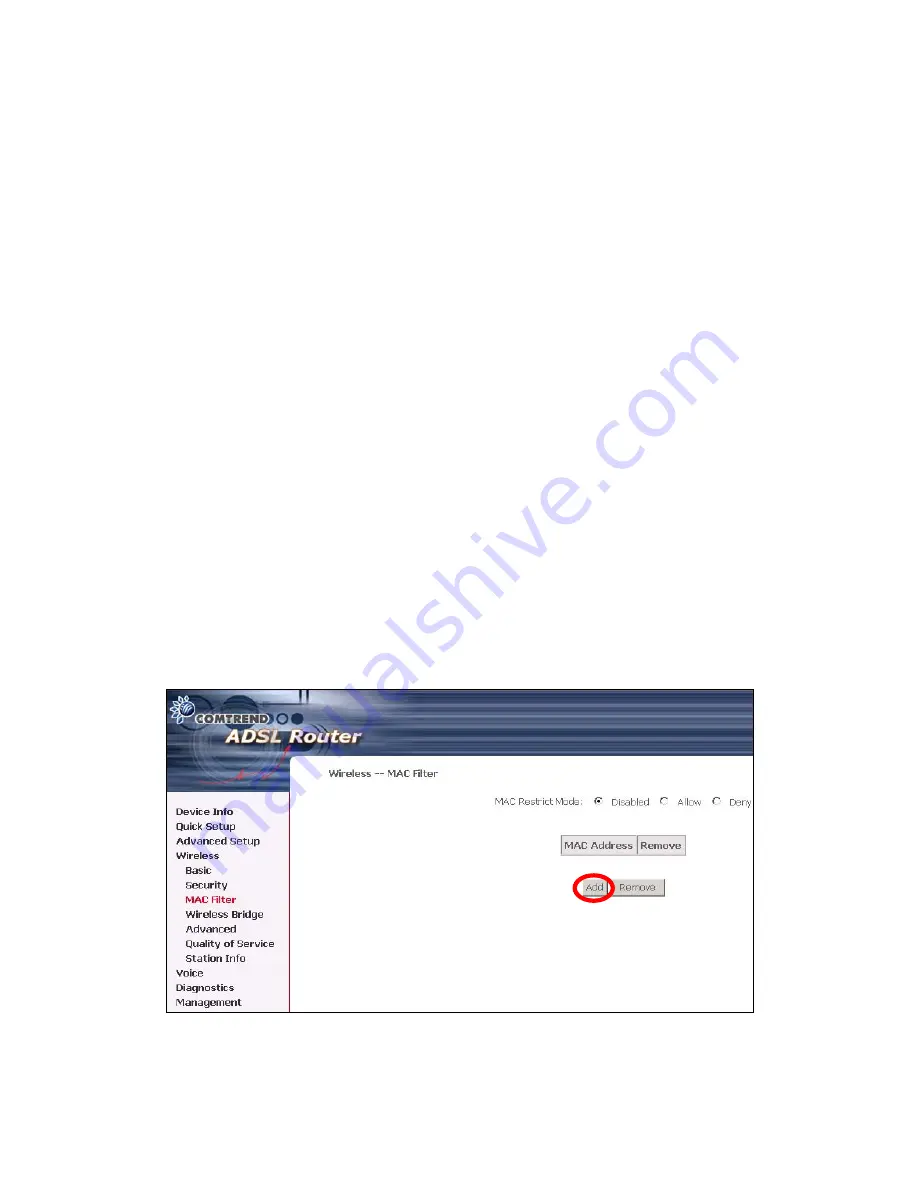
7.1.2 MAC
Filter
This MAC Filter page allows access to be restricted/allowed based on a MAC address.
All NICs have a unique 48-bit MAC address burned into the ROM chip on the card.
When MAC address filtering is enabled, you are restricting the NICs that are allowed
to connect to your access point. Therefore, an access point will grant access to any
computer that is using a NIC whose MAC address is on its “allows” list.
Wi-Fi IAD’s and access points that support MAC filtering let you specify a list of MAC
addresses that may connect to the access point, and thus dictate what devices are
authorized to access the wireless network. When a device is using MAC filtering,
any address not explicitly defined will be denied access.
MAC Restrict mode:
Off
- disables MAC filtering;
Allow
–
permits
access
for the
specified MAC address; deny; reject access of the specified MAC address, then click
the
SET
button.
To delete an entry
,
select the entry at the bottom of the screen and then click the
Remove
button, located on the right hand side of the screen.
To add a MAC entry, click
Add
and enter MAC address
After choosing the Add button, the following screen appears. Enter the MAC
address and click
Apply
to add the MAC address to the wireless MAC address filters.
92
Содержание CT-6382D
Страница 1: ...CT 6382D Wireless ADSL2 2 VoIP IAD User s Manual Version A1 0 December 22 2006 261078 001...
Страница 7: ...1 2 Application The following diagram depicts the application of the CT 6382D 6...
Страница 18: ...STEP 9 Click the Finish button when the screen displays as below STEP 10 Installation is complete 17...
Страница 24: ...23...
Страница 34: ...4 2 6 ARP Click ARP to display the ARP information 33...
Страница 35: ...4 2 7 DHCP Click DHCP to display the DHCP Leases information 34...
Страница 56: ...This screenshot is for Bridged encapsulation 55...
Страница 86: ...85...
Страница 109: ...8 2 DECT Please refer to pages 8 and 9 for details 108...
Страница 131: ...Step 6 Select driver file directory on CD ROM and click OK 130...
Страница 132: ...Step 7 Once the printer name appears click OK Step 8 Choose Yes or No for default printer setting and click Next 131...


