


67
Chapter 6 Wireless
The Wireless menu provides access to the wireless options discussed below.
6.1 Basic
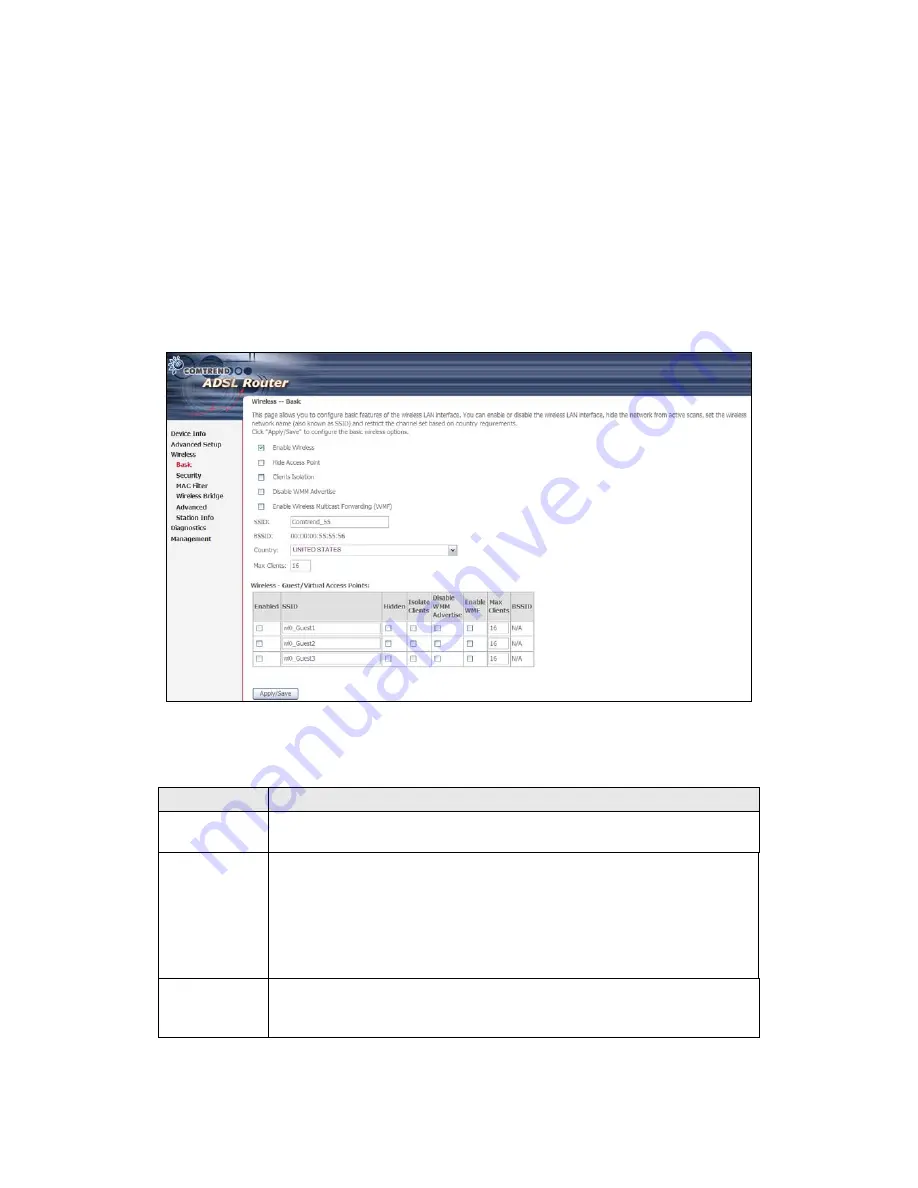
The Basic option allows you to configure basic features of the wireless LAN interface.
Among other things, you can enable or disable the wireless LAN interface, hide the
network from active scans, set the wireless network name (also known as SSID)
and restrict the channel set based on country requirements.
Click
Save/Apply
to apply the selected wireless options.
Consult the table below for descriptions of these options.
Option
Description
Enable
Wireless
A checkbox
that enables or disables the wireless LAN interface.
When selected, a set of basic wireless options will appear.
Hide Access
Point
Select Hide Access Point to protect the access point from detection
by wireless active scans. To check AP status in Windows XP, open
Network Connections
from the
start
Menu and select
View
Available Network Connections
. If the access point is hidden, it
will not be listed there. To connect a client to a hidden access point,
the station must add the access point manually to its wireless
configuration.
Clients
Isolation
When enabled, it prevents client PCs from seeing one another in My
Network Places or Network Neighborhood. Also, prevents one
wireless client communicating with another wireless client.
Содержание AR-5382u
Страница 1: ...AR 5382u ADSL2 WLAN Router User Manual Version A1 0 June 11 2010 261056 049...
Страница 7: ...6 1 2 Application The following diagrams depict typical applications of the AR 5382u...
Страница 8: ...7 Chapter 2 Installation 2 1 Hardware Setup BASE STAND ATTACHMENT...
Страница 17: ...16 STEP 3 After successfully logging in for the first time you will reach this screen...
Страница 23: ...22 4 2 4 xDSL Statistics The xDSL Statistics screen displays information corresponding to the xDSL type...
Страница 56: ...55 5 11 UPnP Select the checkbox provided and click Apply Save to enable UPnP protocol...
Страница 57: ...56 5 12 DNS Proxy...
Страница 106: ...105 STEP 9 Choose Yes or No for default printer setting and click Next STEP 10 Click Finish...
Страница 107: ...106 STEP 11 Check the status of printer from Windows Control Panel printer window Status should show as Ready...


