10
Caution!
Keep all objects clear of the drive roller when you press the
FEED
button.
4.
Confirm that the label taken sensor is unobstructed. Clean away
any obstruction with a soft brush if necessary.
5.
Load media as required, or if there is already media in the printer,
lower and lock the printhead and press the
FEED
button once.
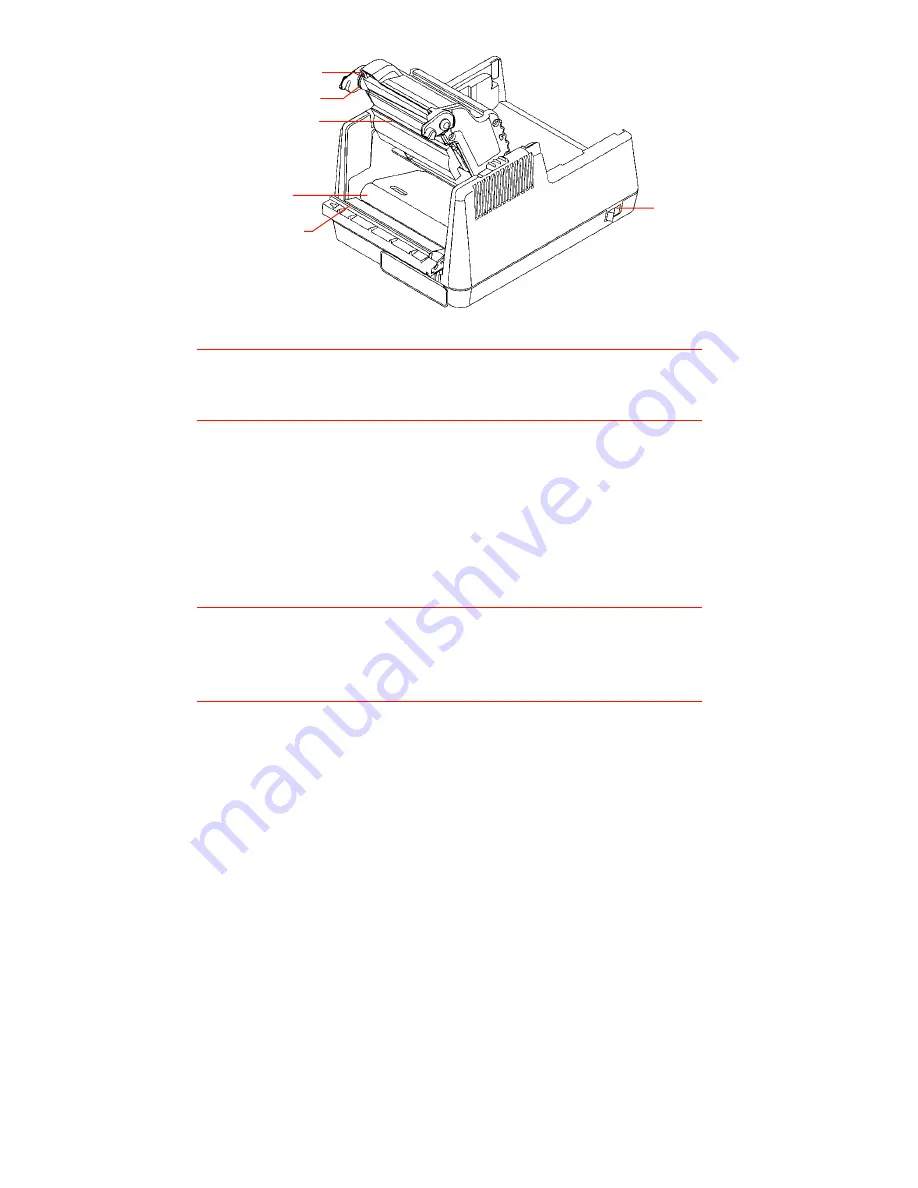
Cleaning the cutter
WARNING!
Don’t clean the cutter with the printhead down. Turn the
printer
OFF
and raise the printhead first.
Never
push objects
into the front of the printer while the printhead is down.
Clean the cutter with 98% to 99% pure isopropyl or denatured alcohol
and cotton tipped swabs as follows:
1.
Confirm that the printer is turned
OFF
, then open the media cover.
2.
Press the two printhead releases toward the rear of the printer to
unlock the printhead. Lift the printhead until it is fully raised.
3.
Remove any installed label media.
4.
Using a cotton swab moistened with alcohol, clean all dirt and
label residue from the cutter bar and the cutter rotary blade.
5.
Check the paper path for label debris or obstructions. Clean the
paper path as required.
6.
Reinstall the label media.
7.
Lower the printhead and press it down until it locks closed.
Figure 5. Printer open for cleaning
Label taken sensor
Cutter rotary blade
Printhead
Cutter bar
Drive roller
Power switch


