8
Preparation of a program scene:
For selected devices (the leds of selected devices are flashing on buttons 1-24), data of the channel modified at last of the
unit selected at last can be always seen. After letter F (Fixture) in the upper line number of the unit selected at last can be
seen. In the middle the number of the slider moved at last, the number of the edited program and the number of the program
scene being edited currently can be seen alternately. At the end of the line the current value of the channel can be read.
In the bottom line the name of the last channel modified and the type name belonging to the current value can be read.
Additional fixtures may be selected using the 1-24 buttons, the respective leds will flash, or the currently selelcted devices
can be deselected, the respective leds will be dimmed. Each channel of the selected units can be modified using sliders 1-16
and the SLIDER button. Using the SCROLL wheels, the mirror and the head movement of the selected units can be set. If you
have set a scene, press the ENTER button to save it. To add another scene press the SCENE button, otherwise you may exit
by pressing F5 (ESC). If you continue by adding another scene, in the LCD display the number of the program scene will
increase by one. Additional scenes can be created in a similar manner to that previously described. A program can consist of
a maximum of 99 steps.
Adding a shape into a program scene:
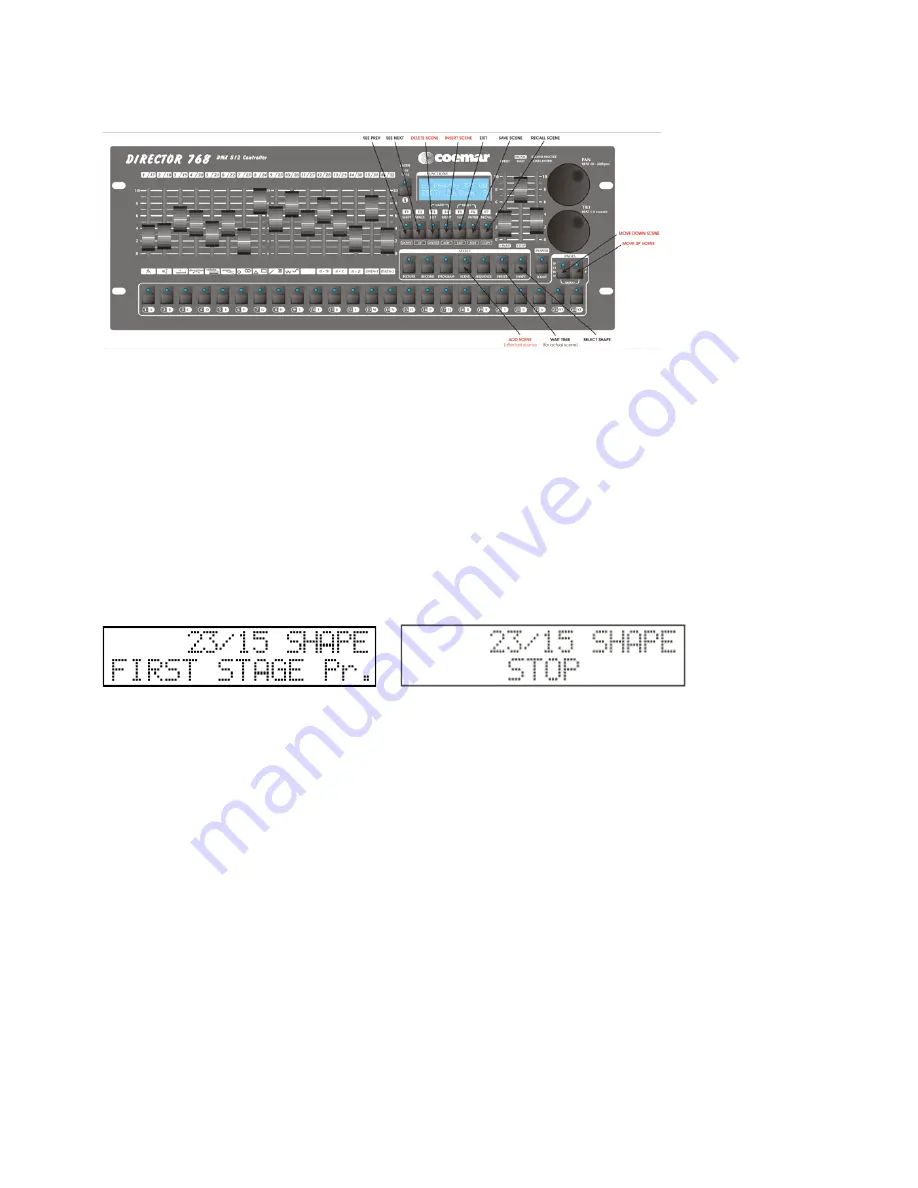
Any of the 72 shapes to be edited can be assigned to a program scene. To do this, press the SHAPE button.
The number of the edited program and scene can be shown in the middle of the upper line of the display. In the bottom line,
the name of the shape assigned to the current step, ‘Stop’, or ‘Without changes’ captions can be read. ‘Without changes’
means that no shape is assigned to the current step. The ‘Stop’ caption means that shape drawing will cease in the current
step. If there is a name in the bottom line, and one of the 1-24 leds is flashing, this means the number of the selected shape. A
shape can be selected using the 1-24 buttons. If you want the shape drawing to cease in the current step, press the F3 button.
If you do not want any change in the shape drawing to this point, press the F4 button. It is possible to set the initial position
of a shape as well and to save these positions in a scene. This means that the devices will add the initial positions for the
shape drawing from the previous program scene, and will start drawing in the next step. After selecting the shape (buttons 1-
24) press the button again for this to occur.
Press the SHAPE button again to return to scene editing.
Reviewing program scenes:
It is possible to review program scenes before prior to leaving program editing mode. You can move between program scenes
using the F1-F2 (UP-DOWN) buttons, and the current scene is selected by pressing the F7 (RECALL) button. This means
that it is also possible to copy a scene. Select the number of the scene to be copied, press the RECALL button and the scene
will be loaded. Use the UP-DOWN buttons to locate the scene where you wish to copy to, then press the ENTER button to
save the scene. If this completes your program, you may press the ESC button to leave this mode.


