6
Creating a new shape or modifying an existing one:
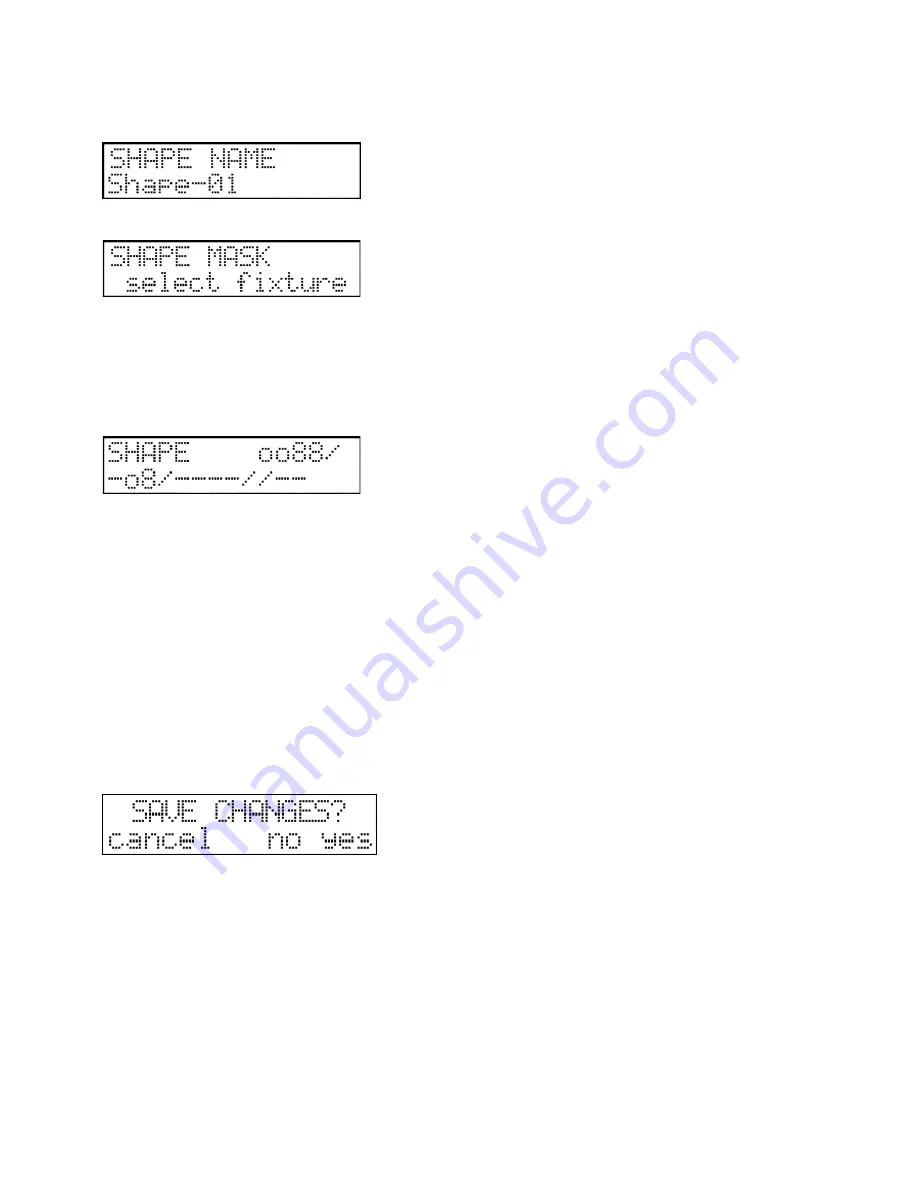
Select a shape, then push the F6 (ENTER) button:
Assign a name to the shape using the text keys, then press the ENTER.
Now it has to be set which units you would like to have a shape drawn by. The units can be masked in and out with 1-24
button. The current setup can be seen on the LED of 1-24 buttons. If the LED is flashing, than it is selected to the mask. The
masked units are open and the others are closed, so very easy to identify the masked units on the stage. For two seconds after
pushing the button the unit name can be read. If you push more than one button at same time than all the position will be
selected or deselected between the two pushed position!
After masking press the ENTER.
Now the masked units can be selected on buttons 1-24, and shapes can be assigned to them with FADER 7-10. You can have
altogether 8 different shapes drawn: round, octet, triangle, rectangle, straight line, ex, zigzag and sine.
Adjustable parameters of the shapes:
-
Centre: the centre of shape drawing of the selected units can be set with the jog wheels.
-
Width: width of the shape can be set with potentiometer 1 (0-255)
-
Height: height of the shape can be set with potentiometer 2 (0-255)
-
Speed: angular speed of the shape can be set with potentiometer 3 (0-255)
-
Direction: drawing direction of the shape can be affected with potentiometer 4 . (Forward - Backward)
-
Rotating: the shape can be rotated with potentiometer 5, in this way, for example, a laid octet can be drawn.
-
Initial angle: initial position of the shapes can be set with potentiometer 6, drawing will be started in this position.
Shape drawing can be stopped on a unit, it means that if a unit has been drawing a shape so far, and now such a shape is
starting, in which the shape drawing of this unit is set to stop, it finishes the unit drawing. It can be switched on with the F3
(DELETE) button.
The shape can be restarted with the F7 (RECALL) button.
If no modification has been made in the shape, then the controller returns to the shape selection by pushing the F5 (ESC)
button, if any modification has been made, the controller asks for the confirmation of saving the modification.
Shape deletion:
The shape can be deleted by pushing the F3 (DELETE) button in the shape selection. The controller asks for confirmation of
the deletion, and then it completes it after clicking on the F6 (ENTER) yes button.
Shape copy:
Events can be copy to free places. It can be necessary if you want to use more events which have only a little differences. In
this case you have to make the first event, then you have to copy it to free place, and then you have to modify it and ready.
First select the event which you like to copy, and press F7 (COPY) button. Its led will blinking and on the lower line of the
display you can read the copy text. Select a free event with 1-24 button where you ‘d like to copy the event. On the display
appear the info about source and destination places. If you press F5 (ESC) the controller step back without copy, but you
press F6 (ENTER) the controller will copy the event.


