


75
System Restoration
Use this function to restore some or all factory default settings. The NVR will restart automatically to
complete this operation. Recordings and operation logs will not be deleted.
1.
Click
Menu
>
Maintain
>
Restore
.
2.
Click
Default
to restore factory default settings except network and user settings, or click
Factory Default
to restore all factory default settings.
Automatic Maintenance
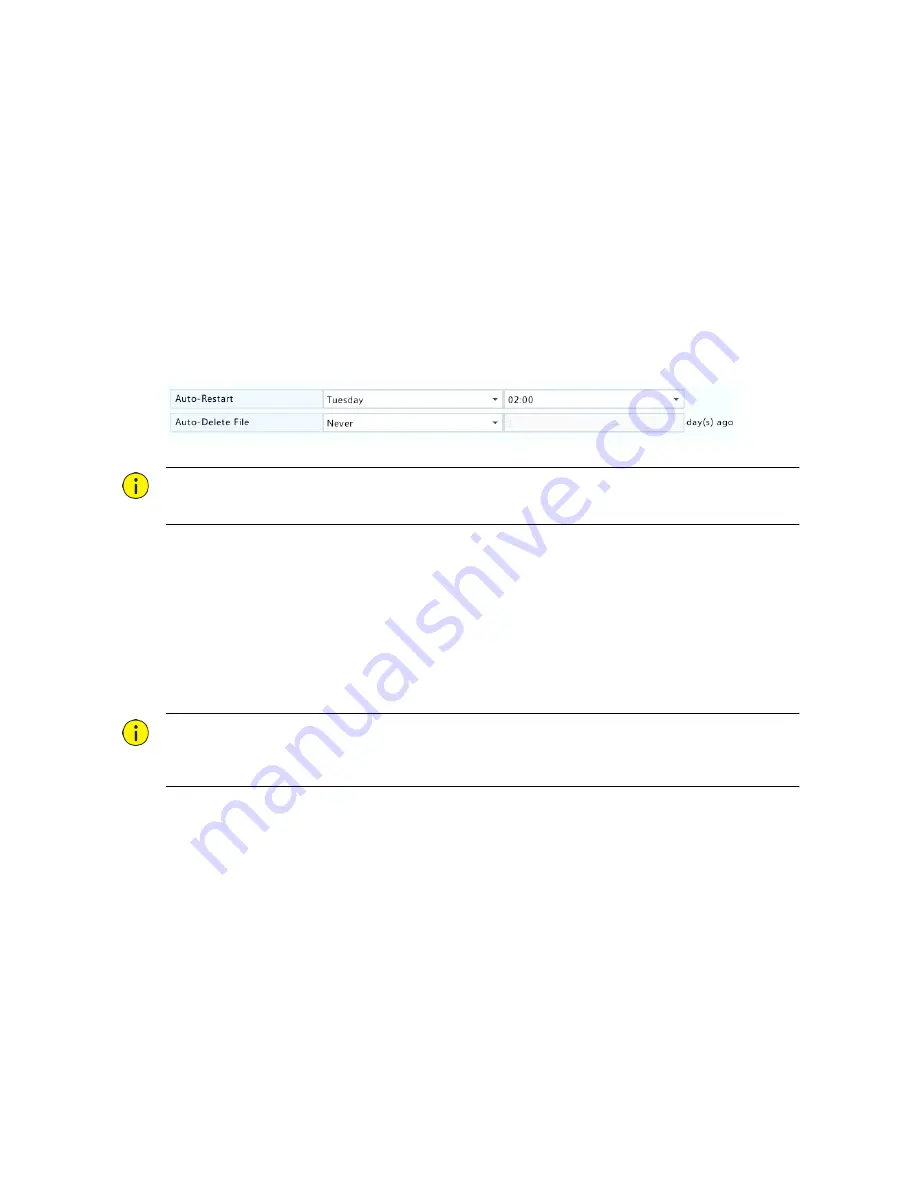
Set the NVR to restart as scheduled and delete files (including recordings and snapshots) as needed.
Only admin can perform this operation.
1.
Click
Menu
>
Maintain
>
Auto-Function
.
2.
Set an auto-restart time, and choose a way to delete files automatically.
CAUTION!
Files deleted automatically cannot be recovered.
System Upgrade
Upgrade the NVR under
Menu
>
Maintain
>
Upgrade
locally (using an upgrade file saved in a USB
storage device) or by cloud (through a cloud server).
To upgrade by cloud, ensure that the NVR is connected to a fully functional DNS server (configured
under
Menu
>
System
>
Network
>
Basic
), and click
Check
to see whether a newer version is
available. The time that a cloud upgrade takes is affected by network connection status.
CAUTION!
Make sure power is not interrupted during upgrade. A power failure during system upgrade may
cause startup failure. Use an Uninterrupted Power Supply (UPS) if necessary.
Hard Disk Detection
Test
S.M.A.R.T. checks the head, platter, motor, and circuit of hard disks to evaluate their health status.
Click
Menu
>
Maintain
>
HDD
>
S.M.A.R.T. Test
.


