background image

Apex Tool Group

P2544PM | 2021-02

21

3
EN

3.6.5

Resetting FastApp

 > 

 > 

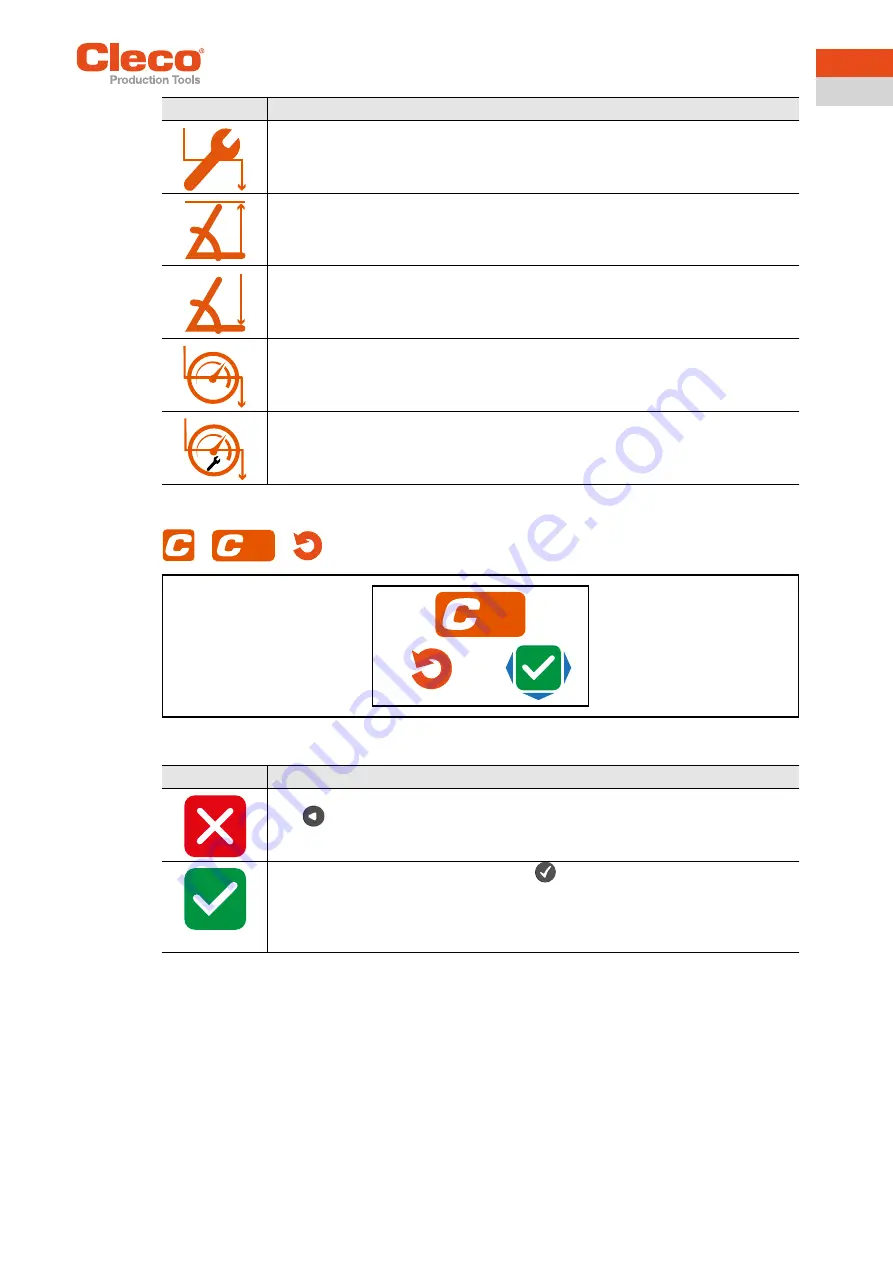
Fig. 3-11: Submenu – Resetting FastApps

Enter the threshold torque.

Enter the maximum angle.

Enter the minimum angle.

Enter the final speed.

Enter speed threshold.

As soon as the spped threshold is reached, the speed immediately changes from the 
start speed to the final speed up to the maximum torque.

Button

Description

Button

Description

Select this button to cancel the process. Leave the menu press and hold the 

 button.

Select this button and confirm with the 

 button to reset the settings of the 

FastApp.

All settings for the selected FastApp are deleted.

The FastApp is no longer parameterized and no parameter settings are dis-
played in the 

Configuring FastApps

 menu

1

1

Содержание CellTek S169263

Страница 1: ...CellTek For additional product information visit our website at www ClecoTools com Programming Manual P2544PM 2021 02 S169263 CTBA CTBP...

Страница 2: ...c mechanical optical or other media without the express permission of the Apex Tool Group Disclaimer Apex Tool Group reserves the right to modify supplement or improve this document or the product wit...

Страница 3: ...astApps menu 17 3 6 1 Configuring FastApps 18 3 6 2 Selecting the direction of rotation 19 3 6 3 Selecting the tightening strategy 20 3 6 4 Advanced settings 20 3 6 5 Resetting FastApp 21 3 7 Settings...

Страница 4: ...39 3 10 3 Disconnect Bluetooth connection 39 3 11 Utility 40 3 11 1 Displaying the software version 41 3 11 2 Software update 42 3 11 3 Deleting an archive 43 3 11 4 Resetting to factory settings 43 3...

Страница 5: ...ck Installation Guide Data Transmission CellTek Installation P1730PM Programming Manual Fastening Sequences P2381TS Troubleshooting EMS error messages P2280PM Programming Manual S168813 mPro400GC D mP...

Страница 6: ...ution indicates a hazard with a low level of risk which if not avoided could result in minor or moderate injuries or environmental damage Note A symbol combined with the word Note indicates a potentia...

Страница 7: ...firmation button has the following functions Open menu Confirm settings The changes are saved Activate parameter to change the value Fig 2 2 LCD and tool controls from CTBP Fig 2 3 LCD and tool contro...

Страница 8: ...used for parameterizing WLAN settings To connect the Micro B USB cable Button Functions Press to move the selection box to the right Press to increase a value Press to move the selection box to the le...

Страница 9: ...ressing a button in this manual this means the following 1 Use the arrow buttons to navigate to the desired button outlined in blue 2 Press the button 3 1 4 Changing parameters Enter the parameter by...

Страница 10: ...and a submenu as an example FastApps mode is activated mPro mode is activated A connection to the controller is necessary see document P2545KA MAC address Network name SSID Encryption Network key Use...

Страница 11: ...Apex Tool Group P2544PM 2021 02 11 3 EN 3 2 1 General presentation of the buttons Button Description Button is in color Function selectable Button highlighted in gray Function disabled...

Страница 12: ...44PM 2021 02 Apex Tool Group 3 EN 3 3 Menu structure overview 1 03 03 45 3Nm 620 OK 1 SW SW OS DBS DIS NM DBS GW DFS MAC 0s 3s DBS MAC 5V 123 Nm 123 inlb ftlb Bl Bl SW 2 SW S N S N BL HW BL HW BL BL O...

Страница 13: ...e than one FastApp the overall result of all the tightening positions is considered Example 2 3 Current tightening position 2 Total number of tightening positions 3 Number of repeats when a rework is...

Страница 14: ...tApps menu During tightening the LCD flashes yellow gray The speed for the counterclockwise rotation starts at 20 rpm and increases to 300 rpm or the maximum tool speed if this is lower than 300 rpm F...

Страница 15: ...work in offline mode has expired Reconnect the control and the tool The tool is locked until a new workpiece ID or barcode is scanned Scan barcode The tool is locked because there is no job for the n...

Страница 16: ...4PM 2021 02 Apex Tool Group 3 EN 3 5 Main menu Fig 3 5 Main menu Button Description FastApps menu The menu is used to parameterize FastApps Settings Diagnostics Communications Bluetooth communication...

Страница 17: ...to the new mode Display of the currently selected FastApp Up to ten FastApps can be programmed The number on the button indicates which FastApp is selected FastApp mit Drehmoment Abschaltung Die Zahl...

Страница 18: ...hed the tightening process is completed This setting option is the same as in the menu 3 6 4 Advanced settings page 20 Note If the shut off value is entered here in the Configuring FastApps menu then...

Страница 19: ...is added to torque angle shut off This block angle is used at the start of rundown to detect if screw is already tighten or thread screw damaged or crooked screwed in The angle counting starts after t...

Страница 20: ...htening sequence page 45 1 1 Button Description For a torque shutoff enter the shut off torque For an angle shutoff enter the shut off angle Once the value has been reached the tightening process is e...

Страница 21: ...e speed immediately changes from the start speed to the final speed up to the maximum torque Button Description Button Description Select this button to cancel the process Leave the menu press and hol...

Страница 22: ...roup 3 EN 3 7 Settings Fig 3 12 Menu Settings Button Description Display and set time and date Adjust screen brightness Adjust tool light Set shut off properties Select torque units PIN menu Lock menu...

Страница 23: ...arrow is displayed below the first digit This digit can be changed 2 Use the and buttons to increase decrease the numbers 3 Confirm with the button and aktivate the next digit 4 Repeat the procedure w...

Страница 24: ...ess Level 2 The LCD has medium illumination This is the default setting that is used when none of the buttons are selected outlined in green Brightness Level 3 The LCD is brightly lit Button Descripti...

Страница 25: ...reen are displayed in the selected units The selection is also used for the data export Fig 3 17 Submenu Selecting units Button Description Shutoff after idle mode Enter the time in minutes after whic...

Страница 26: ...d However changes can only be made after entering the required PIN Fig 3 18 Submenu PIN menu If only one PIN is defined then it applies to all the access levels PINs for higher access levels also appl...

Страница 27: ...to increase decrease the numbers between 0 and 9 Use the button to switch between four input fields 2 Confirm the PIN with the button If the menu is opened the pin is correct If the arrow jumps back t...

Страница 28: ...he new PIN The PIN must not be 0000 5 To save the PIN press The new PIN is activated and the menu is exited Deactivating a PIN For enter 0000 to deactivate a PIN 3 7 7 Locking a menu Fig 3 21 Submenu...

Страница 29: ...er Linking group FastApp from the run screen a PIN must be entered The functionality of the Start switch is not restricted Lock disabled Switching between all the parameterized Linking groups FastApps...

Страница 30: ...the tests keep the Start switch pressed Fig 3 24 Submenu Speed test Torque test Calibration value Voltage Counters status Tool constant If an accessory is used one of the buttons is displayed dependin...

Страница 31: ...ia are the torque and a monitoring time If the torque exceeds 15 of the calibration value even during the dwell time or if the monitoring time lasts four seconds then the test run is aborted with an T...

Страница 32: ...the entire test the torque is measured and displayed To start the tests keep the Start switch pressed Fig 3 26 Submenu Torque test 3 8 4 Calibration value Fig 3 27 Submenu Calibration value Symbol De...

Страница 33: ...rrent battery voltage For high operational capability this voltage is continuously monitored during the tight ening process If the voltage drops below the undervoltage a warning is issued on the tool...

Страница 34: ...ation value To change the torque calibration value 1 Activate the input box with the button 2 Increase decrease the torque calibration value with the und buttons Enter each digit of the value individu...

Страница 35: ...splayed if a 2D reader is used No function Display of the barcode type The symbol is only displayed if a 2D reader is used No function Display of the gyroscope angle The symbol is only displayed if a...

Страница 36: ...settings are assigned via DHCP this will appear to the right near the symbol as long as no connection could be established Fig 3 32 Menu Communications Symbol Description Activating deactivating WLAN...

Страница 37: ...nection is activated the tool disconnects the Bluetooth connection 3 10 Bluetooth communication Fig 3 34 Menu Bluetooth communication Button Description Select this button to cancel the process Leave...

Страница 38: ...68 245 101 to 192 168 245 107 and depends on the node number Example Tool 3 has the IP address 192 168 245 103 Ensure that each node number is assigned only once Up to seven node numbers can be assign...

Страница 39: ...troller of the mPro200GC AP series Each device is displayed with an icon and the MAC address or name of the device The controller to which the tool is already connected is highlighted in green in the...

Страница 40: ...utton Description Display of the software versions Save archive No function Save torque graph No function Load parameters No function Save parameters No function Software update Delete archive Reset t...

Страница 41: ...nu items Symbol Description Display of the software version for the measuring board Display of the software version for the operating system Display of the software version for the servo Display of th...

Страница 42: ...ce in the Communication with tool tab and enter the IP address of the tool 5 Open the Tool identification tab 6 To change the software on the tool press Software Update 7 Confirm the following message...

Страница 43: ...he process The tightening results and the torque graphs are not deleted Press to delete the archive All tightening results and torque graphs are deleted The Reset archive menu is exited Button Descrip...

Страница 44: ...44 P2544PM 2021 02 Apex Tool Group 3 EN 3 11 5 Switch off tool Select The following screen is displayed After five seconds the tool switches off Fig 3 44 Switch off the tool...

Страница 45: ...astApps and mPro mode FastApps mode If this is parameterized the speed immediately changes from the start speed to the final speed up to the maximum torque mPro mode If this is parameterized the speed...

Страница 46: ...eached Must be less than the start ing speed rpm FastApps mode As soon as the speed threshold is reached the speed is reduced from the starting speed to the final speed at the maximum torque With incr...

Страница 47: ...oftware update E99 Timeout on startup expired Insert SD card E200 Several tma files available Select only one tma file E210 No compatible update packages found Make sure there is the right tma file se...

Страница 48: ...is reached If the time is less this error message is output Problem Possible cause Measure General tool Tool does not start Speed not parameterized Check Linking group In the mPro mode select Navigat...

Страница 49: ...service department at Apex Tool Group Software does not boot Error in the main software Use recovery SD card Contact the service department at Apex Tool Group Problem Possible cause Measure WLAN data...

Страница 50: ...LAN data communi cation between the con troller and tool The IP address of the tool is not correctly entered in the controller 1 On the control screen Tool Setup check whether the IP address of the to...

Страница 51: ...activated on the controller Check that the controller is visible with another tool Establishing a Bluetooth connection fails Note that the tool can only connect to an mPro200GC series controller Retr...

Страница 52: ...App 13 Menu 16 17 parameterizing 18 resetting 21 FastApp selecting 17 selection 29 FastApps mode 6 10 Final speed 21 G Gateway 36 Gyroscope 30 I IP address 36 L LCD 7 Linking group parameterizing 18 s...

Страница 53: ...egy 20 Time 22 23 Tool constant 30 Tool light 22 24 Torque 13 maximum 20 minimum 20 Torque calibration value 34 Torque shutoff 20 Torque test 30 32 Torque units 22 25 TQ 6 Troubleshooting 47 U Undervo...

Страница 54: ...x Tool Group GmbH C O Spline Gauges Piccadilly Tamworth Staffordshire B78 2ER United Kingdom Phone 44 1827 8727 71 Fax 44 1827 8741 28 FRANCE Apex Tool Group SAS 25 Avenue Maurice Chevalier ZI 77330 O...

Отзывы: