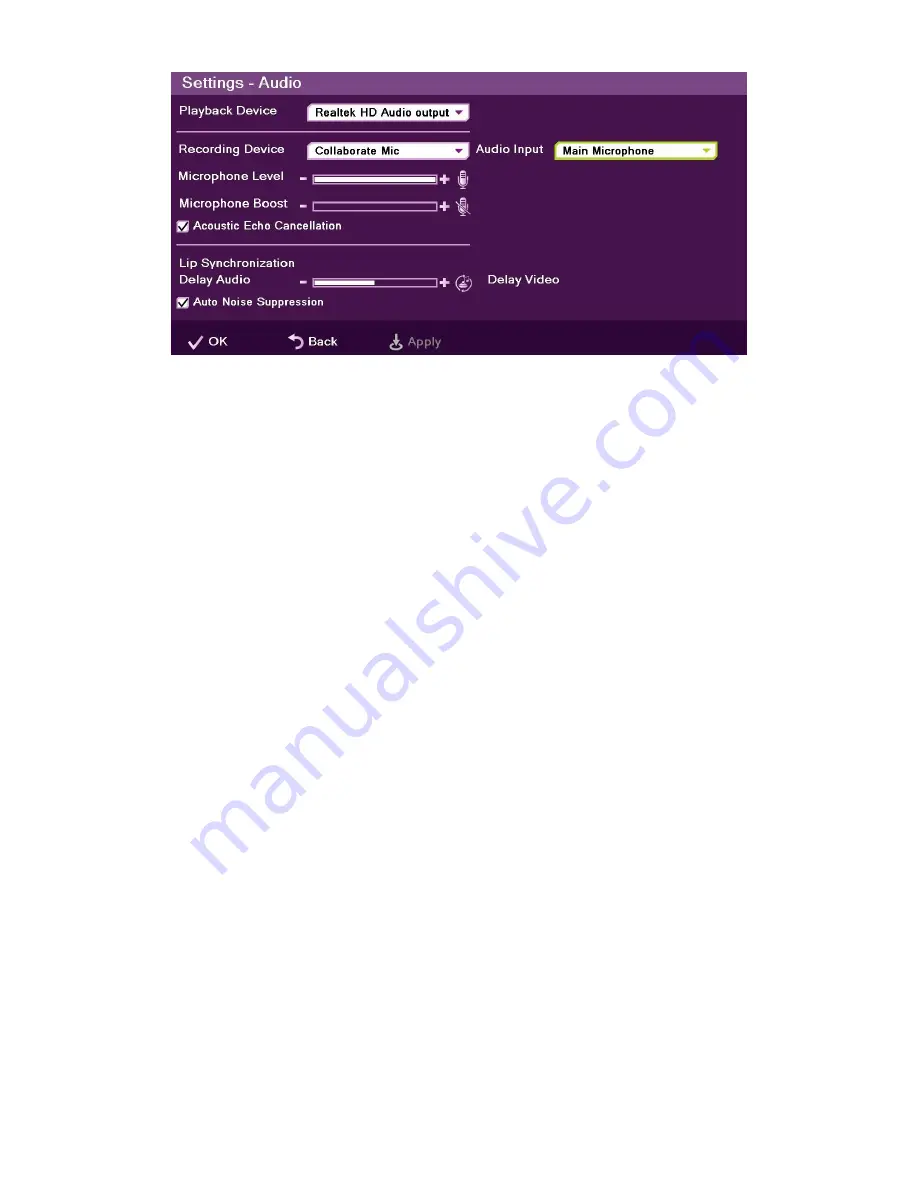
To configure the audio settings:
1.
In the Audio Settings window, set the following properties of the selected audio input.
USB devices can be used if the system supports external USB hardware.
Playback Device
– Select a playback device from the list.
Recording Device
– Select a recording device from the list.
Audio Input
– ClearOne Chat Mic connected to USB Port.
Microphone Level
– Adjust the microphone sensitivity level in percentage (%).
Microphone Boost
– Increase the microphone level.
Acoustic Echo Cancellation
– Select the check box to prevent echo when the
microphone and speaker are in the same room. Disable this feature when it is
supported by an external device.
Lip Synchronization
– If the voice you hear is not synchronized with the lip
movement in the video display, move the slider as follows:
Towards
Delay Video
if voice is heard after the lip movement
Towards
Delay Audio
if you see the appropriate lip movement after you hear
the voice.
Auto Noise Suppression
– Suppress unwanted background noises. Disable
this feature when it is supported by an external device.
2.
Select
Apply
.
CONFIGURING THE DISPLAY
The display settings determine the method by which video is displayed on the screen.
Adjust the display settings depending on the room you are using for videoconferencing and
on your distance from the screen.
NOTE: The term “screen” refers to any type of monitor you are
using (CRT, LCD, and so on).
24 Collaborate Room: User Guide


