S e n d d o c u m e n t c o m m e n t s t o u c s - d o c f e e d b a c k @ c i s c o . c o m
2-8
Cisco UCS 6100 Series Fabric Interconnect Hardware Installation Guide
OL-20036-02
Chapter 2 Installing the Cisco UCS 6100 Series Fabric Interconnect
Installing the Cisco UCS 6140XP Chassis in a Cabinet or Rack
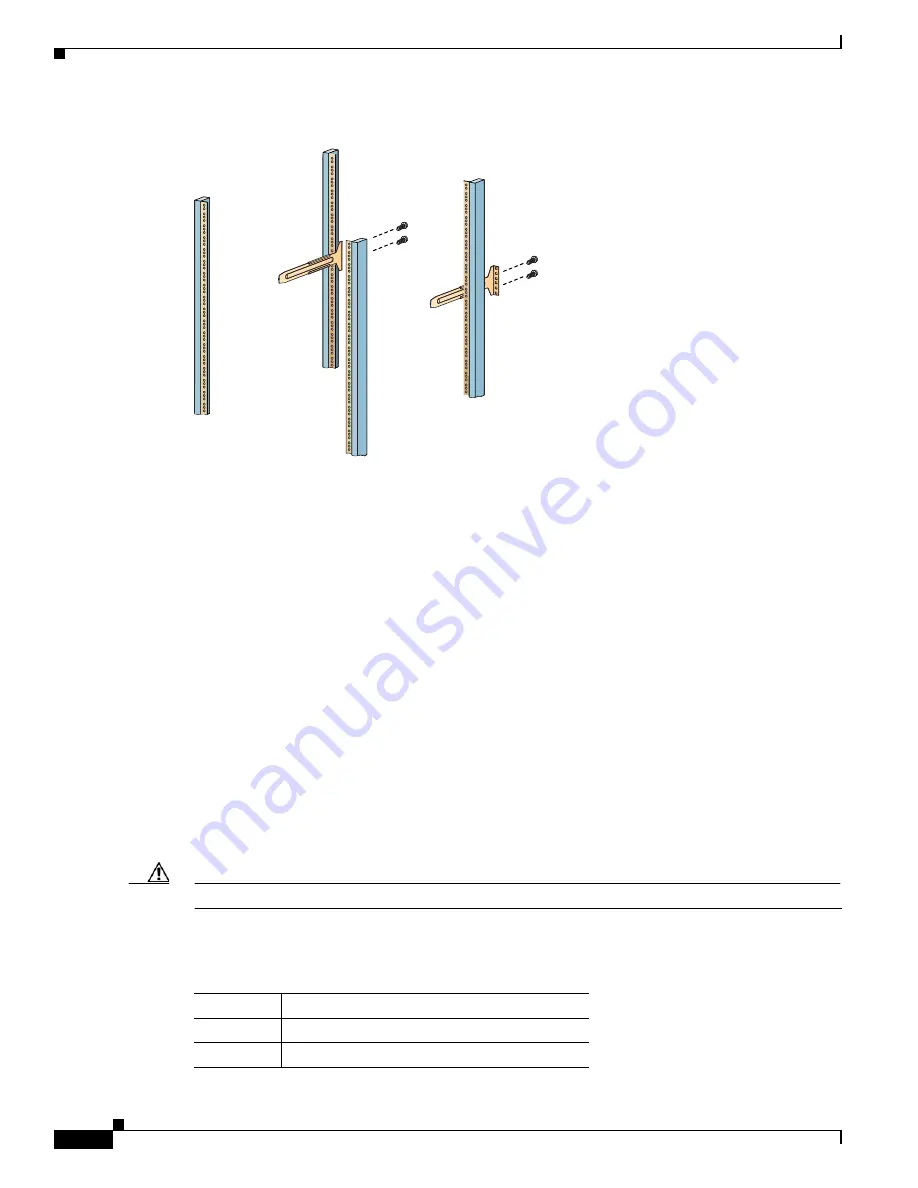
Figure 2-2
Installing the Slider Rails
Step 4
Insert the chassis into the rack:
a.
Using both hands, position the chassis with the back of the chassis between the front posts of the
rack.
b.
Align the two rack-mount guides on either side of the chassis with the slider rails installed in the
rack. Slide the rack-mount glides onto the slider rails, and then gently slide the chassis all the way
into the rack. If the chassis does not slide easily, try realigning the rack-mount glides on the slider
rails.
Step 5
Stabilize the chassis in the rack by attaching the front rack-mount brackets to the front rack-mounting
rails:
a.
Insert 2 screws (12-24 or 10-32, depending on rack type) through the cage nuts and the holes in one
of the front rack-mount brackets and into the threaded holes in the rack-mounting rail.
b.
Repeat for the front rack-mount bracket on the other side of the chassis.
Installing the Cisco UCS 6140XP Chassis in a Cabinet or Rack
This section describes how to use the rack-mount kit provided with the chassis to install Cisco UCS
6140XP into a cabinet or rack that meets the requirements. All Cisco UCS 6100 Series Fabric
Interconnects use the same installation procedure.
Caution
If the rack is on wheels, ensure that the brakes are engaged or that the rack is otherwise stabilized.
Table 2-2
lists the items contained in the rack-mount kit provided with the chassis.
186412
Table 2-2
Cisco UCS 6140XP Rack-Mount Kit
Quantity
Part Description
2
Rack-mount brackets
12
M4x0.7 x 8-mm Phillips countersink screws


