3-20
Cisco Digital Media System 3.5 Appliance Administration Guide
OL-11574-02
Chapter 3 Installing and Configuring the Cisco Digital Media Manager 3.5 Appliance
Step 7
IP or fully qualified domain name
—This is the IP address that shows up on the Video Portal AAI in
blue right next to the red IP.
Step 8
Installed Instance Name
—This is the instance name that shows up on the Video Portal AAI in blue right
next to the red Instance.
Step 9
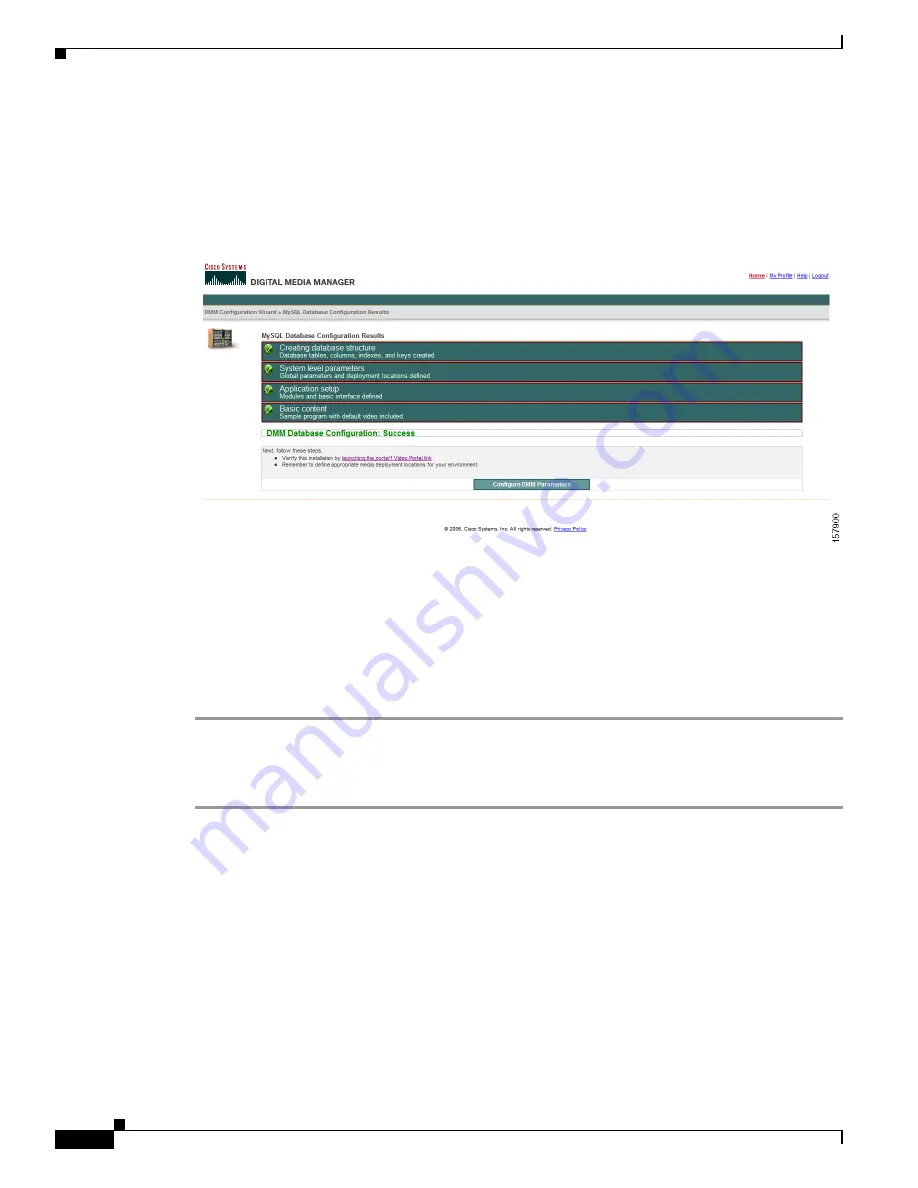
Click
Proceed with DMM Installation
and wait while the DMM database tables are created. Once the
database is complete, the next page will confirm and summarize the database creation results.
Step 10
Verify that your installation was successful by clicking on the link entitled “launching the Cisco Video
Portal link.” This will launch the plugin detector page of the Video Portal (in your production
environment), subsequently launching the Video Portal itself.
Step 11
Return to the DMM window and click
Logout
located in the upper right-hand corner. Log into DMM
using the password you just created for the superuser account to verify:
Username:superuser
Password:<yournewpassword>
Once you are logged in to the DMM, perform the following steps to establish your DMM configuration
settings:
Step 1
Click on the Setup tab in the DMM’s navigation bar. You will be directed to the DMM sub-tab.
Step 2
Modify the following Global Variables:
a.
Application Administrator Contact Email
—The mailto email address to which users of this
application send help requests.
b.
Deployment Email Reply To
—The reply to email address for all Deployment Notification emails
(when DMM users want to reply to the automated deployment notification emails).
c.
Deployment CC Email Recipient
—The CC email address for all Deployment Notification emails.
d.
Password Retrieval Email
—The email address to which users will send a password retrieval
request.
e.
Metadata Checkout Duration
—The time, in minutes, for which metadata gets locked by a user
while another user is editing it.


