


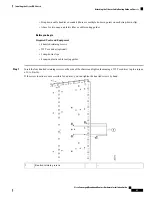


Step 1
Align the cable-management bracket captive screws to the captive nuts on the right rear side panel of the chassis.
There are multiple positions that allow you to determine the position of the bracket that best suits your installation.
Step 2
If the captive screws are accessible, use a #2 Phillips torque screwdriver to secure them to the chassis.
Else, tighten the knurled captive screws using your fingers.
Do not over tighten the cable-management captive screws when using a #2 Phillips torque screwdriver. Torque
must not exceed 7 in-lb.
Note
Figure 32: Installing the Cable-Management Brackets
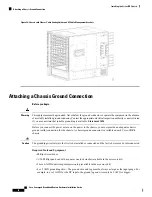
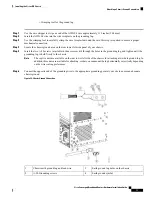
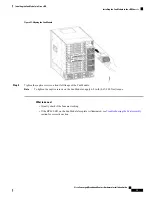
Attaching the Fiber or Cable Routing Guide on Chassis
The fiber or cable routing accessories are made up of the following components:
• 2 strap-down clips
• 4 snap-on plastic fiber or cable routing guides—With upper-slot for fiber and lower slot for copper cables
The strap-down clips have multiple uses. They can be used for the following purposes:
Cisco Converged Broadband Routers Hardware Installation Guide
66
Installing the Cisco cBR Chassis
Attaching the Fiber or Cable Routing Guide on Chassis


