background image


Introduction and Setup   Page 1 


Introduction and Setup


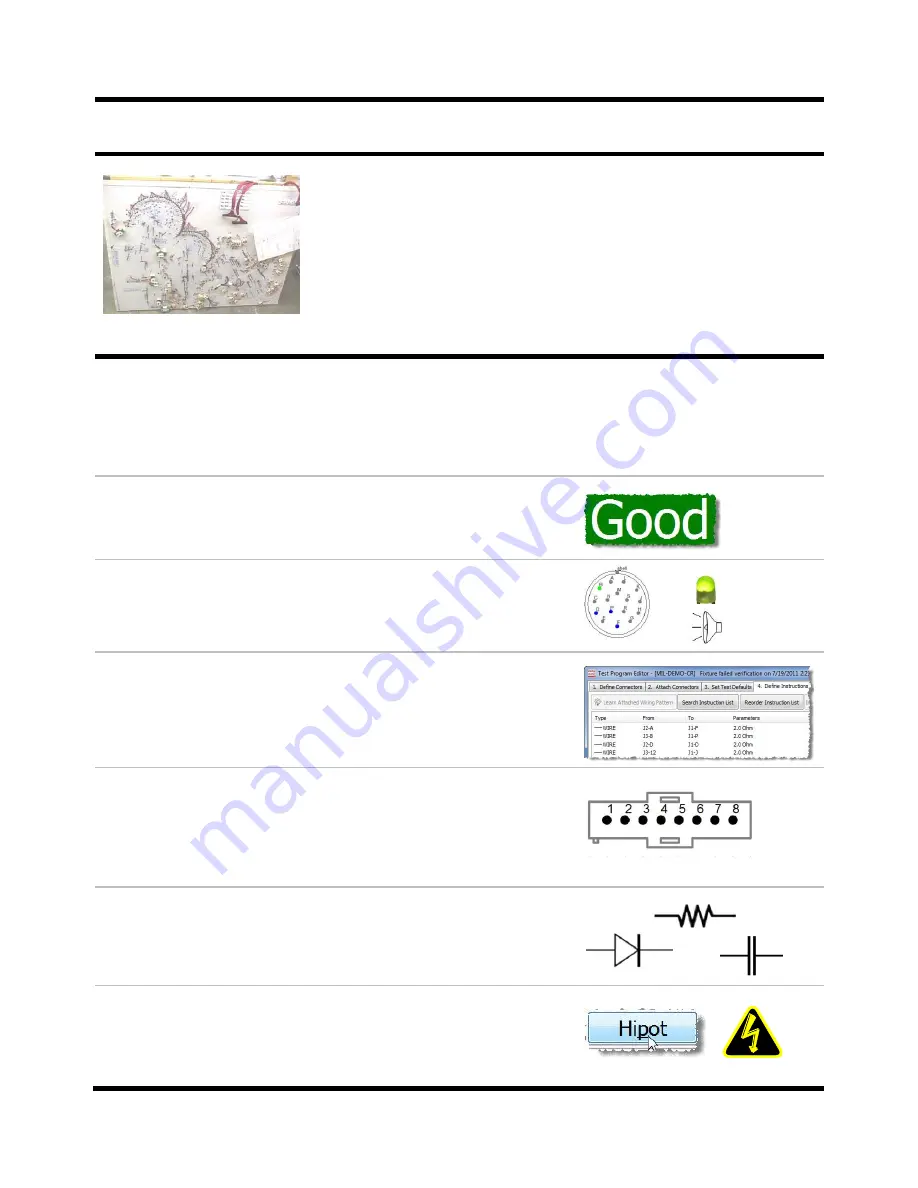
Example of a traditional “plywood  
and 

nails” back- wired harness board.


You can easily adapt the easy-wire CR and CH2 testers to 
traditional complex “plywood and nails” harness boards.  


Easy-wire testers can guide assembly and identify errors using 
onscreen graphics, sounds, and LED prompts. 


Try this demo and see why the Signature CR and CH2 testers 
are revolutionizing harness assembly and test! 


Demo Overview 

The CR/CH2 Demo has 6 individual sub-demos. In the first two you will test a harness, find 
errors, and be guided through assembling a harness.  The next two show you how to create 
connector graphics and test programs.  The final two show you advanced features such as 
testing components and high voltage testing (CH2 only).


Demo 1:  Test a Harness 

This demo shows you how to test a known good harness, create 
errors (open, short, miswire), and interpret error messages.


Demo 2:  Guided Build and Test


This demo shows how easy-wire guides you through correctly 
building a harness using 

graphics, LED’s, and audible prompts.


Demo 3:  Learn/Create a Test Program


With easy-wire, you can create test programs by directly 
entering data, importing data, or learning from a 

“known good” 

sample. In this demo you will learn and create a test program  
for the demo harness. 


Demo 4:  Create a New Connector Type 

The easy-wire software has connector graphics that help you 
build and test cables.  This demo shows you how to create a 
new connector type and its connector graphic. The new 
connector type will be added to the easy-wire connector library.


Demo 5:  Test Components 

The CR and CH2 testers can test components.  This demo 
shows you how to add resistors, diodes, and capacitors to the 
test program and how to test each component.


Demo 6:  Hipot Testing (CH2 only) 

The CH2 can test at voltages up to 1500VDC and 1000VAC 
(optionally 1500VAC using an xHV power supply).  This demo 
shows you errors that can be found with high voltage testing.


Содержание easy-wire CR

Страница 1: ...d States of America All rights reserved Visit our website at www cirris com Thank you for trying the CR CH2 Demo It is important that this demo is effective and user friendly Please contact us with any suggested changes you may have for this product or manual so we can better serve you Email us at info cirris com or call us at 800 441 9910 easy wire ...

Страница 2: ... miswire and interpret error messages Demo 2 Guided Build and Test This demo shows how easy wire guides you through correctly building a harness using graphics LED s and audible prompts Demo 3 Learn Create a Test Program With easy wire you can create test programs by directly entering data importing data or learning from a known good sample In this demo you will learn and create a test program for...

Страница 3: ... Port 2 0 compatible Note For digital I O not used in this demo a serial port or USB Port with adapter is required Mouse Required for installation and test setup Can be replaced with a barcode reader on the production floor Computer CPU 1 6 GHz Processor Speed or better CD ROM Drive Required for install Free Disk Space Minimum 5 GB Recommended 10 GB Note For the demo you only need 90 MB free Speak...

Страница 4: ... Serial or USB port Cirris Thumb Drive Hand Held Probe One of the following power cord options Power Cord if equipped with serial port Power Cord and Power Supply if equipped with USB port USB Cable and or Serial Cable Keyspan USB Serial Adapter if equipped with serial port Ribbon Cable Wrist Strap CH2 CH2 Tester Cirris Thumb Drive Hand Held Probe Power Cord USB Cable HV Transition Cable HV Interl...

Страница 5: ...all running Windows applications Step 2 Insert the Cirris thumb drive into a USB port on your PC Step 3 The Windows AutoPlay screen will open Click Open folder to view files Note If the AutoPlay screen does not open navigate to the removable disk drive on your computer Step 4 Double click on Easy wireStation_2011 3 01900_Install exe Step 5 Complete the installation as prompted When prompted to cho...

Страница 6: ...e file will automatically open You can read the file if desired When you are ready to continue close the window and complete the installation Step 7 If you are setting up a CR tester remove the thumb drive and proceed to Setting up a CR Tester on the next page If you are setting up a CH2 tester leave thumb drive in and proceed to Setting up a CH2 Tester on page 8 ...

Страница 7: ...B port skip to the top of next page Serial Port a Connect the serial cable to the tester If your computer has a serial port connect the other end of the serial cable directly to your computer If your computer does not have a serial port insert the Keyspan CD into your PC and install the drivers Connect the USB and Serial cables into the USB Serial Adapter Then plug the loose end of the USB cable i...

Страница 8: ...lugged into Step 3 Connect one end of the ribbon cable to the bottom connector on the CR tester bump side up Step 4 Connect the other end of the ribbon cable to the transition board connector on the harness board Step 5 The drop nail bracket is located at the center of the demo harness board Pinch and raise the drop nail bracket to raise the drop nails as shown Step 6 Skip to Starting the Software...

Страница 9: ... on your computer Step 2 Plug the power cord into the tester and plug the other end into the same grounded outlet as your computer Step 3 Turn on the power switch Step 4 Ensure that the Cirris thumb drive is plugged into a USB port on your PC Step 5 The Windows Found New Hardware Wizard will open Most computers need two drivers installed for the USB communication to work with the CH2 Follow the in...

Страница 10: ... allows you to quickly attach cables to the tester Connector Savers also protect pins in the CH2 from wear and damage CH2 connector savers are sold separately from the CH2 tester Step 9 Plug the other end of the HV Interface Cable into the HV Transition Board connector on the harness board Note The HV Transition Board Connector allows you to quickly plug in an interface connector for the device un...

Страница 11: ...indows task bar click Start All Programs Cirris Systems Corporation easy wire easy wire Step 2 The first time you open the software the Select Default Tester and Frequency window will open a Click the text box and enter a station name used to identify this PC b Select the tester you are using c Select your line frequency d Click OK Step 3 The User Login window will open Click OK Note In the easy w...

Страница 12: ...til the easy wire main menu opens Note When the system is first set up or changed Hardware Status Updates inform you of errors or changes in the hardware The easy wire main menu will open Depending on which tester type you selected you will see one of these Test Program lists in the main menu ...

Страница 13: ...Troubleshooting section below Troubleshooting The status indicator will be red if the tester fails one or more of the self tests If you have a red status indicator do the following a Verify that you selected the correct tester type by checking the test program list in the easy wire main menu If you selected the wrong tester type call Cirris at 1 800 441 9910 b Verify that the USB or 9 pin serial c...

Страница 14: ... the sounds skip to Demo Part 1 Test and Test Errors on the next page If you do not hear the sounds see the Troubleshooting section below Troubleshooting To get the sound working do the following Verify that speakers are connected to the PC and have power Verify that the speakers are on and that the volume is turned up Verify that the volume on the PC is turned up the PC volume control can be foun...

Отзывы: