3-8
Mirage M Series Setup Guide
020-100592-02 Rev. 1 (11-2010)
Section 3: Operation
Lens H and Lens V
When adjusting the image for focus, zoom or horizontal and vertical positioning, use the specific arrow keys
(
L
EFT
/R
IGHT
A
RROW
K
EY
or
U
P
/D
OWN
A
RROW
K
EY
) related to each function. A small window will appear to
indicate the type of adjustment taking place. For example,
• Use the
F
OCUS
and the
L
EFT
A
RROW
or
R
IGHT
A
RROW
K
EY
to improve image clarity as desired.
• Use the
Z
OOM
and the
L
EFT
A
RROW
or
R
IGHT
A
RROW
K
EY
to achieve a desired image size.
• Use the
L
ENS
H
and the
L
EFT
A
RROW
or
R
IGHT
A
RROW
K
EY
to position the image horizontally.
• Use the
L
ENS
V
and the
U
P
A
RROW
or
D
OWN
A
RROW
K
EY
to position the image vertically.
Press
E
XIT
to return to a presentation level.
NOTE:
Use the
L
ENS
key (built-in keypad) with the general
U
P
/
D
OWN
A
RROW
K
EY
to get the same effect as if using the arrow keys related to “Lens V” or “Lens H” on the
Remote Keypad. All 4 lens settings can be adjusted by using the soft keys.
Laser
Press
L
ASER
to activate the laser pointer on the remote. Point the remote
at the screen to highlight an area of your presentation.
NOTE:
Leave batteries in the wired remote keypad for the
L
ASER
key to
work.
3.2
Navigating the Menus
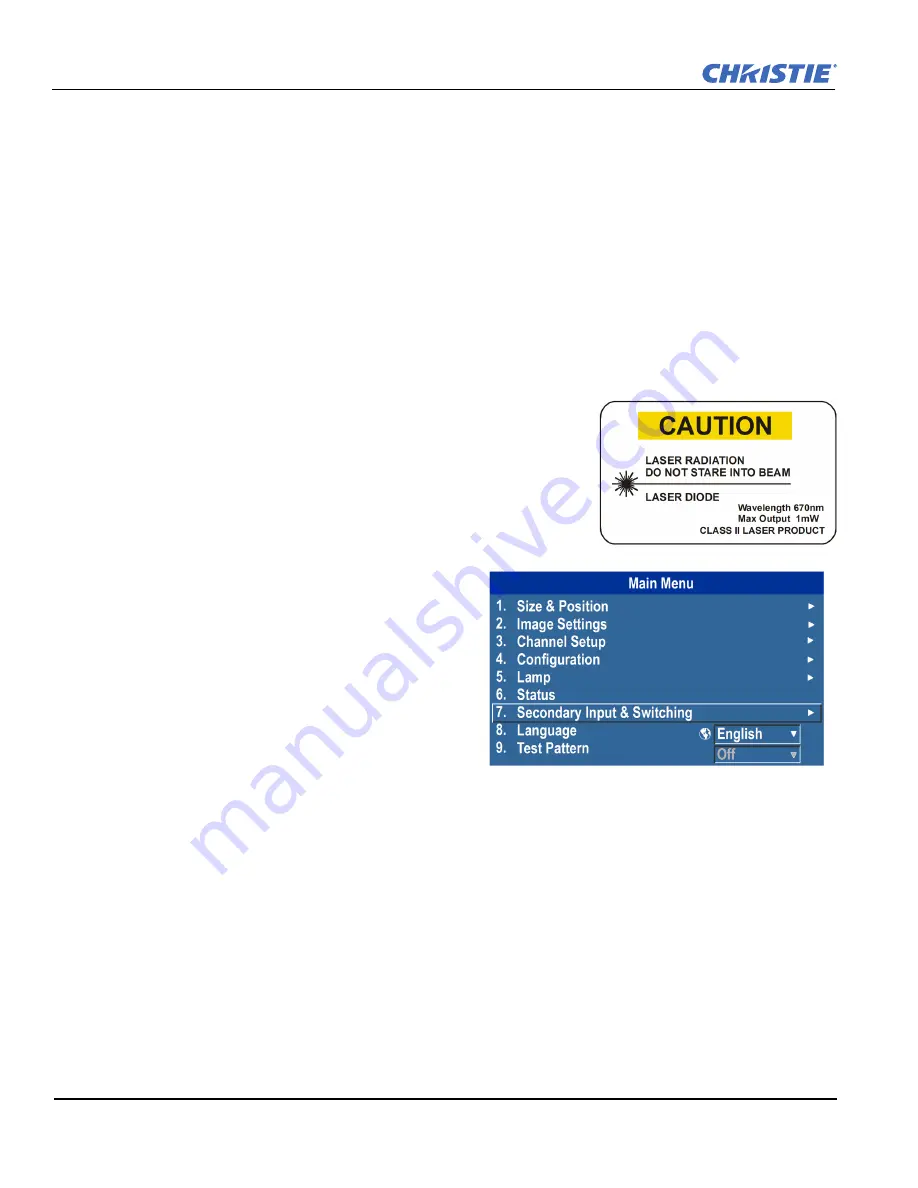
Main Menu
Most of the projector controls are accessed from
within the projector’s menu system. There are several
groups of related
functions
, with each group selectable
from the
Main
menu as shown at right. Press
M
ENU
at
any time to display this
Main
menu.
On the remote keypad, enter the number correspond-
ing to the function menu you wish to access, such as 2
for the
Image Settings
menu. Or use the
U
P
/D
OWN
A
RROW
K
EY
on any keypad to highlight the desired
option, then press
E
NTER
. The corresponding function
menu or pull-down list of further options will appear.
With a function menu displayed, enter a menu option number for any numbered option, or use the
U
P
/D
OWN
A
RROW
K
EY
to highlight the desired option and then press
E
NTER
. Long menus have a scroll bar on the right—
use the arrow keys to access the remainder of the menu. Locked items or items that do not pertain to the current
action or condition appear dimmed and cannot be selected.
F
IGURE
3-4 M
AIN
M
ENU
Содержание MIRAGE DS+10K-M
Страница 1: ...Mirage M Series S E T U P G U I D E 020 100592 02...
Страница 2: ......
Страница 3: ...Mirage M Series S E T U P G U I D E 020 100592 02...
Страница 8: ......
Страница 12: ......
Страница 22: ......
Страница 42: ......
Страница 53: ...Section 5 Troubleshooting Mirage M Series Setup Guide 5 7 020 100592 02 Rev 1 11 2010 FIGURE 5 1...
Страница 54: ......
Страница 68: ......
Страница 71: ......


