Note: The photos in this installation guide were taken using a
1967-69 Camaro. There may be slight differences from your
application, but the assembly procedure is identical.
Installing Suspension
In this section you will install all of the front suspension components and align the front-end
geometry. It is easier to do this before the new front clip is installed to the body.
If you purchased plain steel A-arms, have them painted or powder coated before you assemble
them. Do not get paint in the balljoint housing thread bore or in the pivot bushing bores. The
balljoint bores are precision machined. Consequently, you cannot install and remove the balljoints
multiple times. The self-locking threads on the balljoint will destroy the balljoint housing if it is
removed and installed several times. Have your A-arms painted before the balljoint is assembled
to minimize this potential problem.
Do not plate or chrome the A-arms. The plating solution can leak into the tubes and cause them
to rust from the inside out. If you drill drain holes in the tubes, the A-arm will crack from the holes.
If you want a highly polished look, purchase our stainless A-arms.
The mild steel lower A-arms are shipped without their pivot bushings installed to make painting or
powder coating easier. Use an arbor press to install the bushings.
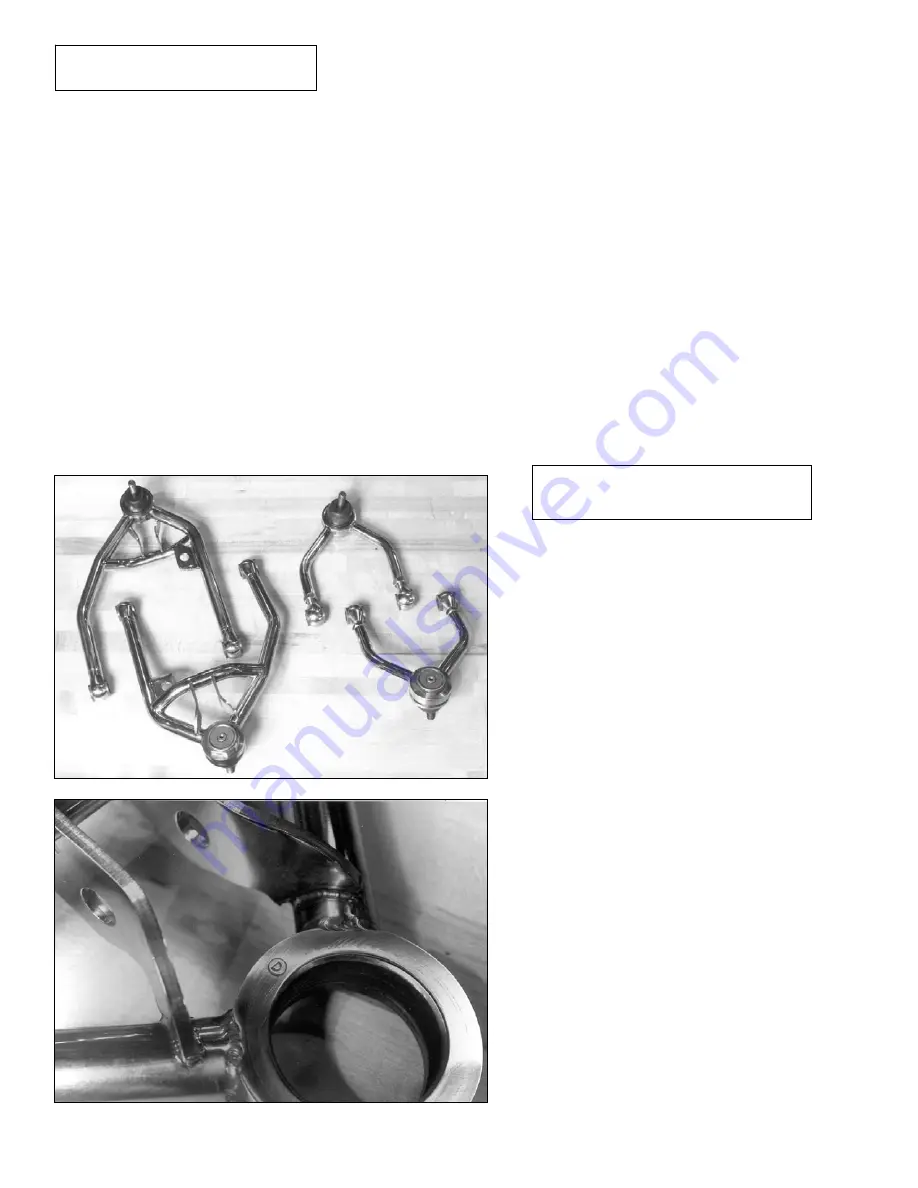
The first parts installed will be the upper
and lower A-arms. The stainless steel
lower A-arm comes with all of the
bushings installed. You will be installing
the bushings and rod ends in the upper
A-arms later.
For identification, the driver side A-arm
assembly is embossed with a “D” on the
balljoint housing.
The passenger side is embossed with a
“P” on the balljoint housing.
Installing Upper & Lower
A-arms and Spindles
Page 6
917704
Содержание 7704
Страница 105: ...Page 104 917704 ...


