


Chapter 3
17
3-10 Set Supervisor Password & User Password Setting
There are four different variables that control password settings. The first two are
located under the Security Option function in BIOS Features Setup Menu (Figure 3-1).
When the Security Option function is set to
Setup
, a password is required to enter BIOS
and change BIOS settings. When the Security Option function is set to
System
, a
password is required to enter both BIOS and the computer's operating system (for
example Windows 98) found on the boot drive.
The third and fourth variables are user password and supervisor password selected in
BIOS (Figure 3-1). The main purpose of separating user and supervisor is to allow only
the supervisor to have control over the settings in BIOS. The user, on the other hand, is
only allowed to access the computer's operating system and change the user password in
BIOS.
When there is no supervisor password set, the user password controls access to
all BIOS settings.
3-11 Save and Exit Setup
If you select this and type [
Y]
(for Yes) followed by the [
Enter
] key, the values entered in
the setup utilities will be recorded in the CMOS memory of the BIOS chip.
3-12 Exit Without Saving
Selecting this option and pressing Y followed by the [
Enter
] key lets you exit the Setup
program without recording any new values or changing old ones.
Chapter 4
18
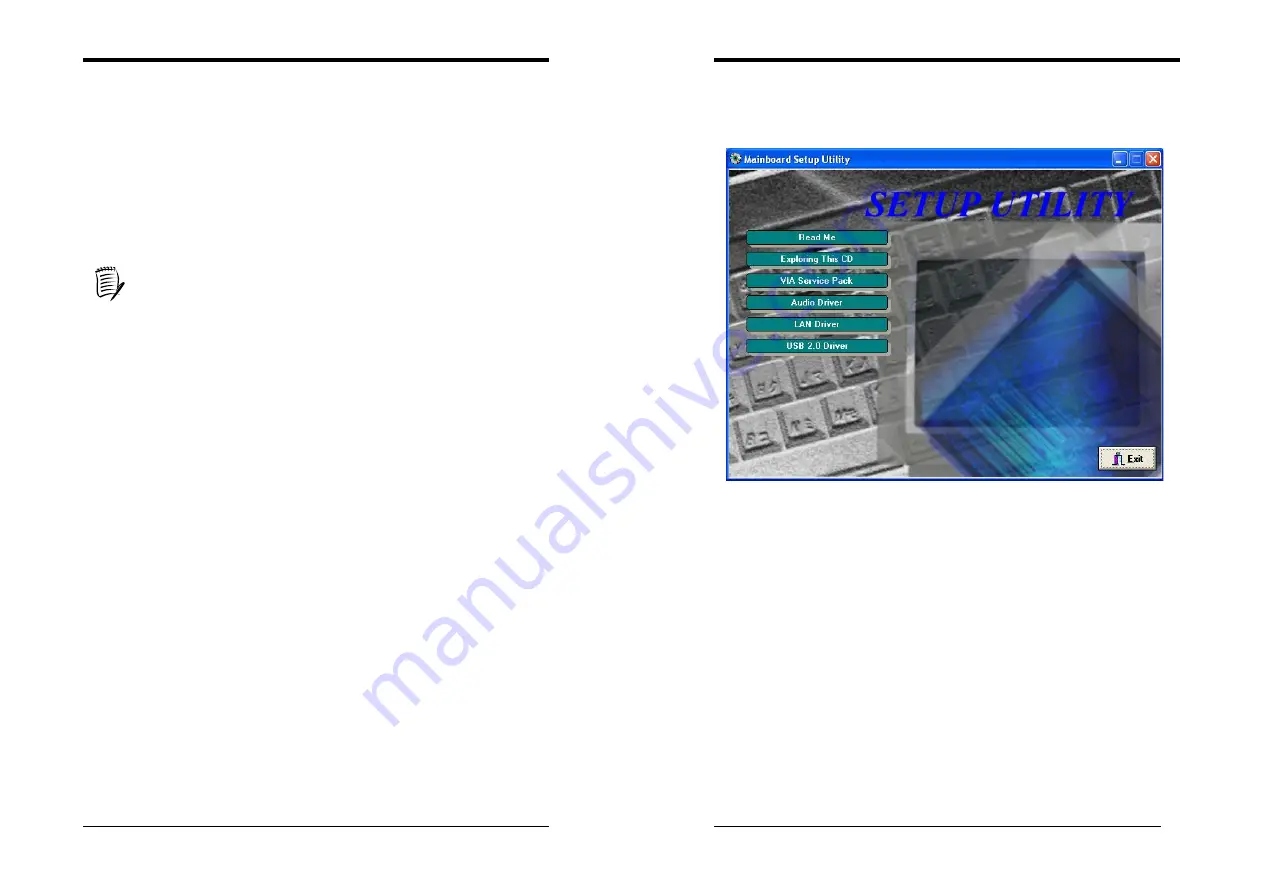
Chapter 4
DRIVER Setup
Insert the support CD that come with your motherboard into your CD-ROM driver or
double-click the CD drive icon in [My
computer
] to open the setup screen.
4-1 VIA Service Pack Setup
1. Click [
VIA Service Pack
]
2. Click [
Next >
] to start software installation.
3. Please select [
Yes
] to accept the license agreement.
4. Please select [
Next >
] to continue.
5. Please select [
Next >
] to continue.
6. Please select [
Next >
] to continue installing VIA PCI IDE Bus Driver.
7. Please select [
Next >
] to continue installing AGP Driver.
8. Please select [
OK
] to restart your computer.
4-2 Audio Driver Setup
1. Click [
Audio Driver
]
2. Click [
Next >
] to start software installation
3. Please select [
Next >
] to continue.
4. Please select [
Finish
] to complete setup.


