background image

6. Resampling

– This control allows you to enlarge the images by interpolation to achieve

sub-pixel quality alignment. This will however reduce processing speed greatly. In the 
processing page the images can be down sampled to their original size. 

The resampling options are:

Bell – simple smoothing filter 
B-Spline – no sharp transitions, but it can cause blurring 
Lanczos – can cause "ringing" effect 
Mitchell – no sharp transitions, often a good compromise between 

"ringing" and "blurring"

During stacking and alignment every image is enlarged by the resample-factor.

7. Tracking Options

– When this option is set, the program will try to track the object

when it moves around. Steadily moving objects can be easily followed, unless they move
too fast. The largest movement between images the program is able to adjust directly
problems is about half the size (in pixels) of the alignment-box. When you enable the 
predict option, the program will be able to trace faster moving objects as long as they
move in a constant direction. When the object moves in a more random fashion do NOT
use the predict option, instead increase the FFT-size to keep the feature easier in view. If
the misalign warning is set you will be notified when the program thinks it looses track of
the alignment feature, then you will be asked to realign the image. 

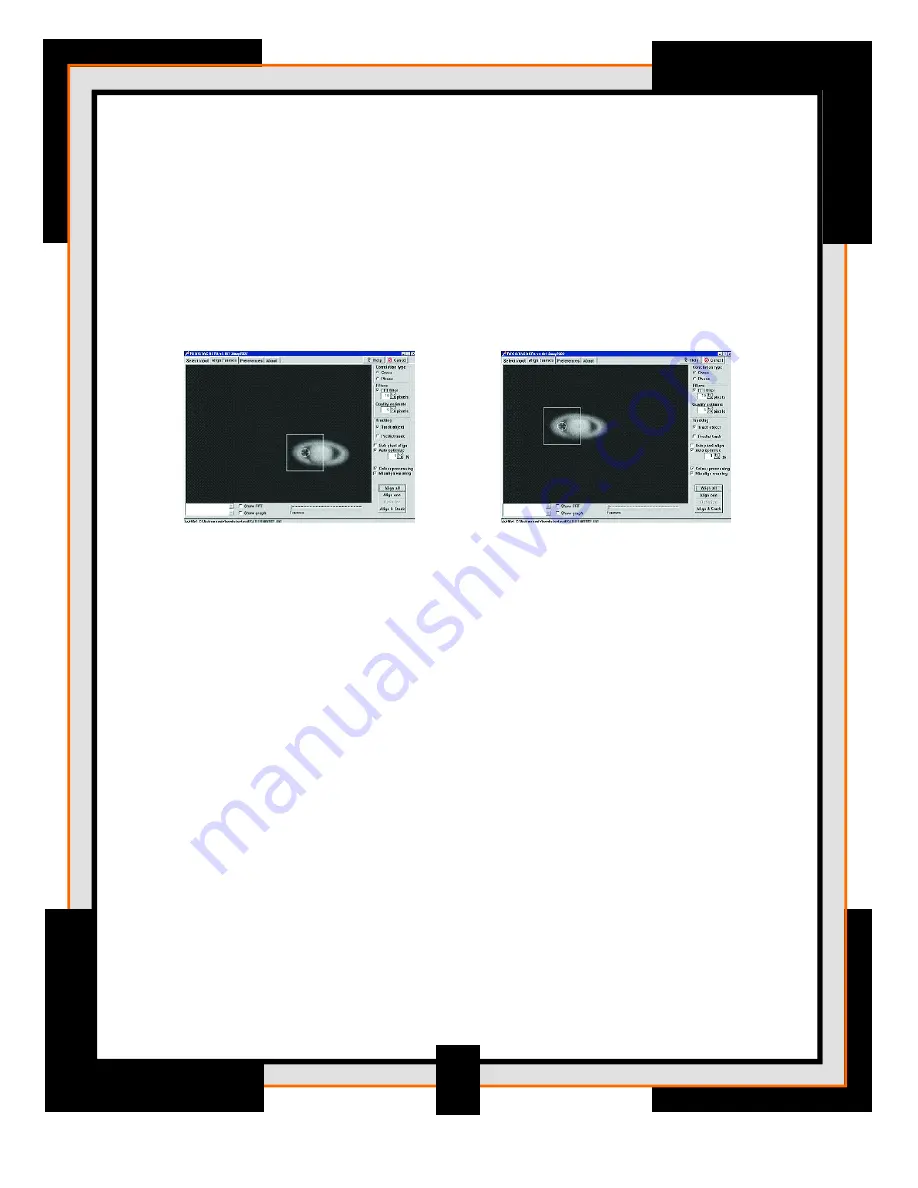
If the object you want to register moves over the image-space like you can see in the above
example you will need to set the “track object” option. Track object will try to keep track of
the object by using the information of the previous shift. If the object slightly moved to the left
we expect it to be at least shifted to this position in the next frame also. If the object moves 
in a steady fashion this feature will keep track of the necessary alignment. But for steady
moving or fast moving objects the “predict” track might also be helpful, With this feature the
program makes an expectation of the objects position based on the last shifts. If the object
moves fast or in a random way over the image the user is advised to use a larger FFT box.

8. Auto-optimization

– This setting is associated with three controls in the optimizing

options panel (#15). During optimization the pixel-by-pixel difference between the 
image and the reference image is measured and minimized. Setting the "Optimize until" 
thumbwheel (%) will make the optimization run until the difference between successive
runs is less than this value. 

19

Содержание NexImage

Страница 1: ...Quick Start and Tutorial Imaging Basics Registax User s Guide Troubleshooting Table of Contents...

Страница 2: ...e 4 Select an easy target like the moon to begin with Center and focus your telescope on the specific feature you wish to image 5 Remove the barrel cap from the 1 25 barrel of the imager Remove the ey...

Страница 3: ...ou are ready to capture a video image Before taking the image you must first set the frame rate time limit and resolution for the video 8 From the Options menu select the Video Capture Pin Set the out...

Страница 4: ...ing window will display the amount time of video recorded and the number of frames captured 12 Once recording stops select Set Capture File from the File menu Select a location on your hard drive and...

Страница 5: ...image 1 Start RegiStax by clicking the icon on your desktop Press the Select Input button to select the directory where the NexImage CD is located 2 Select the file called Lunar Tutorial avi from the...

Страница 6: ...the Show frame list box in the lower left corner and scroll through each frame individually 5 Once the alignment frame has been selected you need to set the size of the alignment box Ideally this box...

Страница 7: ...olored square with a red circular area in the middle The red area in the middle represents where the program estimates the best alignment The FFT spectrum is used to calculate the similarity between i...

Страница 8: ...e on the lower part of the red curve while the other is positioned where the red curve nearly touches the bottom 8 Press Align Stack and Registax will automatically start the alignment process During...

Страница 9: ...ng This will allow you maintain your pre processed image without having to go through the Stack and Align process over again 10 On the right side of this screen are the six wavelet sliders that are nu...

Страница 10: ...right Notice that when you enhance the image with the layer sliders the image contrast increases You can control this by reducing the overall contrast with the contrast slider Once you are happy with...

Страница 11: ...ine detail signal hidden with in your image The NexImage camera takes advantage of the fact that the signal to noise ratio of your stacked composite image is proportional to the square root of the num...

Страница 12: ...ite stacked image is usually brighter than its individual component frames For this reason it is best keep the brightness of the video image seen on the screen dimmer than you would normally desire It...

Страница 13: ...m time you can take an individual video On average the rotational time limit for the following planets at their closest approach would be Jupiter 90 seconds Saturn 240 seconds and Mars 440 seconds Fil...

Страница 14: ...13 User s Guide...

Страница 15: ...heckbox When you process images or avi files its often easy to keep the results of the processing at a standard place relative to the input files When the checkbox is set you can automatically create...

Страница 16: ...topic you intend to process For planets this is most of the time the full planet but for lunar images a larger crater is often chosen 9 Show Frame list checkbox The user will have the chance so selec...

Страница 17: ...s rsp RegiStax Projectfile 13 Save as button You can save the current settings of the program as a logical file name The program will show the date_time the avi file was shot in the following format _...

Страница 18: ...ast features see Show Frame List above Start by visually selecting a reasonable good frame by either moving the frame slider or using the frame list Now choose the FFT size at 32 64 128 or 256 pixels...

Страница 19: ...this box displays the FFT Spectrum graph 3 Show Graph Checkbox Checking this box displays the Registration Properties graph 4 Quality Filter Band The Quality Filter Band is another important part of...

Страница 20: ...ze to keep the feature easier in view If the misalign warning is set you will be notified when the program thinks it looses track of the alignment feature then you will be asked to realign the image I...

Страница 21: ...ck button When you uncheck this checkbox after aligning several images by hand the program will run on with automatic alignment 11 Bias Subtract When you are aligning images sometimes static noise inf...

Страница 22: ...patch or even a single pixel But often you will see signs of other areas that are also rather high orange this can lead to misalignment Set the FFT filter again on and reduce the patch so it s not too...

Страница 23: ...the quality drops after a certain point On the screen above the quality cutoff line intersects the image quality curve at the 91 mark This eliminates all the images to the right on the cutoff line Th...

Страница 24: ...to process the image further as LRGB In the wavelet page a new control will appear that allows the setting of the L a R b G c B mix This has the advantage of keeping the original colours that appear a...

Страница 25: ...1 2 4 8 16 and 32 bits in width not often useful Linear scaling means you can set the layers in many different fashions The scale of the first layer is set by the Initial setting Every subsequent laye...

Страница 26: ...be processed directly Use this to change your working area until you are happy with the result than press Do_All when you use a large image 6 Partial processing When this is set only the processing a...

Страница 27: ...nting with these filters is recommended and can be very helpful to get the most out of your images 13 Set RGB shift options panel This control is useful when processing images of objects that are low...

Страница 28: ...ero out of the image Often that is unwanted since we want only the ringing around stars removed Point your cursor at a normal dark background area than press the RIGHT mouse button This makes the prog...

Страница 29: ...g the anchor red circle or adding new anchors right click to the line The curve settings overrules the thumbwheel control until the latter is used again The gamma curve allows you to also move the fir...

Страница 30: ...ontrol with direct response in steps of a degree a combo box dropdown control with programmed steps of 15 degrees and finally a large round button that allows you to set the rotation at steps of 10 de...

Страница 31: ...created on the processing page and will not change 5 Cropping You can crop part of the image by drawing a box around the feature you want to work on Both clipboard and saving will then only work for t...

Страница 32: ...olution or higher To check or change your screens resolution select Display Properties from your computers Control Panel Registax software can not open my video file Make sure that the video file you...

Страница 33: ...1GB in size To reduce the size of the file you should eliminate some of the frames from the frame list from the Select Input screen If you receive this warning message notice which frame was being pro...

Отзывы: