12
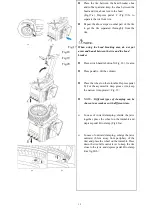
Fig.17
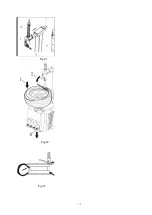
Fig.18
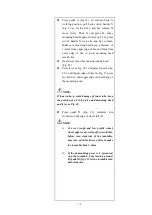
Fig.19
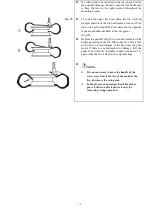
Fig.20
⚫
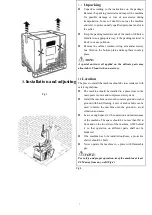
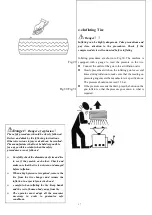
Place the tire between the bead breaker shoe
and rubber pad and keep the shoe between the
bead and rim, about 1cm to the bead
(Fig.17-a). Depress pedal C (Fig.17-b) to
separate the tire from rim.
⚫
Repeat the above steps on other part of the tire
to get the tire separated thoroughly from the
rim.
NOTE
:
When using the bead breaking arm, do not put
arms and hands between the tire and the bead
breaker
⚫
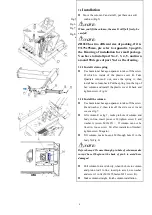
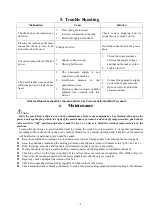
Press switch handle button N (Fig. 18), fix arm.
⚫
Press pedal A, tilt the column.
⚫
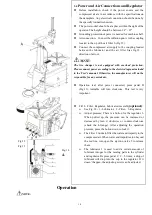
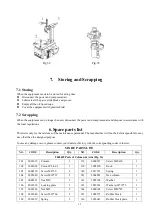
Place the wheel on the turntable. Depress pedal
B, For the asymmetric deep groove rim, keep
the narrow rim upward
(
Fig. 19
)
.
⚫
NOTE
:
Different types of clamping can be
chosen in accordance with different rims.
➢
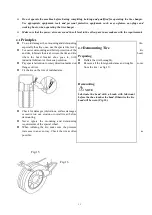
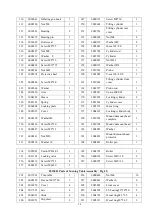
In case of inward clamping, shrink the jaws
together, place the wheel on the turntable and
depress pedal B to clamp (Fig.20-a).
➢
In case of outward clamping, enlarge the jaws
outward (2-3cm away from periphery of the
rim) and place the wheel on the turntable. Press
down the rise/fall control lever to keep the rim
close to the jaws, and depress pedal B to clamp
it(as fig.20-b
)
.
Содержание CASC506
Страница 14: ...13 Fig 21 Fig 22 Fig 23...
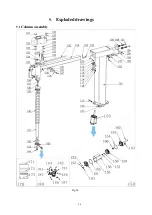
Страница 25: ...24 9 Exploded drawings 9 1 Column assembly Fig 34...
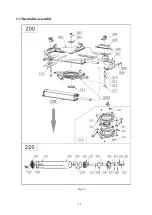
Страница 26: ...25 9 2 Turntable assembly Fig 35...
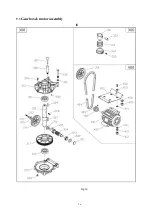
Страница 27: ...26 9 3 Gearbox motor assembly Fig 36...
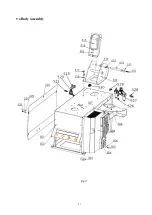
Страница 28: ...27 9 4 Body assembly Fig 37...
Страница 29: ...28 9 5 Pedal Assembly Fig 38...
Страница 30: ...29 9 6 Bead Breaker Cylinder Breaker Arm Assembly Fig 39...
Страница 31: ...30 Appendix 1 Electrical Diagram Fig 41 Fig 42...
Страница 33: ...32 Appendix 3 Drawing of installation for small package Fig 44...
Страница 38: ...37 10 8 Exploded drawings...
Страница 50: ......


