


Panoramic and 3D Modality User guide for CS 8100 3D Family (SM842) Ed07
13
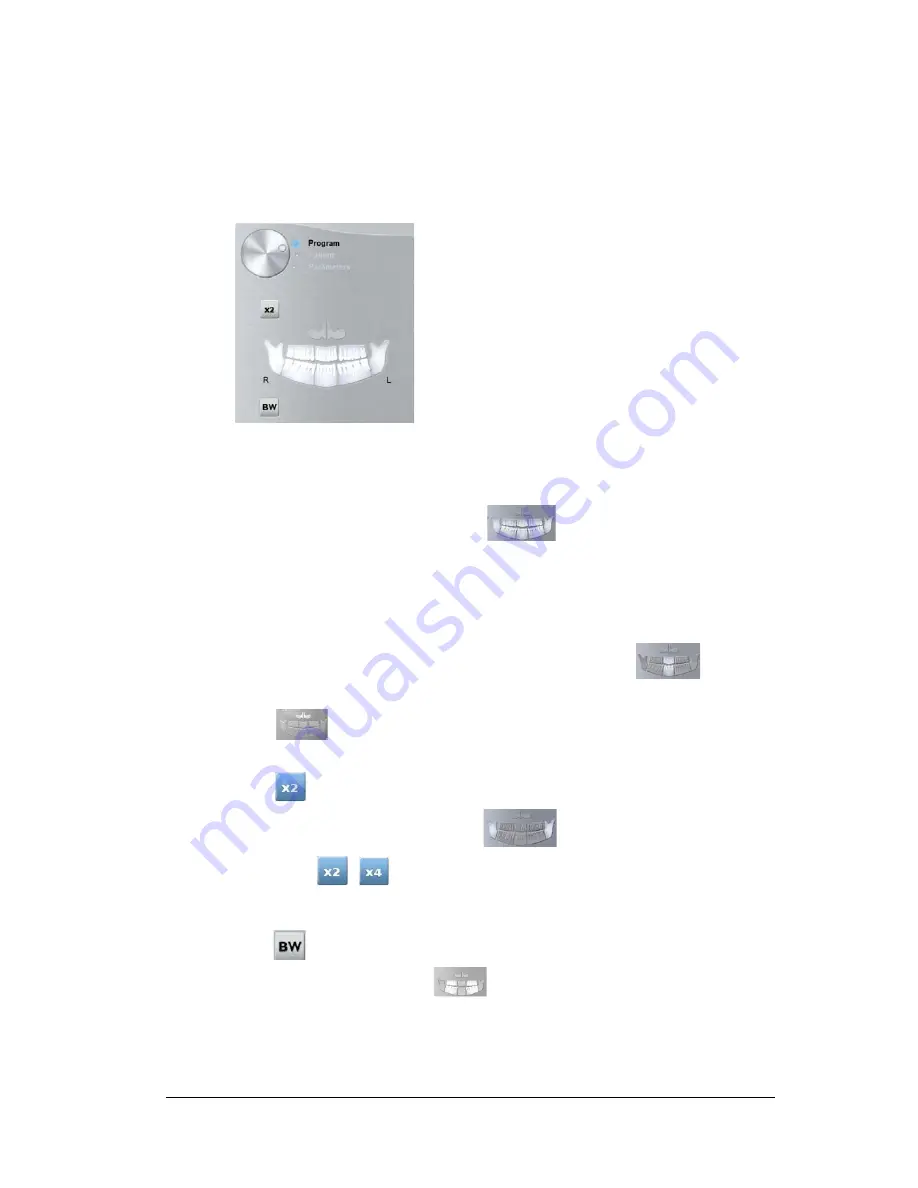
Program Pane
The
Program pane
enables you to choose the different radiological exams. The diagram in
the
Program pane
represents a jaw, with the
R
side of the diagram corresponding to the
right side of the patient.
Figure 7
Program Pane
Radiological exam options:
Full panoramic acquisition
:
Click on all the areas of interest. Example:
Segmented panoramic acquisition
:
Click on the following areas of interest that you want to examine:
•
Posterior
•
Anterior
The selected area of interest will highlight. Example (anterior exam):
Maxillary Sinus acquisition:
Click .
TMJ acquisition:
Click
for a TMJ acquisition.
The selected area of interest will highlight:
Double click
.
appears for a TMJ x4 acquisition.
Bitewing acquisition:
Click
.
Select one or both area of interest:
.
Содержание CS 8100 3D
Страница 1: ...User Guide CS 8100 3D Family CS 8100 3D CS 8100 3D Access CS 8100SC 3D CS 8100SC 3D Access...
Страница 6: ...vi...
Страница 8: ...2 Chapter 1 Conventions in This Guide...
Страница 24: ...18 Chapter 3 Imaging Software Overview Note Optional for CS 8100 3D Access and CS 8100SC 3D Access...
Страница 28: ...22 Chapter 3 Imaging Software Overview...
Страница 32: ...26 Chapter 4 Getting Started...
Страница 46: ...40 Chapter 5 Acquiring Panoramic Images...
Страница 72: ...66 Chapter 7 3D Object Acquisition The completely reconstructed object will display in the image browser...
Страница 94: ...88 Chapter 8 Maintenance...
Страница 96: ...90 Chapter 9 Troubleshooting...


