


10
Employee Profiles
1. Continue to use the AR with the generic installed ID profiles
(code 15 to print)
2. You can change the ID profiles to use actual names and add: department, punch
options, start time
(code 1)
3. You can hire new employees using actual names and payroll Punch ID
’s
(code 1)
4. You can terminate (delete) any or all of the default employees as described
above
in Manager Access Functions’ F4 RESTRICTED.
Sort Employee Profile
Reports are generated in real time using the profile to access the employee Punch
File. The profile consists of Name, Punch ID, options, Department, Start Time, and
Mag Card. The profile can be pre-sorted in 1) Punch ID order, 2) Name order, or 3)
Department order. To enhance printing speed, sort the profile in the same order that a
reports is desired
Swipe Manager Access Card
Press F2
Enter code 12 to sort in alphabetical order by Name.
Enter code 13 to sort in Dept order
Enter code 14 to sort in numerical order by Punch ID (preferred for 200-300 accounts)
Print Employee profiles.
The machine is shipped with 50 generic employees pre-loaded, starting with ID 101
(name is EMPLOYEE 101). You have the option of changing the generic name (e.g.ID
101=EMPLOYEE 101) to a real name (ID 101=JACK), adding department numbers,
start time, mag cards, and punch options.
Assign Punch ID numbers to your employees and start using the AR. You can use the
employee
’s payroll number or any unique number as their Punch ID. At any time, you
can edit, add more, or delete Punch ID
’s.
Swipe the manager card, press F2 to enable function num code entry. Enter code 15
PRINT EMPLOYEE INFORMATION to print a list of all employees in the database
along with the employee NAME, OPTIONS, START TIME, and MAGNETIC CARD
number
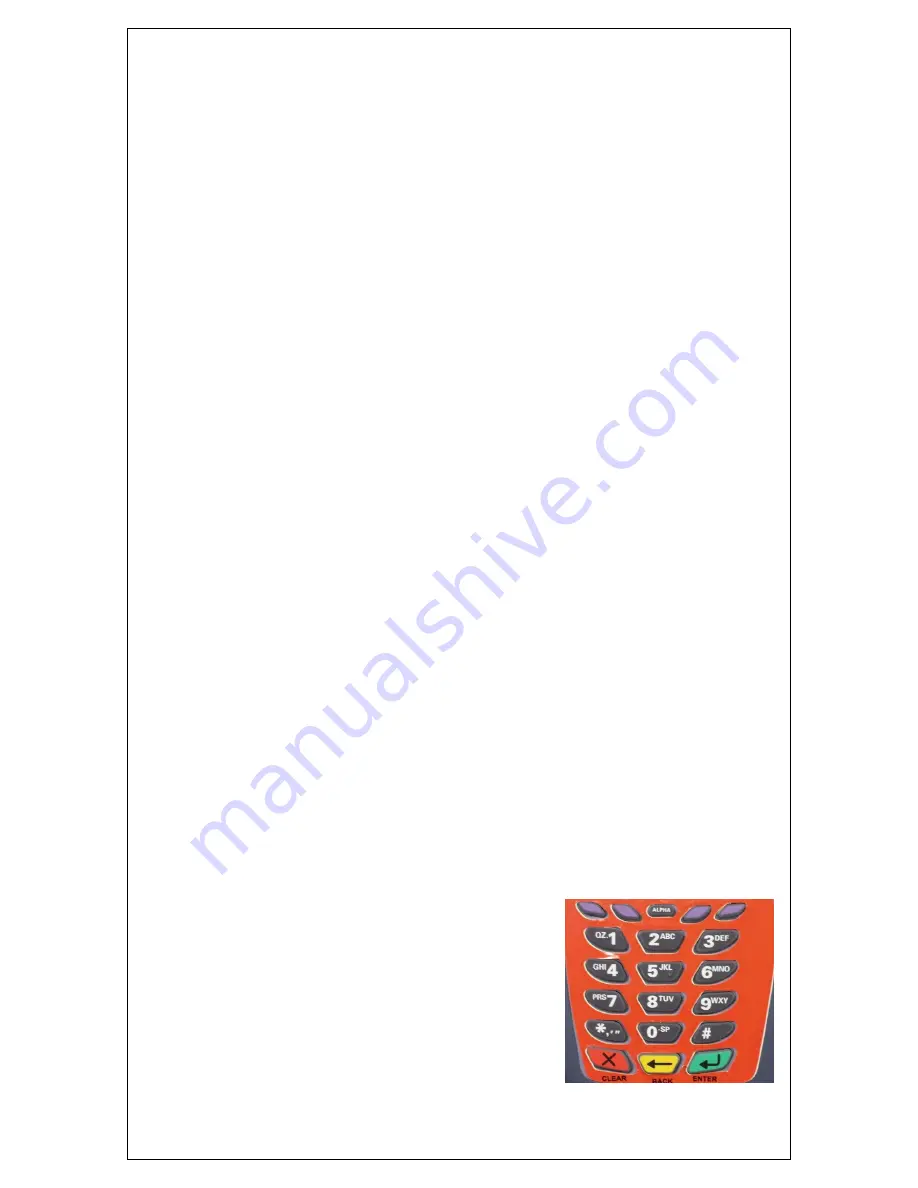
Entering Letters (
DO NOT USE SPECIAL CHARACTERS AS THESE MAY CAUSE SORTING
ISSUES.)
Select letters by first pressing the
number with the wanted character
and then the ALPHA button (above
the “2” key) as many times to have
the desired character appear on the
display.
1 = Q Z .
2 = A B C
3 = D E F
4 = G H I
5 = J K L
6 = M N O
7 = P R S
8 = T U V
9 = W X Y
0 = - space


