82
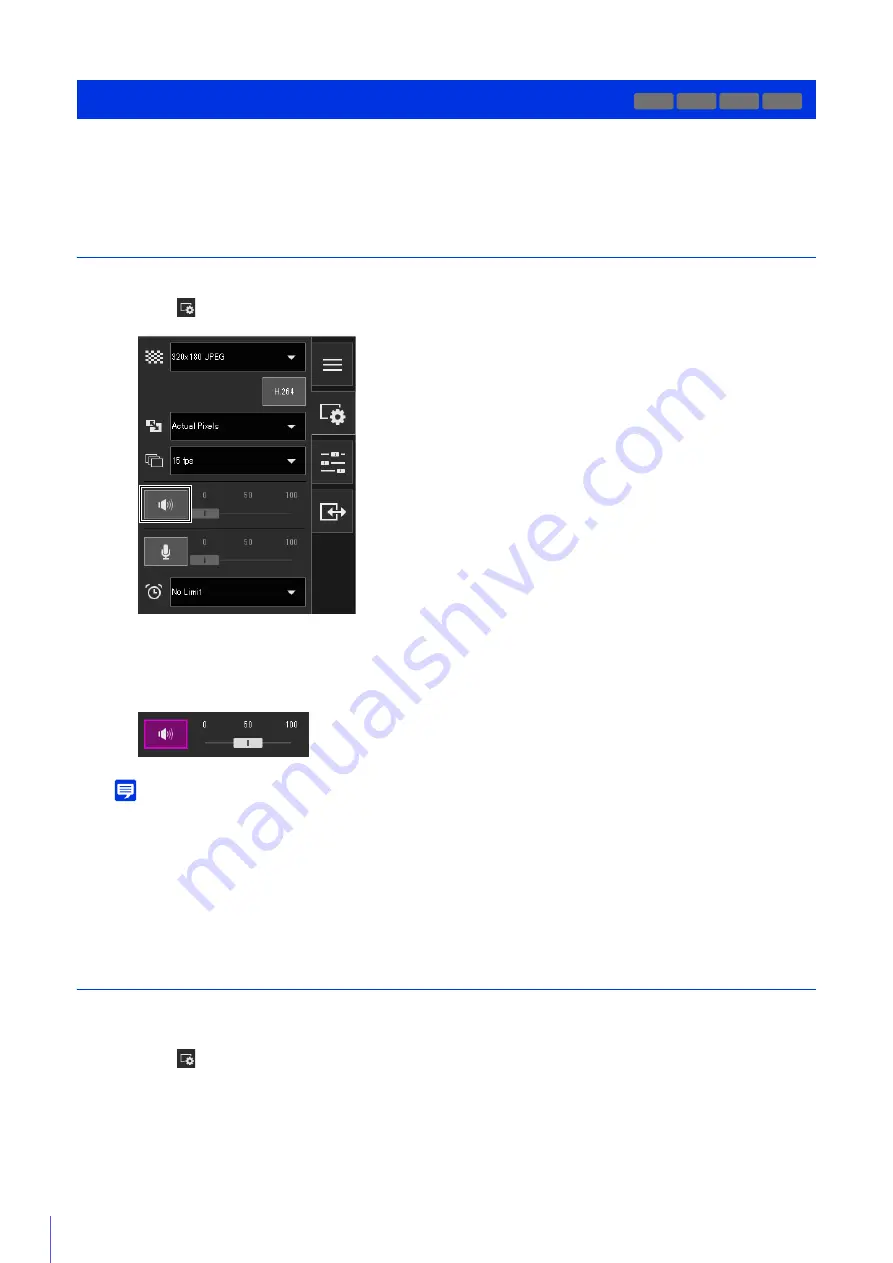
Open the [Video and Audio] menu to set the audio reception from the camera and the audio transmission from the Viewer
and the corresponding volumes.
Receiving Audio
Receive audio from the microphone connected to the camera and play it back in the Viewer.
Audio reception starts.
The [Audio Reception] button icon will change to active (purple) while receiving audio.
Note
• To receive audio, you must connect the microphone to the camera and set [Server] > [Audio Server] > [Audio Transmission from
the Camera] to [Enable] in the Setting Page (P. 153).
• While the icon is active (purple), audio is constantly received even if you close the [Video and Audio] menu.
• To use the audio function in environments that use a proxy server, select [Use a proxy server for your LAN] in [Network and
Internet] > [Internet options] > [Connections] tab > [LAN settings] > [Proxy server] in [Control Panel], then specify the camera IP
address in [Advanced] > [Exceptions].
Transmitting Audio
You can transmit audio received from an external device connected to the computer to a speaker with an amplifier
connected to the camera.
Receiving/Transmitting Audio
R13 M50 H652 H651
1
In the
[Video and Audio] menu, click the [Audio Reception] button.
2
In [Output Volume], adjust the volume to an appropriate level using the slider.
1
In the
[Video and Audio] menu, select the maximum audio transmission time.
Содержание VB-H651V
Страница 18: ...18 ...
Страница 28: ...28 ...
Страница 44: ...44 ...
Страница 86: ...86 ...
Страница 224: ...224 ...
Страница 263: ...BIE 7128 000 CANON INC 2016 ...


