1-11
Detailed Settings
▼
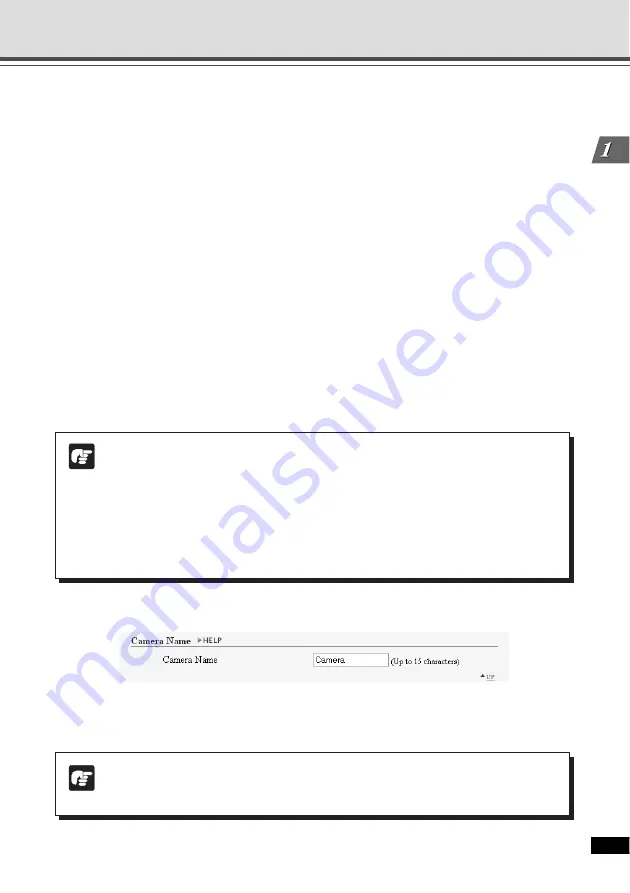
Camera Name
1
Camera Name
This setting is required. You can use up to 15 ASCII characters (including blank and printable
characters) for the camera name.
1
Setting Image Size, Quality and Camera Control (Video and Camera)
4
Day & Night
Specify how to switch between the Day and Night modes. Select from “Manual” and “Auto”.
* If you are using an infrared lamp, you cannot use the Auto mode.
Brightness
Specify how the camera changes from the Day Mode to Night Mode. If you want to shoot
video in color as long as possible, select “Darker”. If you want to rather suppress noises in
video by capturing in black and white, select “Brighter”.
Luminance Sensitivity
If the brightness changes frequently, due to a light source passing in front of the camera
for example, select “Low”. If the brightness does not change frequently, select “High”.
5
Enable Digital Zoom
Check to enable Digital zoom.
* With the digital zoom, higher magnification causes lower image quality.
6
Mount
Select a camera mount type. The factory default setting is Inverted.
7
Return to Home Position when nobody has a control privilege.
When this option is checked and the home position is specified, the camera is moved to its
home position if there is no request for a control privilege. You can set Home Position from
VBAdmin Tools (
→
P. 2-10).
Note
●
When setting “Day & Night Mode” to “Auto”, be sure to test the camera operation in
advance to check effectiveness of this option.
●
When setting “Day & Night Mode” to “Auto”, use “Auto Exposure” (
→
P. 3-28).
●
If you are using an infrared lamp, set the “Day & Night Mode” to “Manual”. You
cannot use the Auto mode.
●
If you set the “Day & Night Mode” to “Auto”, the infrared cut filter may make several
round trips when the camera switches the Day & Night modes.
Note
If you are using the Network Video Recorder VK-64/VK-16 (optional), the camera
name specified here will be displayed when registering the camera.


