4. The restart is required. Select 'Restart now'.
When 'User access mode' is set to another setting than 'Disabled', the system must be
restarted to guarantee the data confidentiality of future incoming jobs. Do not select 'Restart
later'.
Create the domain(s) and set the user access configuration settings
Procedure
1.
Open the 'Security' - 'Domains' page.
2.
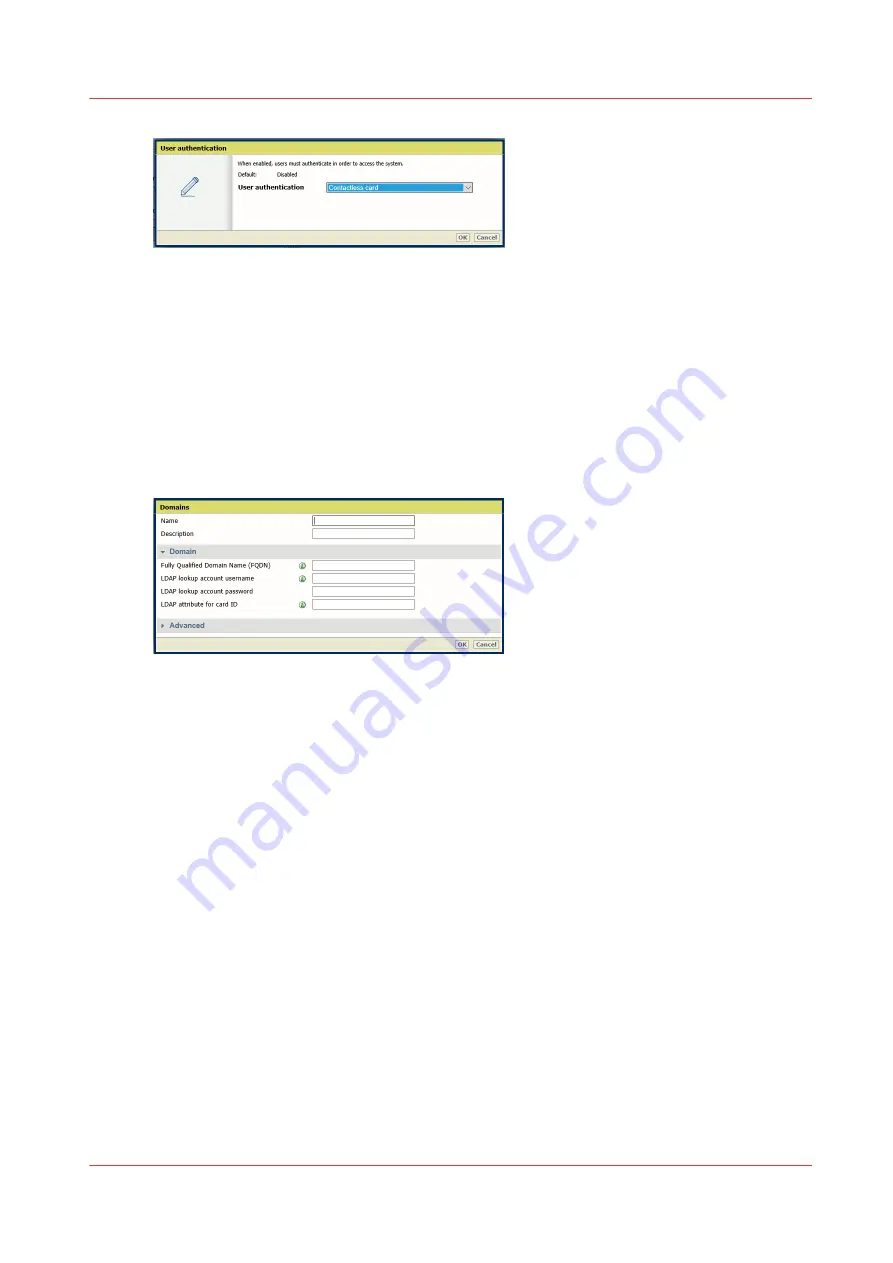
Click 'Create new' to create a domain:
3.
Enter the following information:
• A name for the domain. This name will appear on the user panel as the domain name, so it is
recommended to give it a clear name.
• A description.
• The exact fully qualified domain name (FQDN).
• The credentials (username/password ) for the LDAP lookup account (mandatory).
• The LDAP attribute for the card ID (it is up to the IT administrator to use or define a new one in
Active Directory). The card ID is the unique identifier sent to the Active Directory for
identification.
4.
When the security policy requires it, set the advanced settings:
• 'Suffix for the User Principal Name (UPN)': if there is a custom suffix, select 'Custom' and enter
it (if there are several suffixes in the same domain, create as many domains as suffixes).
• 'Locate LDAP server': enter the LDAP server name (Fully Qualified Domain Name) or IP address
and port number (if not automatically retrieved by the DNS server).
• 'LDAP attribute to display on the user panel': by default it is 'displayName', but another
attribute is possible.
• 'LDAP search filter': by default it is based on the user principal name
(userPrincipalName=(upn)), but it can be based on another attribute.
• 'LDAP search base': by default the complete LDAP database (defaultNamingContext attribute).
In case of several LDAP databases, it can be worthwhile for performance improvement to
indicate another LDAP search base (Custom LDAP search base).
5.
Repeat the creation operation for every domain needed.
6.
Go to the 'Security' - 'Configuration' - 'User access configuration' section.
7.
Set the user access settings:
Configure the Contactless card authentication
Chapter 4 - Security on Océ PlotWave 345/365 and Océ PlotWave 450/550
183
Содержание Oce PlotWave 750
Страница 1: ...Administration guide PlotWave ColorWave Systems Security information ...
Страница 8: ...Contents 8 ...
Страница 9: ...Chapter 1 Océ Security policy ...
Страница 18: ...Overview of the security features available per Océ System 18 Chapter 1 Océ Security policy ...
Страница 19: ...Chapter 2 Security on Océ PlotWave 300 350 PlotWave 750 PlotWave 900 and ColorWave 300 ...
Страница 97: ...Chapter 3 Security on Océ PlotWave 500 and PlotWave 340 360 ...
Страница 147: ...Chapter 4 Security on Océ PlotWave 345 365 and Océ PlotWave 450 550 ...
Страница 235: ...Chapter 5 Security on Océ ColorWave 550 600 650 and Poster Printer ...
Страница 299: ...Chapter 6 Security on Océ ColorWave 500 and Océ ColorWave 700 ...
Страница 382: ...Smart Inbox management and job management 382 Chapter 6 Security on Océ ColorWave 500 and Océ ColorWave 700 ...
Страница 383: ...Chapter 7 Security on Océ ColorWave 810 Océ ColorWave 900 and Océ ColorWave 910 ...
Страница 409: ......


