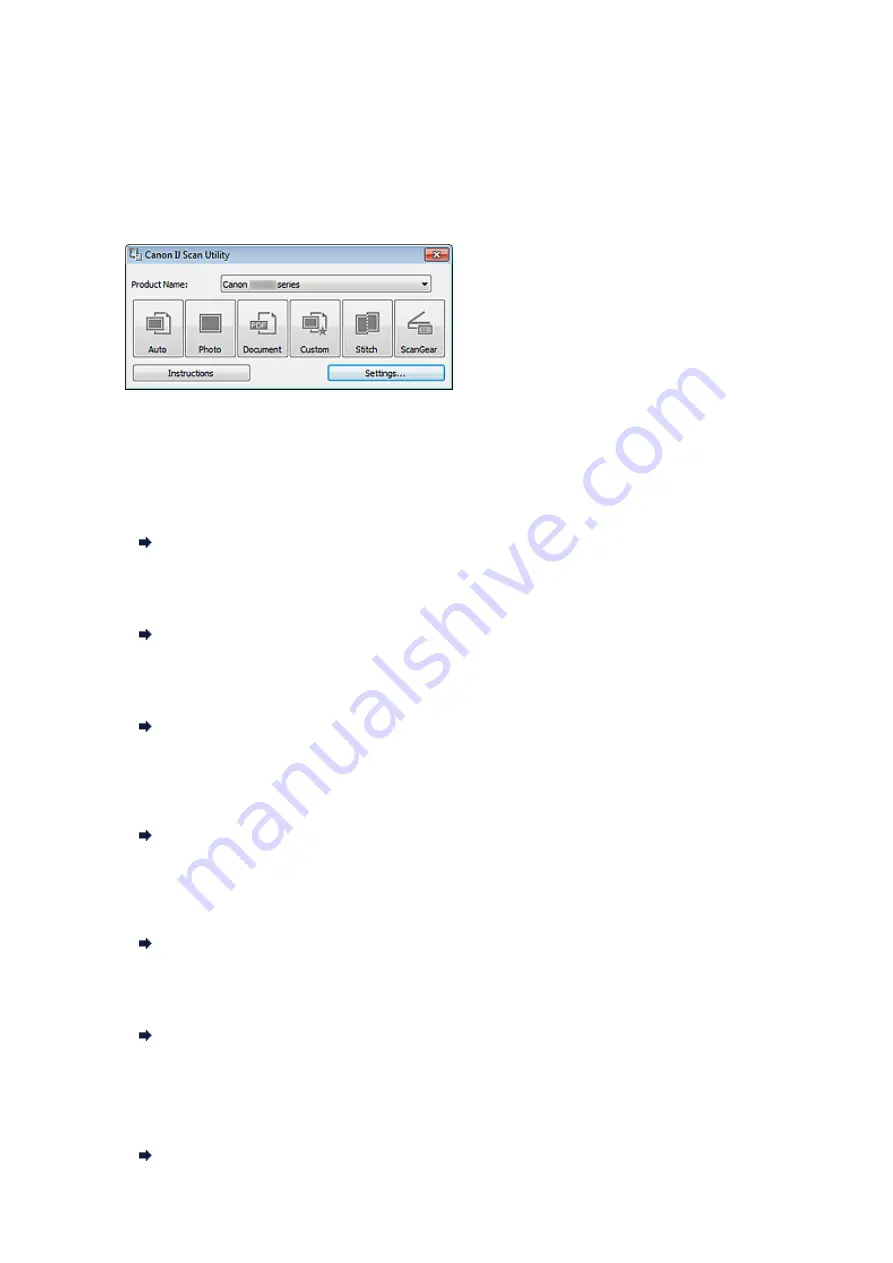
IJ Scan Utility Main Screen
From the
Start
menu, select
All Programs
>
Canon Utilities
>
IJ Scan Utility
>
IJ Scan Utility
to start IJ
Scan Utility.
You can complete from scanning to saving at one time by simply clicking the corresponding icon.
•
Product Name
Displays the name of the product that IJ Scan Utility is currently set to use.
If the displayed product is not the one you want to use, select the desired product from the list.
•
Auto
Detects the type of items automatically and saves them to a computer. The data format for saving will
also be set automatically.
Save settings and the response after scanning can be specified in the
Settings (Auto Scan)
dialog box.
Settings (Auto Scan) Dialog Box
•
Photo
Scans items as photos and saves them to a computer.
Scan/save settings and the response after scanning can be specified in the
Settings (Photo Scan)
dialog box.
Settings (Photo Scan) Dialog Box
•
Document
Scans items as documents and saves them to a computer.
Scan/save settings and the response after scanning can be specified in the
Settings (Document Scan)
dialog box.
Settings (Document Scan) Dialog Box
•
Custom
Scans items with your favorite settings and saves the images to a computer. The item type can be
automatically detected.
Scan/save settings and the response after scanning can be specified in the
Settings (Custom Scan)
dialog box.
Settings (Custom Scan) Dialog Box
•
Stitch
Displays the
Image Stitch
window in which you can scan the left and right halves of an item larger than
the platen and combine the scanned images back into one image.
Scan/save settings and the response after scanning can be specified in the
Settings (Scan and Stitch)
dialog box.
Settings (Scan and Stitch) Dialog Box
•
ScanGear
Starts ScanGear (scanner driver) in which you can make image corrections and color adjustments when
scanning.
Scan/save settings and applications can be specified in the
Settings (ScanGear)
dialog box.
Settings (ScanGear) Dialog Box
•
Instructions
Opens this guide.
•
Settings...
Displays the Settings dialog box in which you can specify the scan/save settings and the response after
scanning.
Содержание MX390 series
Страница 1: ...MX390 series Online Manual Scanning English ...
Страница 18: ...5 Select Select Source according to the items to be scanned 6 Select Auto scan for Paper Size then click OK ...
Страница 26: ...Scanned images are saved according to the settings ...
Страница 59: ...You can restore the settings in the displayed screen to the default settings ...
Страница 78: ......
Страница 83: ...Related Topic Basic Mode Tab ...
Страница 120: ...Related Topic Scanning in Advanced Mode Scanning Multiple Documents from the ADF Auto Document Feeder in Advanced Mode ...
Страница 131: ...Reset all adjustments saturation color balance brightness contrast histogram and tone curve ...
Страница 138: ... Output by page Outputs the scanned documents in the correct page order ...
Страница 142: ......
Страница 148: ...Useful Information on Scanning Adjusting Cropping Frames IJ Scan Utility Resolution Data Formats Color Matching ...
Страница 154: ...Other Scanning Methods Scanning with WIA Driver Scanning Using the Control Panel Windows XP Only ...
Страница 162: ......


