– 35 –
Setting the Caption
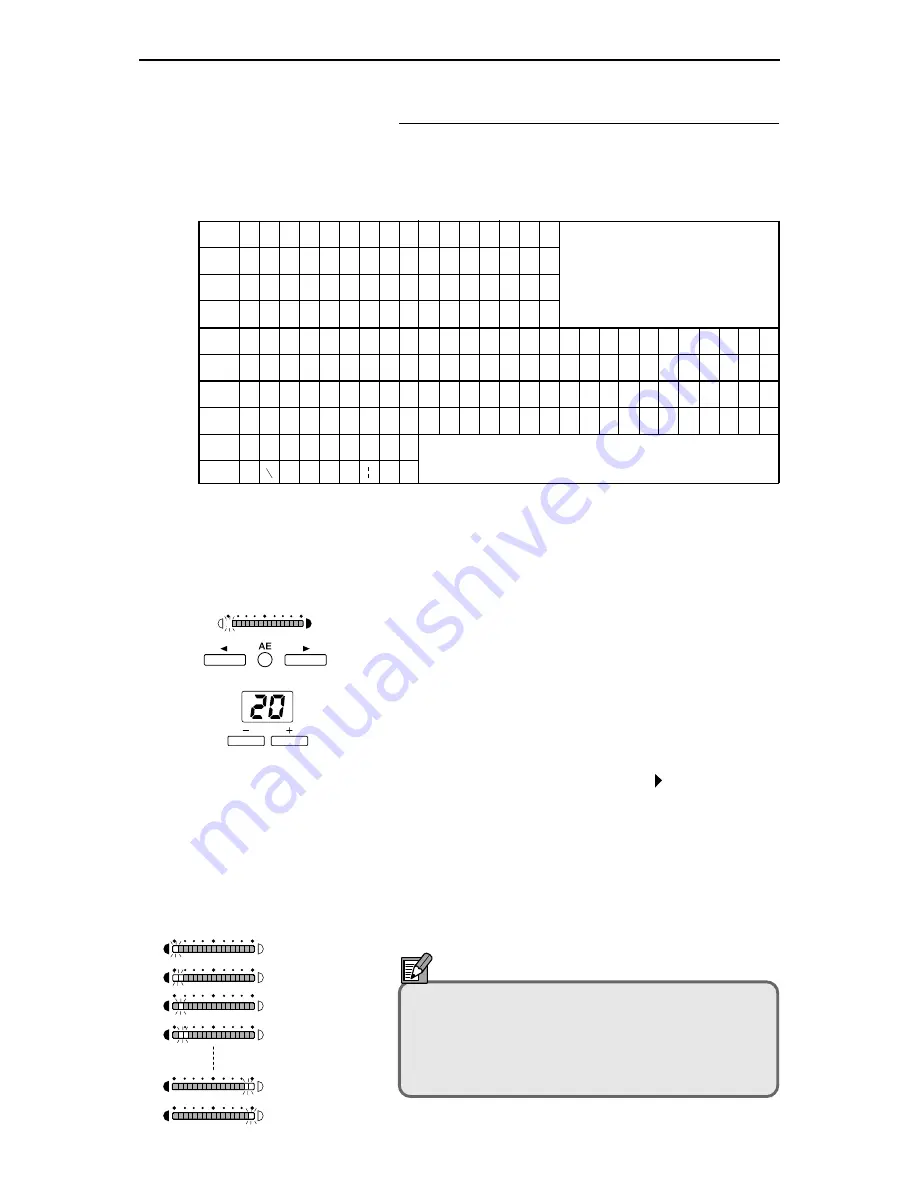
This function adds a pre-registered caption to the printed
image. Registered captions can include up to 33 characters
(including spaces) selected from the character code table
shown below.
■
Setting the Caption
1
Hold down the function key to which the Add on
function is assigned for 2 seconds. The function key and
the Brightness indicator start blinking.
2
Hold down the AE key for 2 seconds.
The copies indicator now becomes the caption display
and the scanner switches to caption input mode.
3
Check that the lamp at the left end of the brightness
indicator is blinking and then press the plus (+) or
minus (-) key to set the character code for the first
character, as shown in the character code table.
4
Press the brightness adjustment key ( ) to indicate the
next character then use the plus (+) and minus (-) keys
to select the character.
5
Repeat the same procedure to register the rest of the
caption.
6
When you have finished registering the caption, press
the Reset key. The caption is then registered.
NOTE
The position of the lamp in the Brightness indicator
shows which character in the caption is being set.
To clear the contents of the caption, press the Reset
key while you are in caption input mode. This clears
all the specified text.
Code
20 21 22
23
24 25 26 27 28 29 2A 2B 2C 2D 2E 2F
Character
!
"
#
$
%
&
'
(
)
*
+
,
–
.
/
Code
30 31 32
33
34 35 36 37 38 39 3A 3B 3C 3D 3E 3F
Character
0
1
2
3
4
5
6
7
8
9
:
;
<
=
>
?
Code
40 41 42
43
44 45 46 47 48 49 4A 4B 4C 4D 4E 4F 50 51 52 53 54 55
56 57
58 59 5A
Character
@
A
B
C
D
E
F
G
H
I
J
K
L
M
N
O
P
Q
R
S
T
U
V
W
X
Y
Z
Code
60 61 62
63
64 65 66 67 68 69 6A 6B 6C 6D 6E 6F 70 71 72 73 74 75
76 77
78 79 7A
Character
`
a
b
c
d
e
f
g
h
i
j
k
l
m
n
o
p
q
r
s
t
u
v
w
x
y
z
Code
5B 5C 5D 5E 5F 7B 7C 7D 7E
Character
[
]
^
–
{
}
~
Code 20 inserts a space.
1st character
2nd character
3rd character
4th character
32nd character
33rd character
......
Содержание MultiPASS 800
Страница 1: ......


