(3) Carriage unit replacement
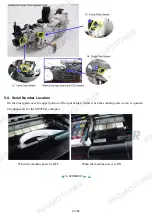
In the MG6100 series, the carriage unit can be replaced by removing only the carriage upper rail from the main
chassis (see
2-2. Part Replacement Procedures, (6) Carriage unit removal
, for details).
If the lower carriage rail needs to be removed, before removing the screws, put a mark on the main chassis to
indicate the carriage rail position.
After replacing the carriage, return the carriage rail to the original position while aligning the rail to the mark on
the chassis.
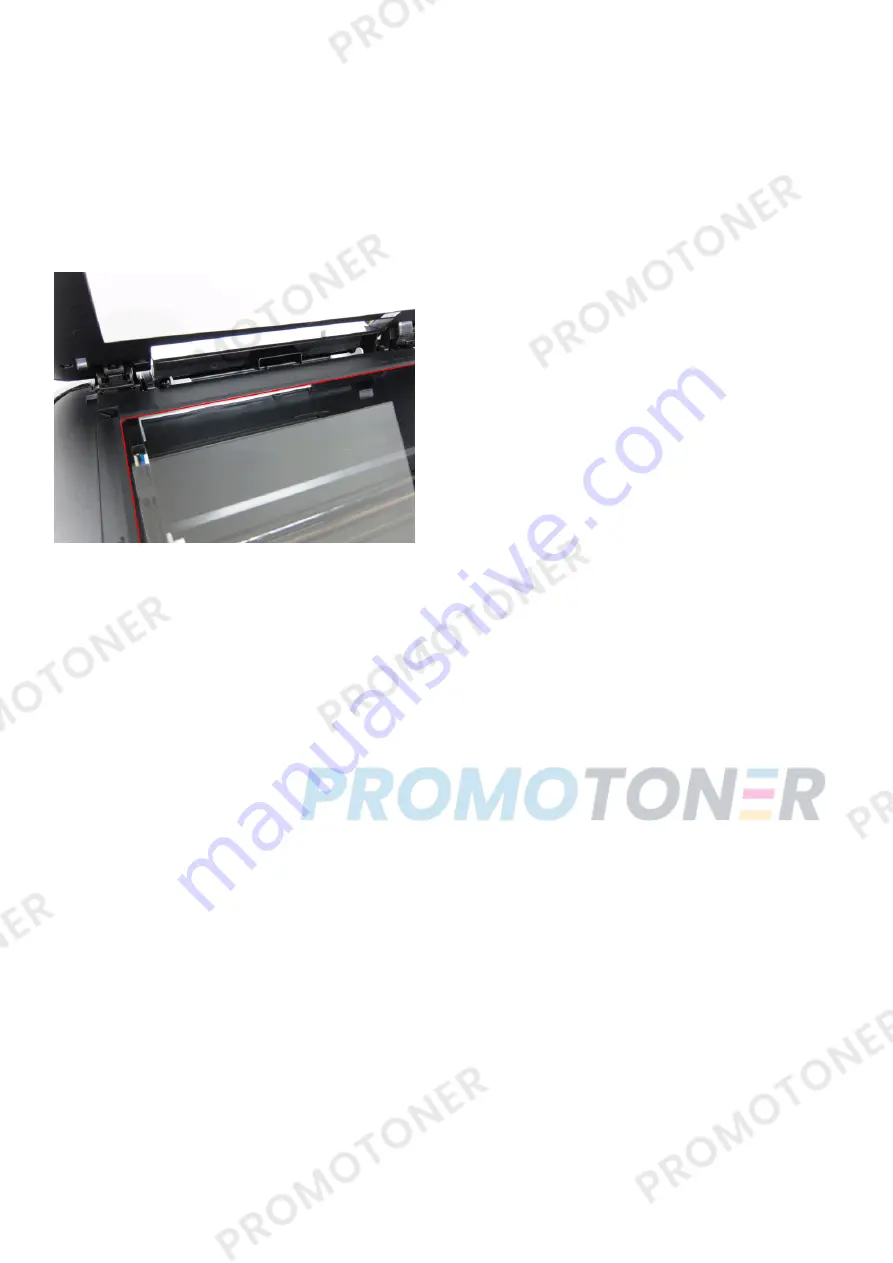
(4) Document pressure sheet (sponge sheet) replacement
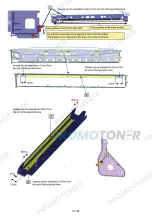
1) Peel off the cover sheet from the double-sided adhesive tape on the back of the document pressure sheet.
With the long-side down, position the upper-left corner of the document pressure sheet at the scanning
reference point on the platen glass (back left where the red lines cross in the photo above).
2) Slowly close the document pressure plate, while maintaining the hinge position. The document pressure
sheet will attach to the plate frame.
3) Open the plate to confirm the following:
- No extension of the sponge edges over the mold part of the upper scanner cover.
- No gap between the platen glass reference edges and the corresponding sponge edges.
- No shades or streaks in monochrome test printing without a document on the platen glass.
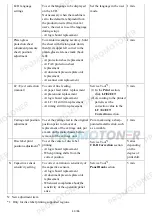
(5) Ink absorber counter setting
Before replacement of the logic board, check the ink absorber counter value, and register it to the replaced new
logic board. (The value can be set in 10% increments.)
In addition, according to the "
Guideline for Preventive Replacement of Ink Absorber
," replace the ink absorber.
When the ink absorber is replaced, reset the applicable ink absorber counter (to 0%). See
3-3. Adjustment and
Settings in Service Mode.
56 / 66
Содержание MG6110
Страница 24: ...5 Remove the main case no screws 20 66...
Страница 27: ...In reassembling attach the new protection sheet as it is over the remaining portions of the sheet 23 66...
Страница 36: ...3 Attach the cassette feed guide 4 Install the cassette feed roller unit 32 66...
Страница 44: ...4 Slowly lift the print unit to separate it from the bottom case 40 66...
Страница 58: ...54 66...
Страница 63: ...4 2 Integrated Inspection Pattern Print Print sample 59 66...
Страница 64: ...4 3 Ink Absorber Counter Value Print Print sample 4 VERIFICATION AFTER REPAIR 60 66...
Страница 68: ...64 66...

