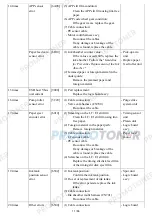


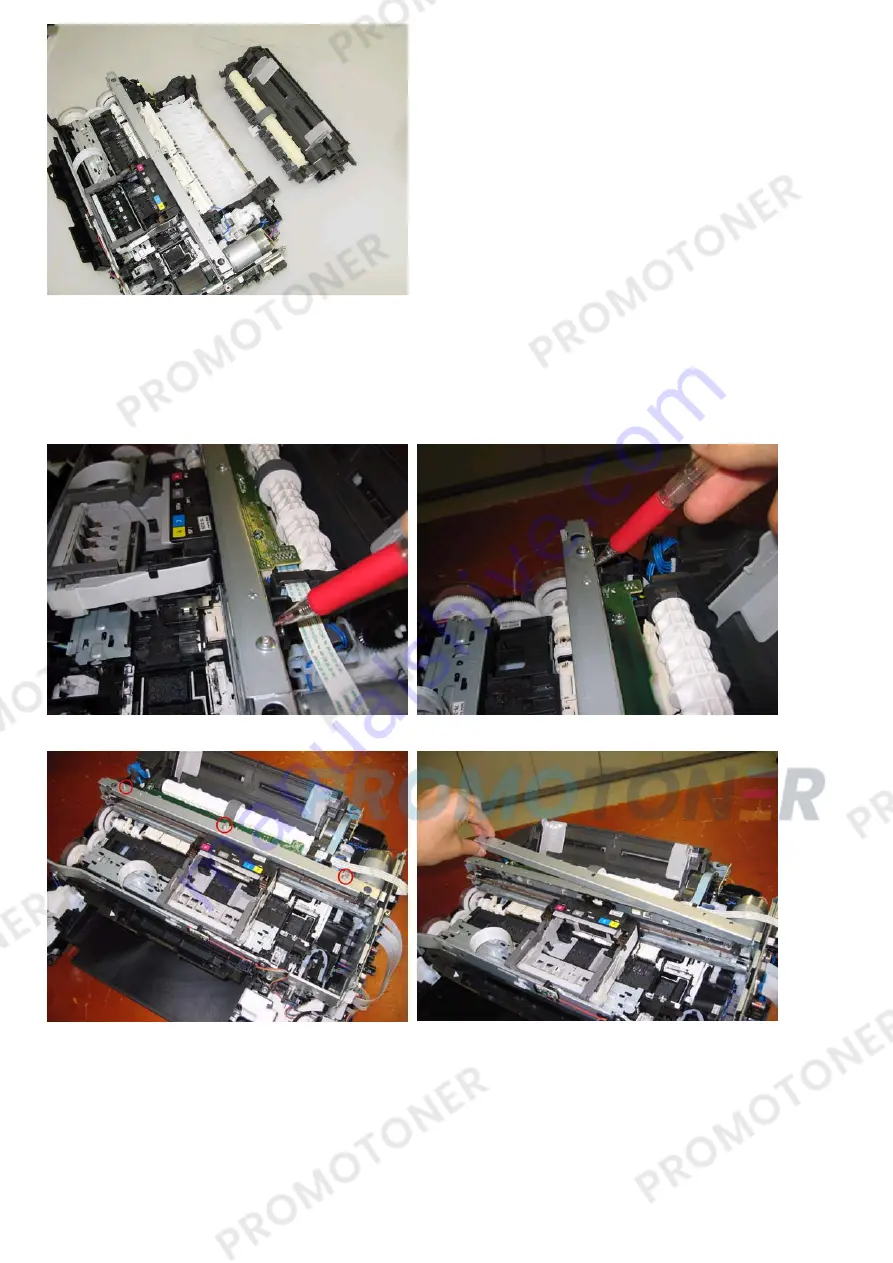
(6) Carriage unit removal
1) Unlock the carriage while following the procedures (4) Carriage unlocking.
2) On the main chassis, mark the positions of the screws that fix the carriage upper rail to the main
chassis (3 points for each screw: the left, right, and center).
3) Remove 3 screws that fix the carriage upper rail to the main chassis, then remove the rail.
4) Slowly slide the carriage unit to where the main chassis is cut as shown in the photo below.
25 / 66
Содержание MG6110
Страница 24: ...5 Remove the main case no screws 20 66...
Страница 27: ...In reassembling attach the new protection sheet as it is over the remaining portions of the sheet 23 66...
Страница 36: ...3 Attach the cassette feed guide 4 Install the cassette feed roller unit 32 66...
Страница 44: ...4 Slowly lift the print unit to separate it from the bottom case 40 66...
Страница 58: ...54 66...
Страница 63: ...4 2 Integrated Inspection Pattern Print Print sample 59 66...
Страница 64: ...4 3 Ink Absorber Counter Value Print Print sample 4 VERIFICATION AFTER REPAIR 60 66...
Страница 68: ...64 66...