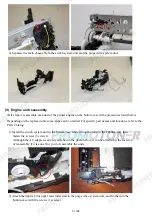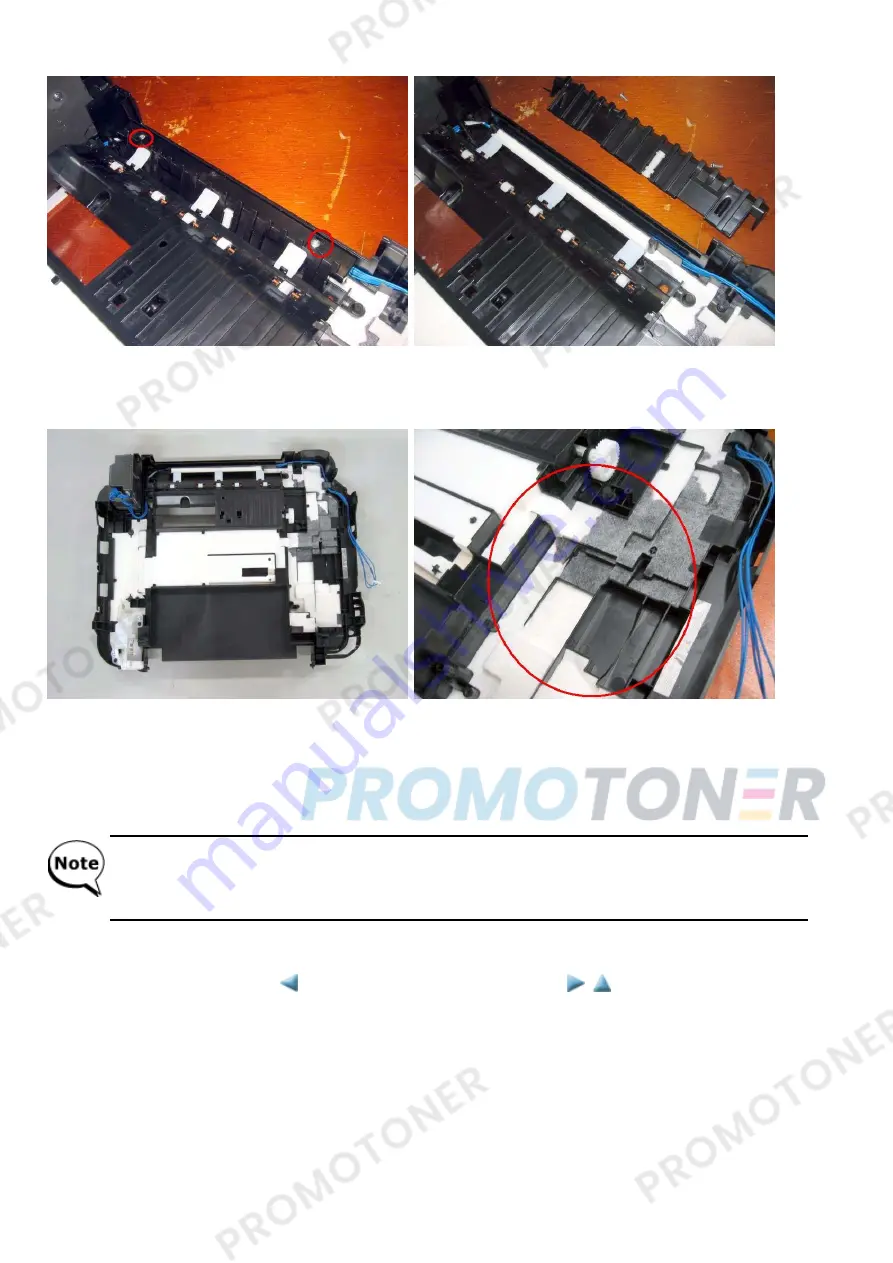
5) Remove the paper separation slope, since a portion of the ink absorber lies under it.
6) Replace the ink absorber.
Confirm that the replaced new ink absorber completely fits in place and is not lifted or
dislocated, especially under the pump.
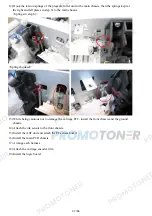
7) While being cautious of the ink tube and each harness location, return the print unit to the bottom
case, and fasten the screws (6 screws removed in step 3).
8) Properly arrange and connect the harnesses, install the scanner unit, and attach the document
pressure plate unit and external housing.
After replacement of the ink absorber, reset the ink absorber counter (or set the appropriate
counter value) in the service mode.
For details, see
3-3. Adjustment and Settings in Service Mode
.
<2-2. Part Replacement Procedures>
41 / 66
Содержание MG6110
Страница 24: ...5 Remove the main case no screws 20 66...
Страница 27: ...In reassembling attach the new protection sheet as it is over the remaining portions of the sheet 23 66...
Страница 36: ...3 Attach the cassette feed guide 4 Install the cassette feed roller unit 32 66...
Страница 44: ...4 Slowly lift the print unit to separate it from the bottom case 40 66...
Страница 58: ...54 66...
Страница 63: ...4 2 Integrated Inspection Pattern Print Print sample 59 66...
Страница 64: ...4 3 Ink Absorber Counter Value Print Print sample 4 VERIFICATION AFTER REPAIR 60 66...
Страница 68: ...64 66...


