


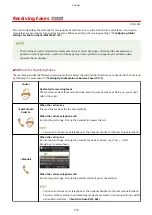
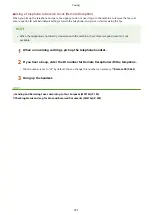


<Answering
Machine>
When the call is a fax
After an incoming call rings, the machine receives the fax automatically.
When the call is a telephone call
The answering machine activates, enabling the caller to leave a message. If you pick up the
handset before the answering machine starts recording a message, you can talk with the
caller.
●
You need to connect your answering machine to the machine beforehand.
●
Set the answering machine to answer after a few rings.
●
We recommend that you add approximately 4 seconds of silence at the beginning of the
message or set the maximum recording time to 20 seconds.
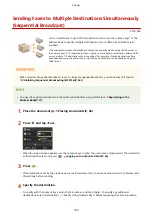
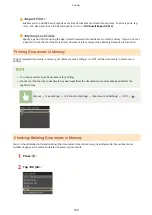
<Net Switch>
The machine distinguishes between fax and telephone calls. This mode is only available for
certain countries and requires subscription to a network switch service.
●
You need to connect your telephone or the optional handset to the machine beforehand.
●
Depending on the type of telephone connected to it, the machine may not be able to send or receive faxes
properly.
●
If you are connecting an external telephone with fax functions, set the telephone to not receive faxes
automatically.
●
If you pick up the telephone handset and hear a beep, the call is a fax. You can receive the fax just by using
the telephone to enter a specific ID number. Using a Telephone to Receive Faxes (Remote Reception)
(P. 181)
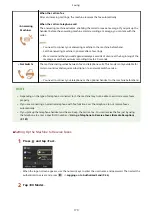
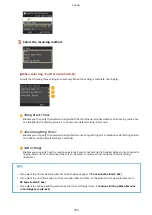
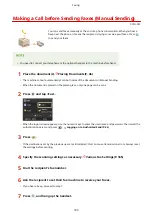
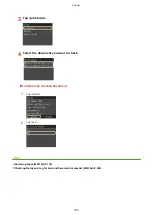
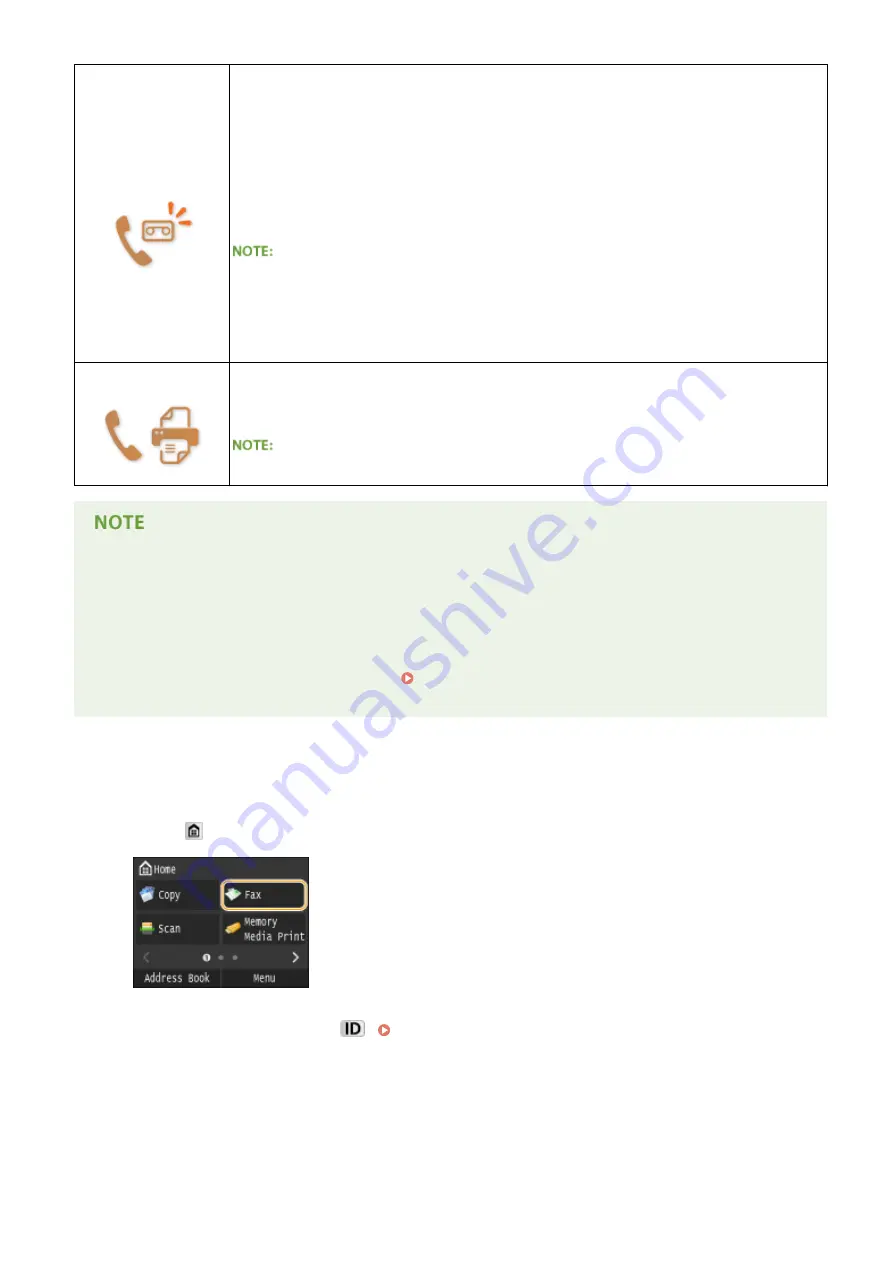
◼
Setting Up the Machine to Receive Faxes
1
Press and tap <Fax>.
●
When the logon screen appears, use the numeric keys to enter the user name and password. Then select the
authentication server and press
. Logging on to Authorized Send(P. 44)
2
Tap <RX Mode>.
Faxing
179
Содержание MF515 Series
Страница 1: ...MF515x MF512x User s Guide USRMA 0856 00 2016 04 en Copyright CANON INC 2016...
Страница 30: ...Power socket Connect the power cord Basic Operations 21...
Страница 41: ...LINKS Customizing the Home Screen P 33 Using the Display P 37 Basic Operations 32...
Страница 120: ...LINKS Basic Copy Operations P 106 Checking the Copying Status and Log P 112 Copying 111...
Страница 129: ...LINKS Basic Copy Operations P 106 Adjusting Density P 117 Copying 120...
Страница 134: ...2 Sided Copying P 121 Copying 125...
Страница 169: ...LINKS Sending Faxes MF515x P 148 Faxing 160...
Страница 179: ...LINKS Sending Faxes MF515x P 148 Adjusting Density P 167 Faxing 170...
Страница 221: ...Faxing 212...
Страница 241: ...LINKS Checking Status and Log for Sent and Received Documents MF515x P 200 Faxing 232...
Страница 245: ...Using the Machine as a Printer 236...
Страница 270: ...LINKS Printing a Document P 237 Printing Borders P 259 Printing Watermarks P 262 Using the Machine as a Printer 261...
Страница 274: ...LINKS Printing a Document P 237 Using the Machine as a Printer 265...
Страница 284: ...Printing a Document P 237 Various Print Settings P 246 Using the Machine as a Printer 275...
Страница 287: ...LINKS Printing via Secure Print P 279 Using the Machine as a Printer 278...
Страница 297: ...LINKS Printing a Document P 237 Various Print Settings P 246 Using the Machine as a Printer 288...
Страница 357: ...Setting Gamma Values P 360 Using the Machine as a Scanner 348...
Страница 400: ...Can Be Used Conveniently with a Mobile Device 391...
Страница 402: ...4 Click Edit 5 Specify the required settings and click OK Use AirPrint Can Be Used Conveniently with a Mobile Device 393...
Страница 412: ...6 Click Fax Fax sending starts Can Be Used Conveniently with a Mobile Device 403...
Страница 420: ...Monitoring and Controlling the Machine with SNMP 508 Configuring Settings for Device Management Software 513 Network 411...
Страница 437: ...Connecting to a Wireless LAN P 418 Network 428...
Страница 449: ...LINKS Setting IPv6 Addresses P 441 Viewing Network Settings P 445 Configuring WINS P 496 Network 440...
Страница 451: ...4 Click Edit in IPv6 Settings 5 Select the Use IPv6 check box and configure the required settings Network 442...
Страница 461: ...LINKS Configuring Printer Ports P 453 Network 452...
Страница 466: ...3 Click OK 4 Click Close LINKS Setting Up Print Server P 458 Network 457...
Страница 562: ...LINKS Using Google Cloud Print P 405 Security 553...
Страница 566: ...Configuring Basic E Mail Settings P 464 Setting a Shared Folder as a Save Location P 475 Security 557...
Страница 598: ...The machine does not support use of a certificate revocation list CRL Security 589...
Страница 730: ...Troubleshooting 721...
Страница 806: ...4 Install the toner cartridge Fully push it in until it cannot go any further 5 Close the front cover Maintenance 797...
Страница 819: ...Maintenance 810...
Страница 855: ...For more information about this function see Scanning Using an Application P 311 Appendix 846...
Страница 882: ...The installation begins Wait a moment This process may take some time 8 Click Exit 9 Click Next Exit Appendix 873...
Страница 887: ...Appendix 878...
Страница 895: ...Manual Display Settings 0Y9U 0H2 Appendix 886...


