


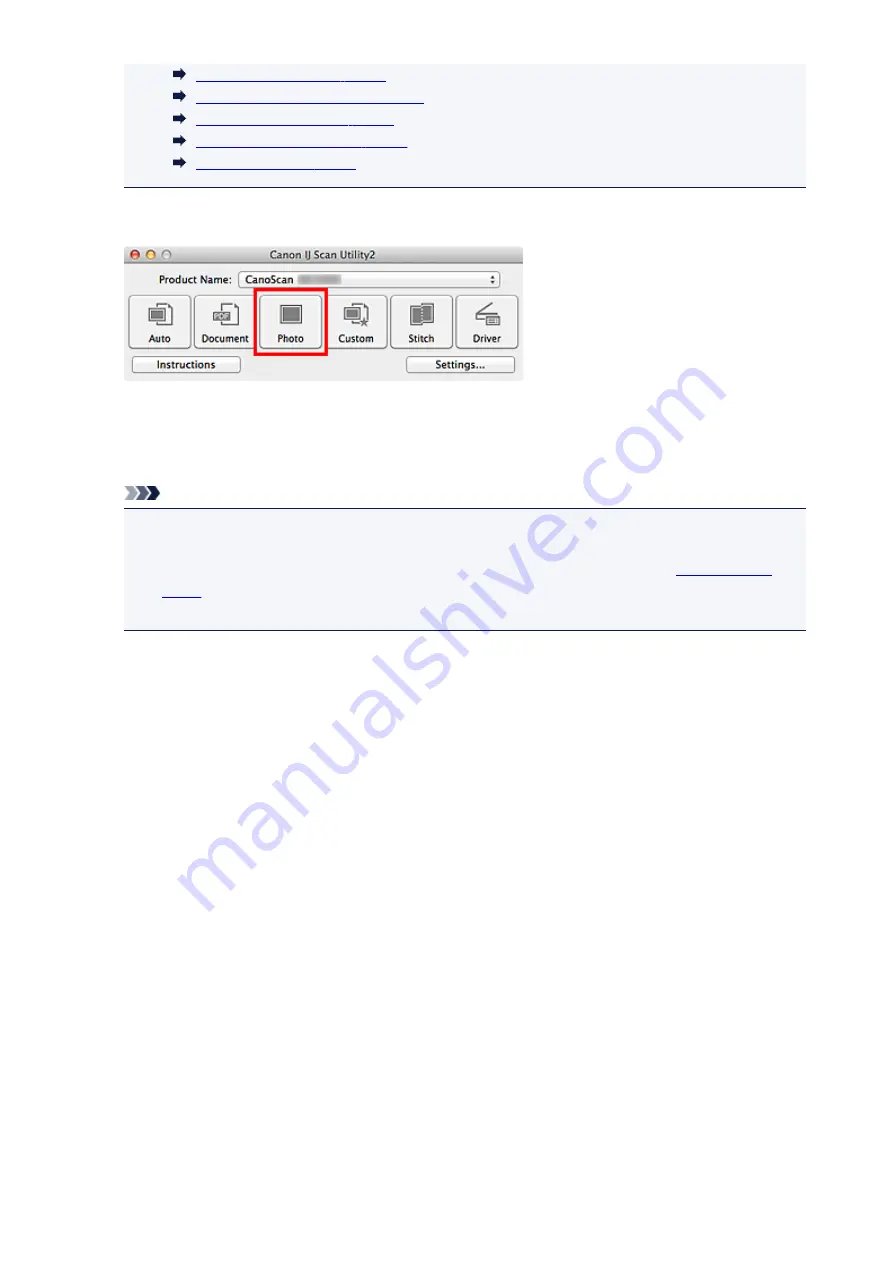
6. Click
Photo
.
Scanning starts.
When scanning is completed, the specified e-mail client starts and the images will be attached to a new
message.
Note
• Click
Cancel
to cancel the scan.
• The scanned images are saved according to the settings made in the Settings dialog.
• When the
Check scan results
checkbox is selected in the Settings dialog, the
appears. After you set the save options and click
OK
, the scanned images are saved and
automatically attached to a new message of the specified e-mail client.
7. Specify the recipient, enter the subject and message, then send e-mail.
Refer to the manual of your e-mail client for e-mail settings.
60
Содержание LiDE220
Страница 20: ...Safety Guide Safety Precautions Regulatory and Safety Information 20 ...
Страница 27: ...Placing Items Place the Item on the Platen Items You Can Place How to Place Items 27 ...
Страница 38: ...Scanning Scanning from a Computer Scanning Using the Scanner Buttons 38 ...
Страница 53: ...5 Select Select Source according to the items to be scanned 6 Select Auto scan for Paper Size then click OK 53 ...
Страница 72: ...Defaults You can restore the settings in the displayed screen to the default settings 72 ...
Страница 87: ...Defaults You can restore the settings in the displayed screen to the default settings 87 ...
Страница 122: ...122 ...
Страница 137: ...137 ...
Страница 204: ...Useful Information on Scanning Adjusting Cropping Frames in the Image Stitch Window Resolution Data Formats 204 ...
Страница 220: ...Troubleshooting Search Each Function Problems with Scanning Problems with Installation Downloading 220 ...
Страница 221: ...Problems with Scanning Problems with Scanning Scan Results Not Satisfactory 221 ...


