


4-18
Send
ing D
o
cume
nts
4
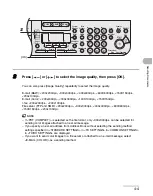
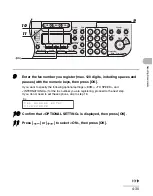
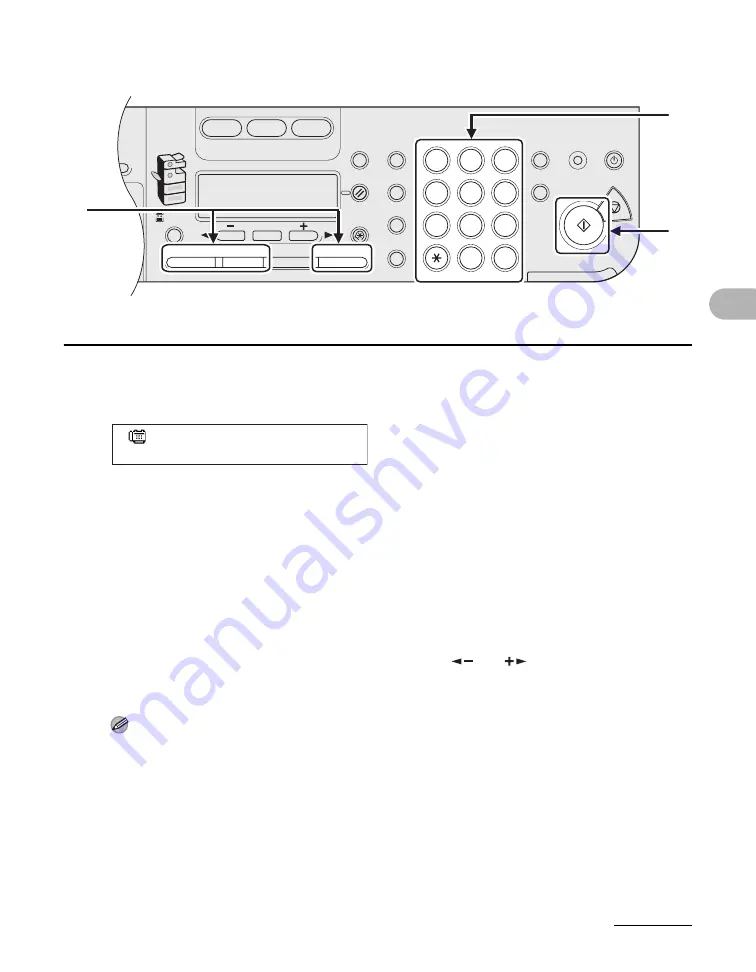
Enter the desired three-digit code (000 to 176) with the numeric keys.
If you entered a wrong code, press [Clear], then try again from step 3.
If you specify an e-mail, I-fax, or file server address, you can enter the optional settings by
pressing [OK]. (See “Send Settings,” on p. 4-7.)
5
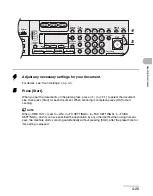
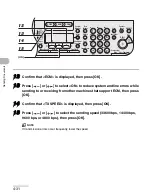
Adjust any necessary settings for your document.
For details, see “Scan Settings,” on p. 4-3.
6
Press [Start].
When you set the documents on the platen glass, press [
] or [
] to select the document
size, then press [Start] for each document. When scanning is complete, press [OK] to start
sending.
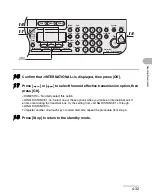
NOTE
When <TIME OUT> is set to <ON> in <TX SETTINGS> in <FAX SETTINGS> in <TX/RX
SETTINGS>, and if you have specified the destination by any other method than using numeric
keys, the machine starts scanning automatically without pressing [Start], after the preset time for
this setting is elapsed.
dress
ook
Paper
Select
COPY
SEND
SCAN
Image Quality
Density
Copy Ratio
OK
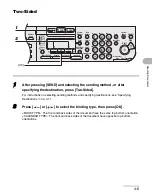
Two-Sided
System
Monitor
View
Settings
Reset
Collate
GHI
@./
PQRS
Tone
JKL
ABC
TUV
MNO
DEF
Clear
ON/OFF
Stop
Start
Processing/
Data
Error Power
WXYZ
SYMBOLS
Additional
Functions
2 on 1
Frame Erase
1
4
7
2
5
8
0
#
3
C
6
9
Log In/Out
ID
Counter
Check
6
4
5
Ex.
= 0 1 2 3 X X X X X X
[ * 0 0 1 ] C A N O N
Содержание imageRUNNER 1019 Series
Страница 2: ......
Страница 5: ...iii ...
Страница 61: ...1 22 Before Using the Machine ...
Страница 69: ...2 8 Document Handling ...
Страница 83: ...3 14 Print Media ...
Страница 149: ...6 8 Copying ...
Страница 161: ...11 4 System Manager Settings ...
Страница 197: ...13 22 Troubleshooting ...
Страница 249: ...14 52 Machine Settings ...


