29
Multi Photo Print
Select a specific image in the LCD monitor and print that image.
The required number of specific images can be printed together.
3
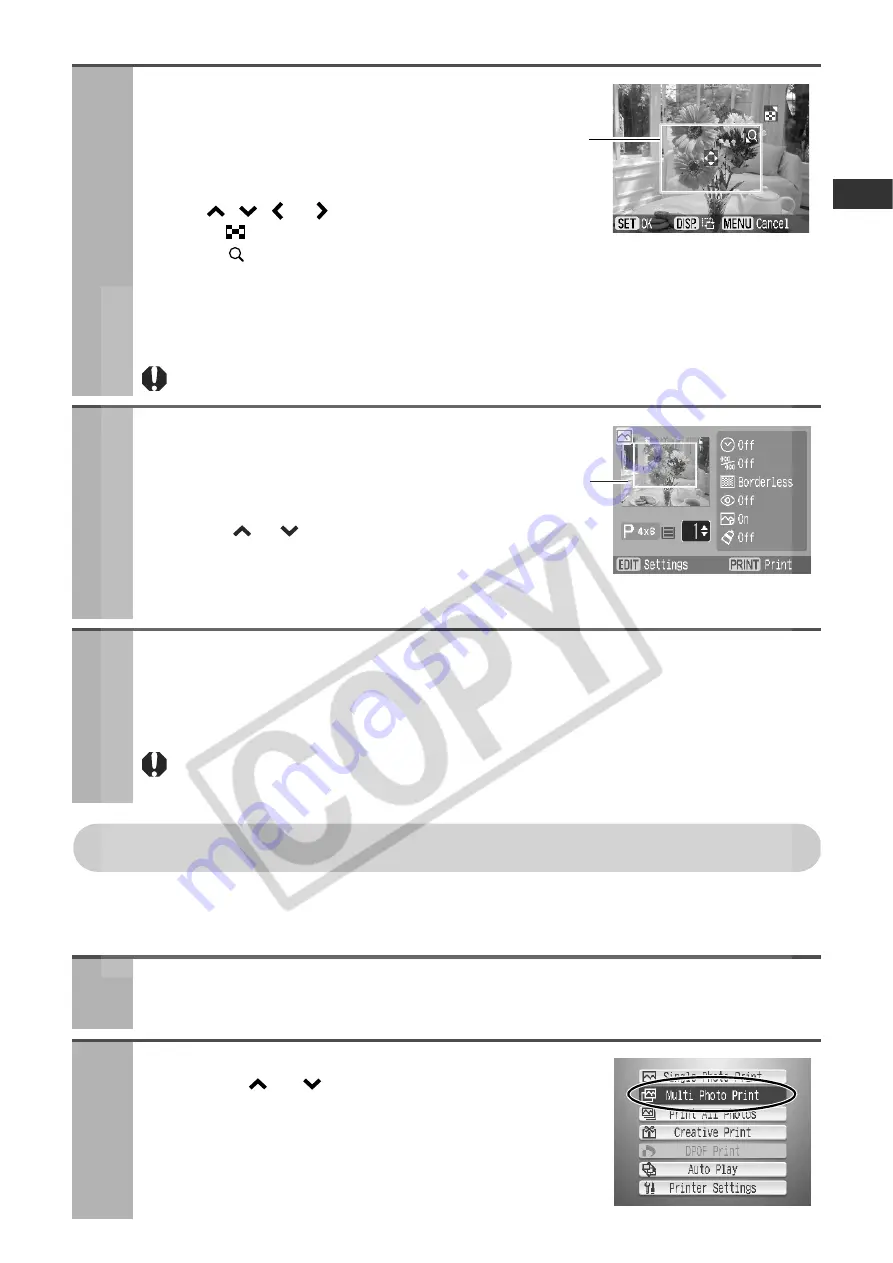
To set the area to be printed (trimmed),
press the EDIT button and set the trimming
frame.
z
The following buttons can be used for the trimming frame:
Move: , ,
or buttons
Enlarge: button
Reduce: button
Rotate: DISP. (Display) button
z
To cancel the trimming setting, press the MENU button.
z
Press the SET button to complete the setting.
When trimming is being set, cancel the enlarged display (p. 28).
4
Press the SET or PRINT/STOP button,
and check the settings on the LCD
monitor.
z
Press the
or
button to select the number of
prints.
z
Press the EDIT button to set the various useful
functions (p. 48).
5
Press the PRINT/STOP button.
z
Printing starts. During printing, the printer’s power button blinks green.
z
You can also start printing by pressing the SET button.
During printer operation, paper is temporarily output from the printer. Do not touch the
paper until printing ends.
1
Turn the printer on, and insert the memory card into the
appropriate memory card slot (p. 27).
2
Press the MENU button, select [Multi Photo
Print] with
or
button, and then press the
SET button.
Trimming frame
Print preview
Содержание 0324B001 - SELPHY ES1 Photo Printer
Страница 77: ...75 MEMO ...


