22
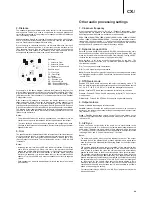
7. Language
;OPZPZ\ZLK[VJVUÄN\YLSHUN\HNLWYLMLYLUJLZ!
Player Language
– To choose the display language for the player's Setup
Menu and on-screen display.
Disc Menu Language
– To choose the preferred language for displaying DVD
and Blu-ray Disc menus. If a disc menu of the selected language is available,
that menu will be shown instead of the default disc menu.
Audio Language
– To choose the preferred audio language for DVD and Blu-
ray Discs. If an audio track of the selected language is available on the disc,
the Audio track will be played back.
Subtitle Language
– To choose the preferred subtitle language for DVD. If a
subtitle of the selected language is available on the disc, it will be displayed.
When "Auto" is selected, the subtitle display is decided by the disc.
Note:
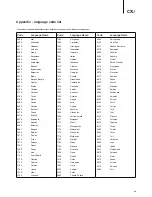
If your preferred language is not listed in the Disc, Audio or Subtitle
menu options, select "Other" and enter the Language Code found on the later
section of this manual.
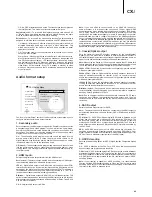
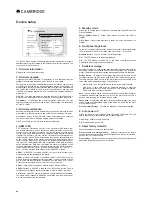
Video setup
Playback Setup
Video Setup
Audio Format Setup
Audio Processing
Device Setup
Network Setup
Exit
Picture Adjustment
Dual HDMI Output
3D Output
3D Setting
TV Aspect Ratio
TV System
Output Resolution
Split A/V
Auto
16:9 Wide
Multi-system
Auto
CXU Setup Menu
Exit
Adjust picture control parameters
;OL =PKLV:L[\W ZLJ[PVUVM[OL:L[\W4LU\Z`Z[LTHSSV^Z`V\[VJVUÄN\YL
various video output options.
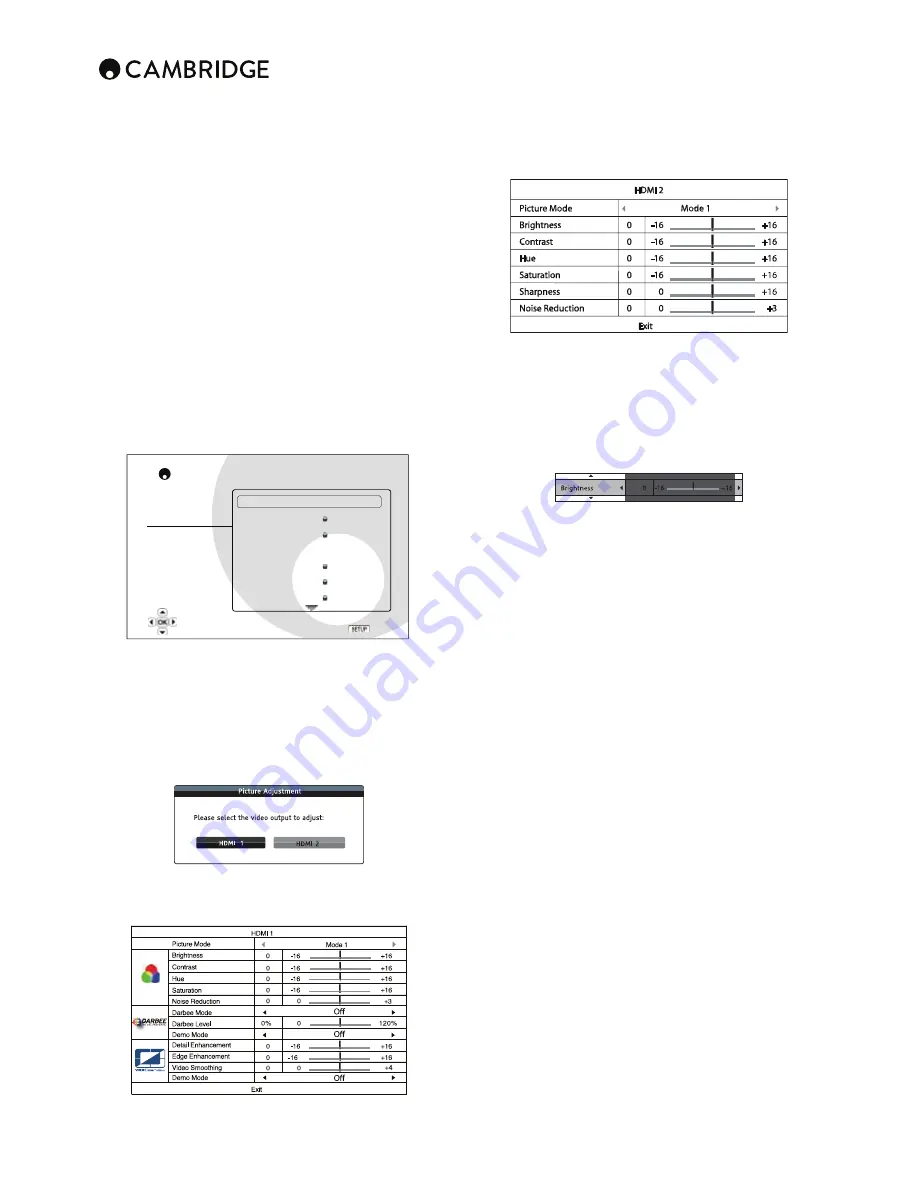
1. Picture adjustment
;VÄUL[\ULWPJ[\YLJVU[YVSWHYHTL[LYZPUVYKLY[VHJOPL]L[OLVW[PTHSWPJ[\YL
quality and visual result. To use Picture adjustment, press the Setup menu
button on the remote control to enter the player's Setup Menu, and then
choose "Video Setup > Picture adjustment", then select the video output to
be adjusted.
Depending on the selected video output, the Picture Adjustment menu may
ILZSPNO[S`KPɈLYLU[
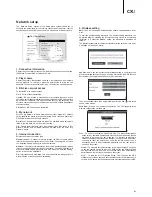
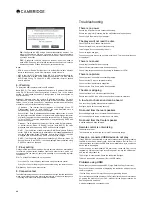
Menu for HDMI 1
Menu for HDMI 2
To change a picture adjustment parameter, use the Navigation
buttons to highlight the parameter and to change its value. Darbee settings
can be adjusted separately for the Blu-ray player, HDMI front and HDMI back
inputs. The individual Darbee settings will be saved to each of these inputs.
To aid in the adjustment of picture control parameters, the picture adjustment
menu will be reduced to only show the parameter being adjusted once you
press the
/
buttons (except the Picture Mode, which you will directly
see the mode name switches between Mode 1, 2 and 3, and all the other
parameters are adjusted automatically). The reduced menu will be positioned
near the bottom of the screen.
Adjust the parameters using the Navigation
buttons. Press the Enter
button to return to the large Picture Adjustment menu.
To exit the Picture Adjustment menu and return to the Setup Menu, either
select "Exit" or press the Return button.
The following picture adjustment controls are available, for HDMI 1 and
HDMI 2:
Picture Mode
– The CXU allows you to save up to three (3) customized video
modes.
Press the
/
buttons to switch the mode and all parameters will be
automatically adjusted to their stored values. Changes to the current
parameter values will be stored automatically when you exit the Picture
Adjustment screen or, switch to another Picture Mode.
Brightness
– To adjust the brightness (black level) of the video output.
Contrast
– To adjust the contrast (white level) of the video output.
Note:
Proper brightness and contrast settings are necessary for a quality
video output. If you do not have the correct black and white levels, your
images can appear washed out or can lose detail in shadows when watching
darker scenes. Televisions have brightness (black level) and contrast (white
level) controls; however it may require a combination of tweaking both the
player and your television to get the optimal result. First adjust the television's
picture controls for the best possible picture. Once that is done, try changing
[OLWSH`LYZZL[[PUNZ[VM\Y[OLYYLÄUL[OLWPJ[\YL[V[OLVW[PTHSYLZ\S[
Hue
– Adjusts the hue (tint) of the video output.
Saturation
– Adjusts the saturation (colour intensity level) of the video output.
Noise Reduction
– To select whether the player shall apply video noise
reduction processing. Noise reduction is handled by the video decoder, and
this setting applies to both HDMI outputs.
Darbee Mode:
Allows you to select the appropriate Darbee Visual Presence
Viewing Modes. Depending on the video content,
Hi-Def
– This mode works with Blu-ray and other high quality video
sources (720p, 1080i, or 1080p). It preserves the original look of the video
while imparting startling clarity and depth, providing the video with an
LSLNHU[HUKYLÄULKMLLSPUNVMLUOHUJLKYLHSPZT
Gaming
– This mode works with video games, Computer-Generated
Imagery (CGI) for movies and other clean video sources. It imparts
a stronger degree of depth, separation and clarity that video game
enthusiasts appreciate. This mode is recommended when you connect a
video game console via the HDMI input of the player.
Full Pop
– This mode works with low-resolution or low-quality video
sources. It imparts the strongest sense of depth and realism, but you
may notice some possible visible artifacts with text.
2σGHIDXOW
– The Darbee Visual Presence is completely bypassed and
the input video is not processed. In this mode, the Darbee Level and
Demo Mode (Darbee) cannot be adjusted.
Содержание CXU
Страница 1: ...CXU UNIVERSAL DISC PLAYER ...
Страница 17: ...CXU UNIVERSAL DISC PLAYER ...
Страница 54: ...TM B u ragDisc Software restore disc 1 Please retain Only for use in case of future software upgrade ...
Страница 55: ......

