®
SECTION 7: LIGHTS (-L)
making
since 1986
water work
SECTION 7: LIGHTS (-L)
7A. PROGRAMMING A LIGHTS SCHEDULE
You can program up to four (4) individual light
programs, with two (2) different start and stop times,
each and a rolling two (2) week schedule. Only
available on controllers with the (
-L
) option.
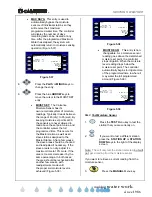
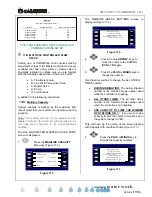
From the MAIN MENU screen:
1.
Press the
LIGHTS
Menu key.
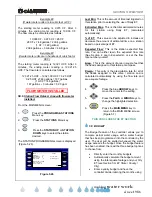
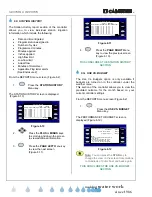
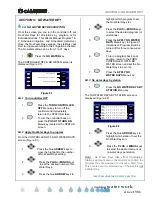
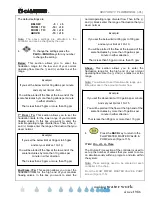
The LIGHTS SCHEDULING & MANUAL
OPERATION screen is displayed (Figure 7.1)
LIGHTS SCHEDULING & MANUAL OPERATION
L1:
Schedule for : Fri, Apr 14 2006
OFF TIMES: OFF OFF
ON TIMES: OFF OFF
currently: Manually Start
Fri 10/28/05 1:24:52PM
Status: OFF
Figure 7.1
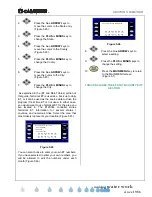
2.
Press the
PLUS
or
MINUS
keys to
scroll through the four (4) light
program screens. They are
designated as L1:, L2:, L3: and L4:
Note:
The lights program names can be changed by
the user via Command Center software.
Once you have selected the lights program that you
want to use.
3.
Press the blue
ARROW
keys to
highlight the date entry. You can
select any date between now and
two weeks from today’s date.
4.
Press the blue
ARROW
keys to
highlight the ON TIMES (Two per
program), and OFF TIMES (two
per program).
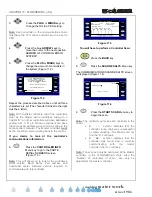
5.
Adjust the times by using the
PLUS
or
MINUS
keys.
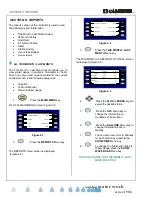
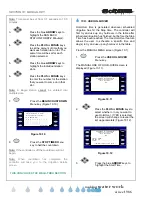
7B. TESTING A LIGHTS CIRCUIT
1.
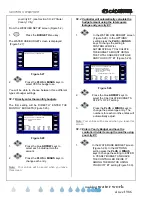
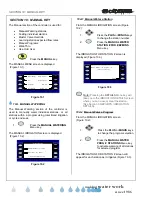
You can also test a light circuit by
pressing the
MANUALLY START
Menu key.
This will activate the program selected for four hours
from the time you pressed the button (Figure 7.2).
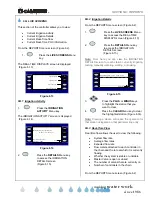
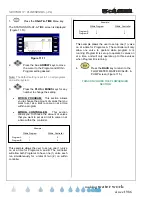
LIGHTS SCHEDULING & MANUAL OPERATION
L1:
Schedule for : Fri, Apr 14 2006
OFF TIMES: OFF OFF
ON TIMES: OFF OFF
currently: STOP
Fri 04/14/06 1:24:52PM
Status: MANUALLY TURNED ON
Will turn OFF at 5:24PM on Fri (04/14)
Figure 7.2
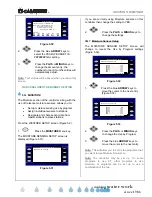
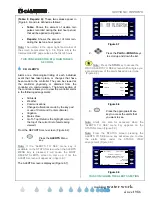
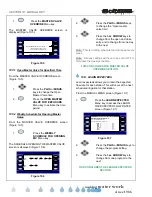
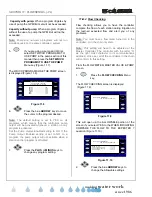
2.
To end the light program test,
press the
STOP
key.
Note:
The
STOP
Menu key can also be pressed
to end the lights program in progress.
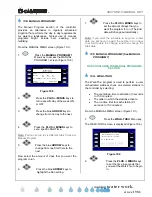
THIS CONCLUDES THE LIGHTS SECTION

