MN260 B | 19
Service Manual
10) Verify the functionality of the pulse dose mode button. Press the button and verify the device toggles
between a continuous flow setting (C) and pulse dose setting (P). The C & P are displayed on the far left
side of the screen.
11) Verify the functionality of the no breath alarm. Switch to a pulse dose setting and do not attach any tubing to the outlet. An alarm
will be present after 15 sec of no breath. Within 60 seconds of no breath detected, verify the system automatically changes to continu-
ous flow. This is a patient safety measure.
12) Verify the unit runs on battery power. Disconnect the AC power supply and allow the SAROS to run for approximately 60 seconds.
Verify the unit continues to run without interruption and that the battery icon is still displayed on the screen.
13) Verify the no battery alarm. Remove the battery and verify that an audible alarm sounds and the yellow light is visible.
14) Within 5-10 seconds, reinstall the battery and verify the SAROS restarts automatically. Once the SAROS restarts, re-connect the
external power as well to resume battery charging.
2.3.2 Flow and O
2
Concentration Test
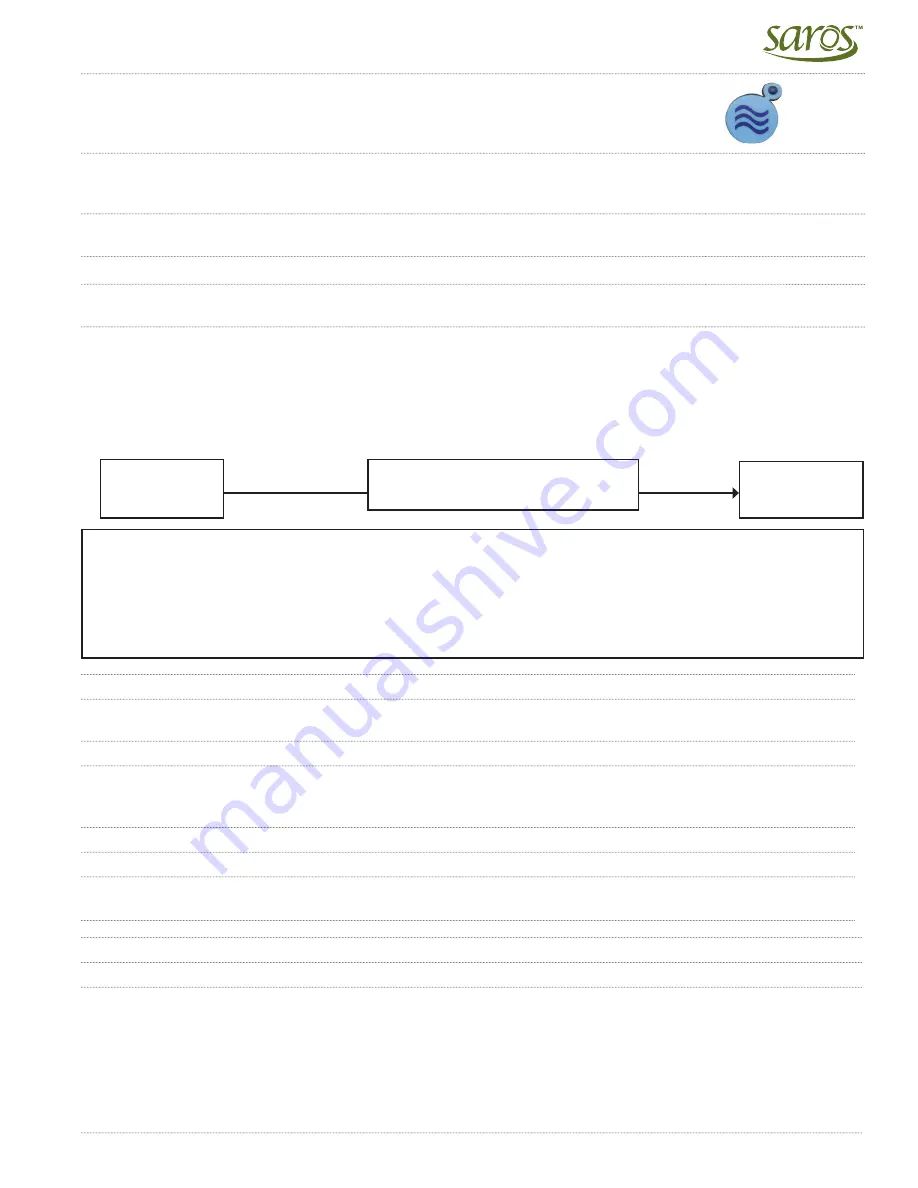
Connect the SAROS to a testing station per the diagram shown below:
NOTE: If testing concentration or flow rate at multiple settings, allow a 5 minute stabilization period between changing the flow rate
prior to taking any test readings.
NOTE: The SAROS is BTP compensated. If measuring concentration and/or flow with a device that is non-Argon compensated and non-
BTP compensated, an additional 0.10 LPM should be added to the flow rate recorded by the testing equipment.
NOTE: Be sure to used standard oxygen-compatible tubing. The tubing from SAROS to the testing device should be a single continuous
piece with no restrictions in line.
1) Verify continuous flow settings C3 and C2 using the following procedure:
a) Turn on the SAROS and set the flow to C3 (3.0 LPM). Allow the unit to run for a minimum of 5 minutes to stabilize before
testing.
b) Verify the O
2
concentration is within 90-96% and record the reading.
c) Record a 60 second running average for the flow rate. If recording measurements manually, record 10 readings over the
course of 60 seconds and calculate the average. Verify the 60 second average is within 2.70 - 3.30 LPM. If using a
non-Argon or Non-BTP compensated measuring device, verify the 60 second average is within 2.60 – 3.20 LPM.
d) Adjust the flow setting to C2 (2.0 LPM). Allow the unit to run for a minimum of 5 minutes to stabilize before testing.
e) Verify the O
2
concentration is within 90-96% and record the reading.
f) Record a 60 second running average for the flow rate. Verify the 60 second average is within 1.80 - 2.20 LPM. If using a
non-Argon or Non-BTP compensated measuring device, verify the 60 second average is within 1.70 - 2.10 LPM.
2) Verify functionality of the device in pulse dose mode using the following procedure:
a) Adjust the SAROS to a setting of P48 (48mL).
b) Complete this step using one of the methods below:
i) If using test equipment that automatically triggers a breath, follow the manufacturer’s instructions for operation of the
test equipment. Verify the breath is triggered by the light blinking adjacent to the pulse flow mode button.
ii) If manually triggering breaths, trigger a simulated breath by folding and pinching the tubing* running from the SAROS
to the testing device. Verify the breath is triggered by the light blinking adjacent to the pulse flow mode button.
*Other acceptable procedures to trigger a breath may include connecting a tee to a breath simulator (syringe, jet venturi, nasal cannula, etc.). If you are using
a tee, the tubing to the breath simulation device should not exceed 2 inches in length.
SAROS
Testing device that includes a
flow meter & O2 Monitor.
Vent to
atmosphere
Содержание SAROS 3000
Страница 56: ...Service Manual 56 MN260 B NOTES...
Страница 57: ...MN260 B 57 Service Manual NOTES...


