Step 3:
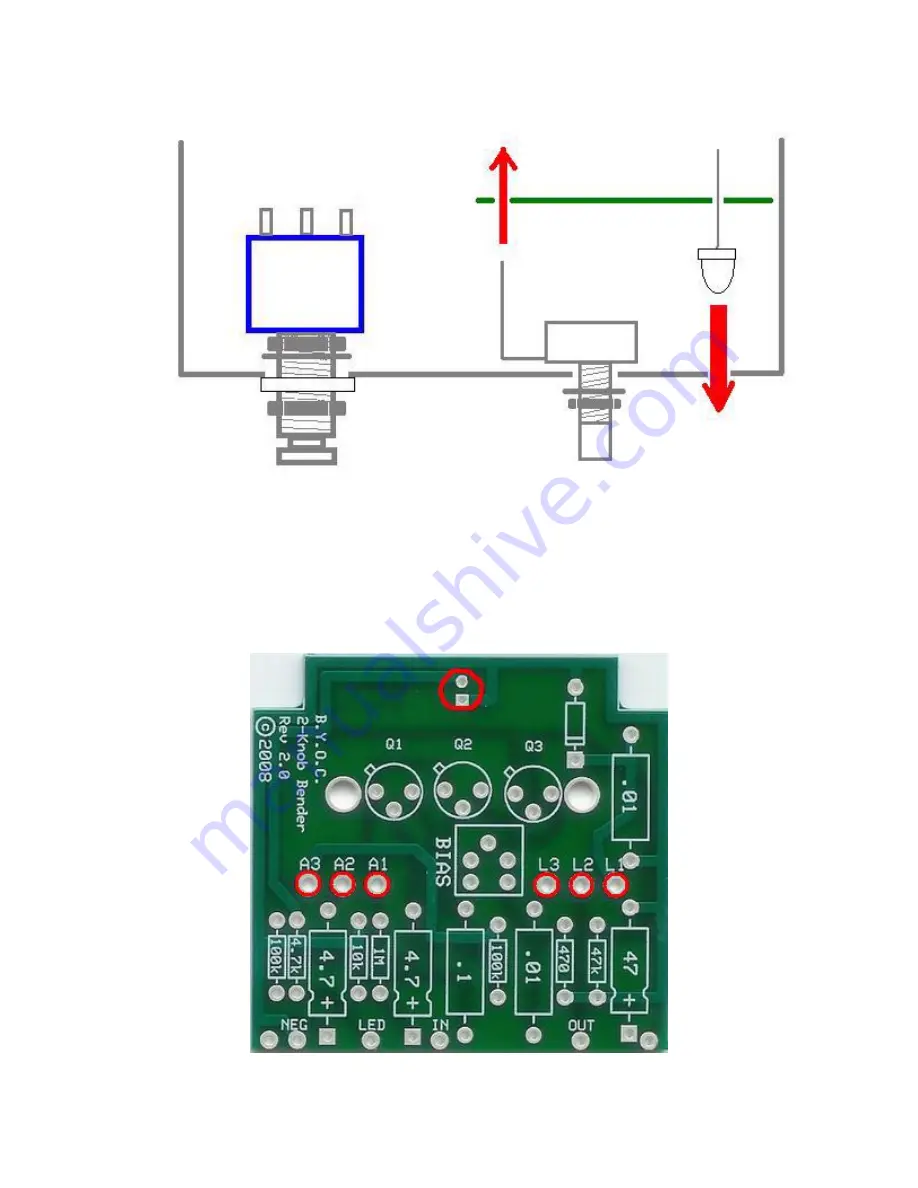
Now mount the PCB with LED onto the leads of the potentiometers. This move
may take a little finess. It's best to leave your pots somewhat losely mounted to the
enclosure so that you can easily move them to line up with the eyelets on the PCB. You
may need to bend the leads of the pots into place if they were bent in shipping.
Step 4:
once you have the PCB in place, snug the nuts of the pots and toggle switch with
your fingers.
Step 5:
Move the LED into place by guiding it with the leads that are sticking out of the
top side of the PCB.
Step 6:
Solder the LED and pots on the top side of the PCB. Clip the excess LED leads.


